I’ve had a number of people contact me about using the ZA6 for welding applications. None of the beta test participants used the ZA6 for welding, but a friend of mine works for a company that was looking for a welding robot and they were open to giving the ZA6 a shot.
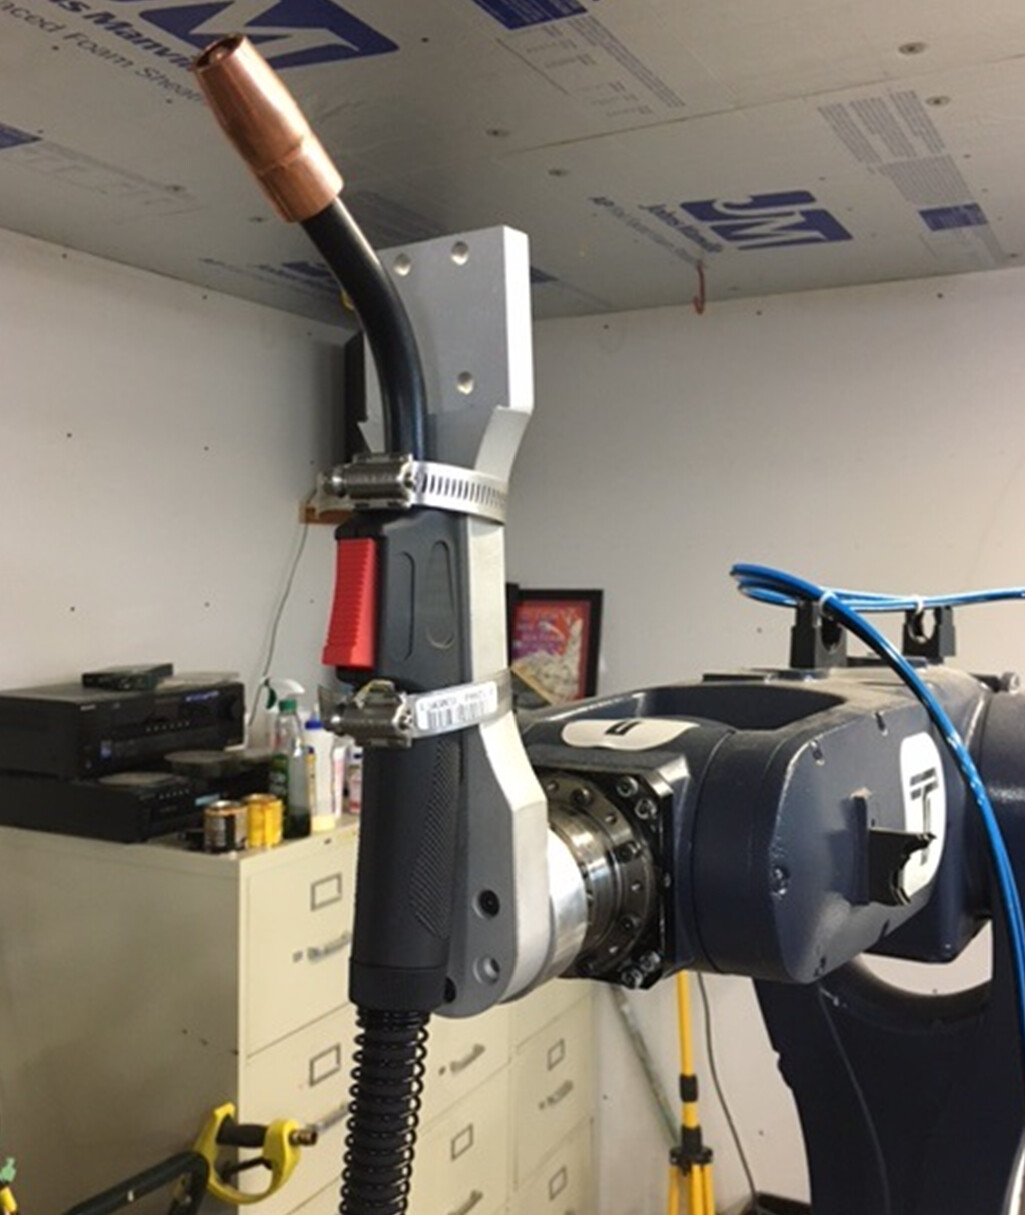
To prove out the concept with minimal effort I used hose clamps to secure a cheap ($40, Amazon) wire feed torch to an old end effector I had left over from a previous project:
I don’t have a wire feed welder in my garage (TIG only ![]() ) but I talked our local makerspace Sector 67 into helping out.
) but I talked our local makerspace Sector 67 into helping out.
After moving the robot down to Sector 67 we interfaced it with a Miller welder. The electrical interface was simple - the Miller has two crimped-on bullet connectors that allow you to easily replace the gun/trigger. The welder starts welding and feeding when there is continuity accross those two connectors. The robot’s outputs are 24V on, 0V off, so Chris from Sector wired a 24V relay with the coil powered by the robot’s output #1 and the contacts connected to the Miller. A quick check from the status screen verified that when output 1 was energized, the wire started feeding.
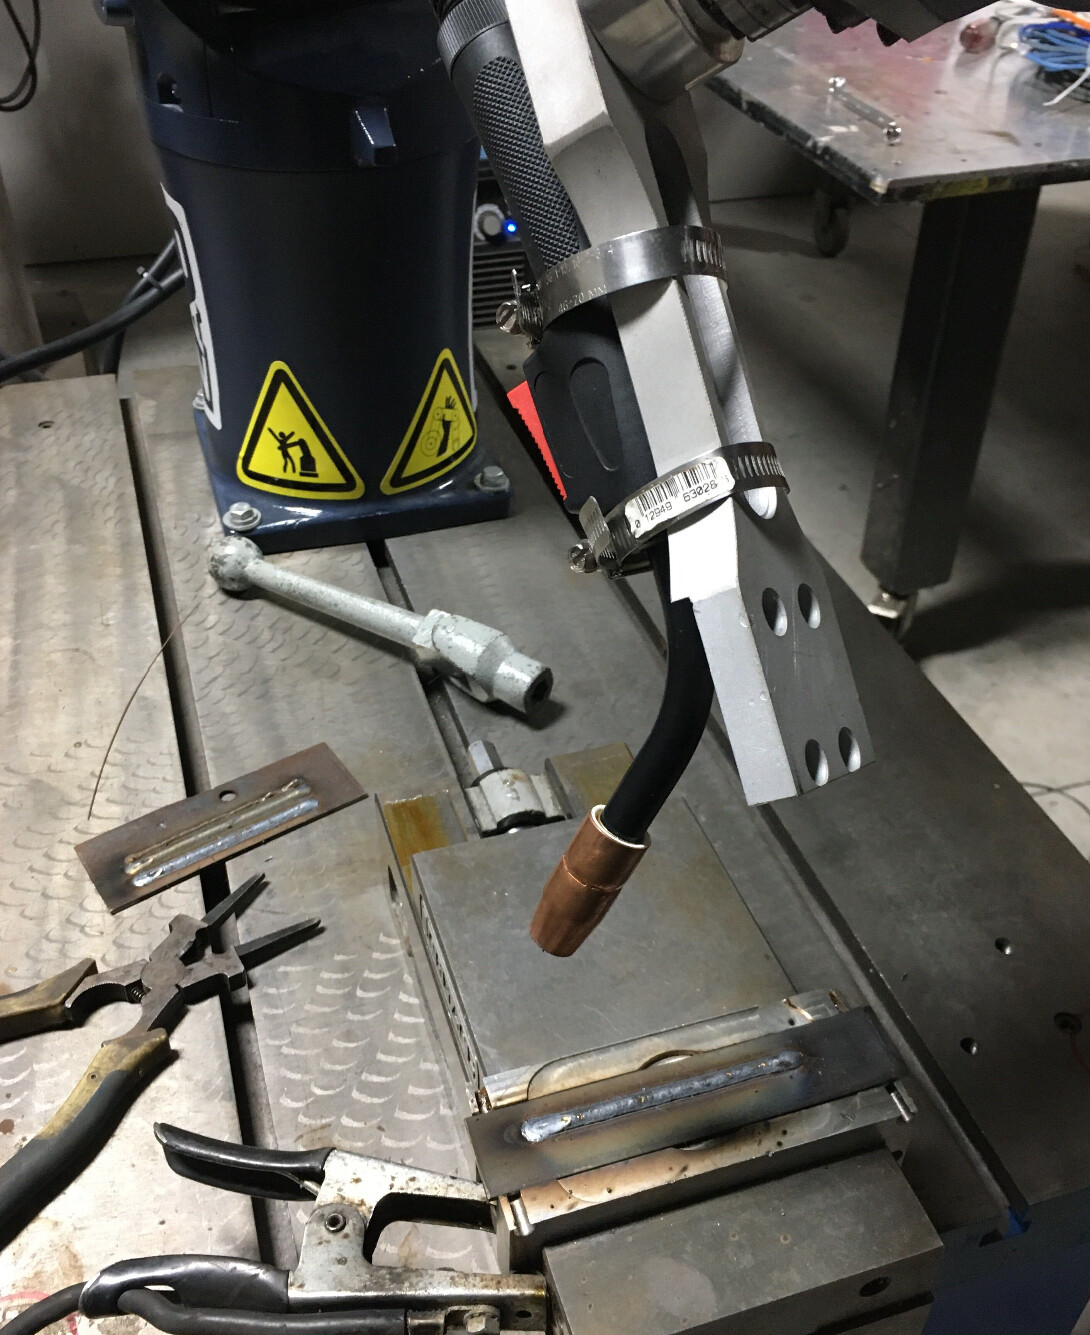
We started with a very simple task - laying a bead down in a straight line on a test coupon. We wanted to answer a few questions:
- Did we need a dwell when the weld starts?
- What’s the appropriate feed rate?
- Would the wire stick to the puddle at the end of the weld, and if so, what happens?
- Is a linear path sufficient for a decent weld, or do we need/want a path that looks more like a series of loops?
It was easier than expected - only the feed rate needed to be adjusted (linear move - .5% of max vel).
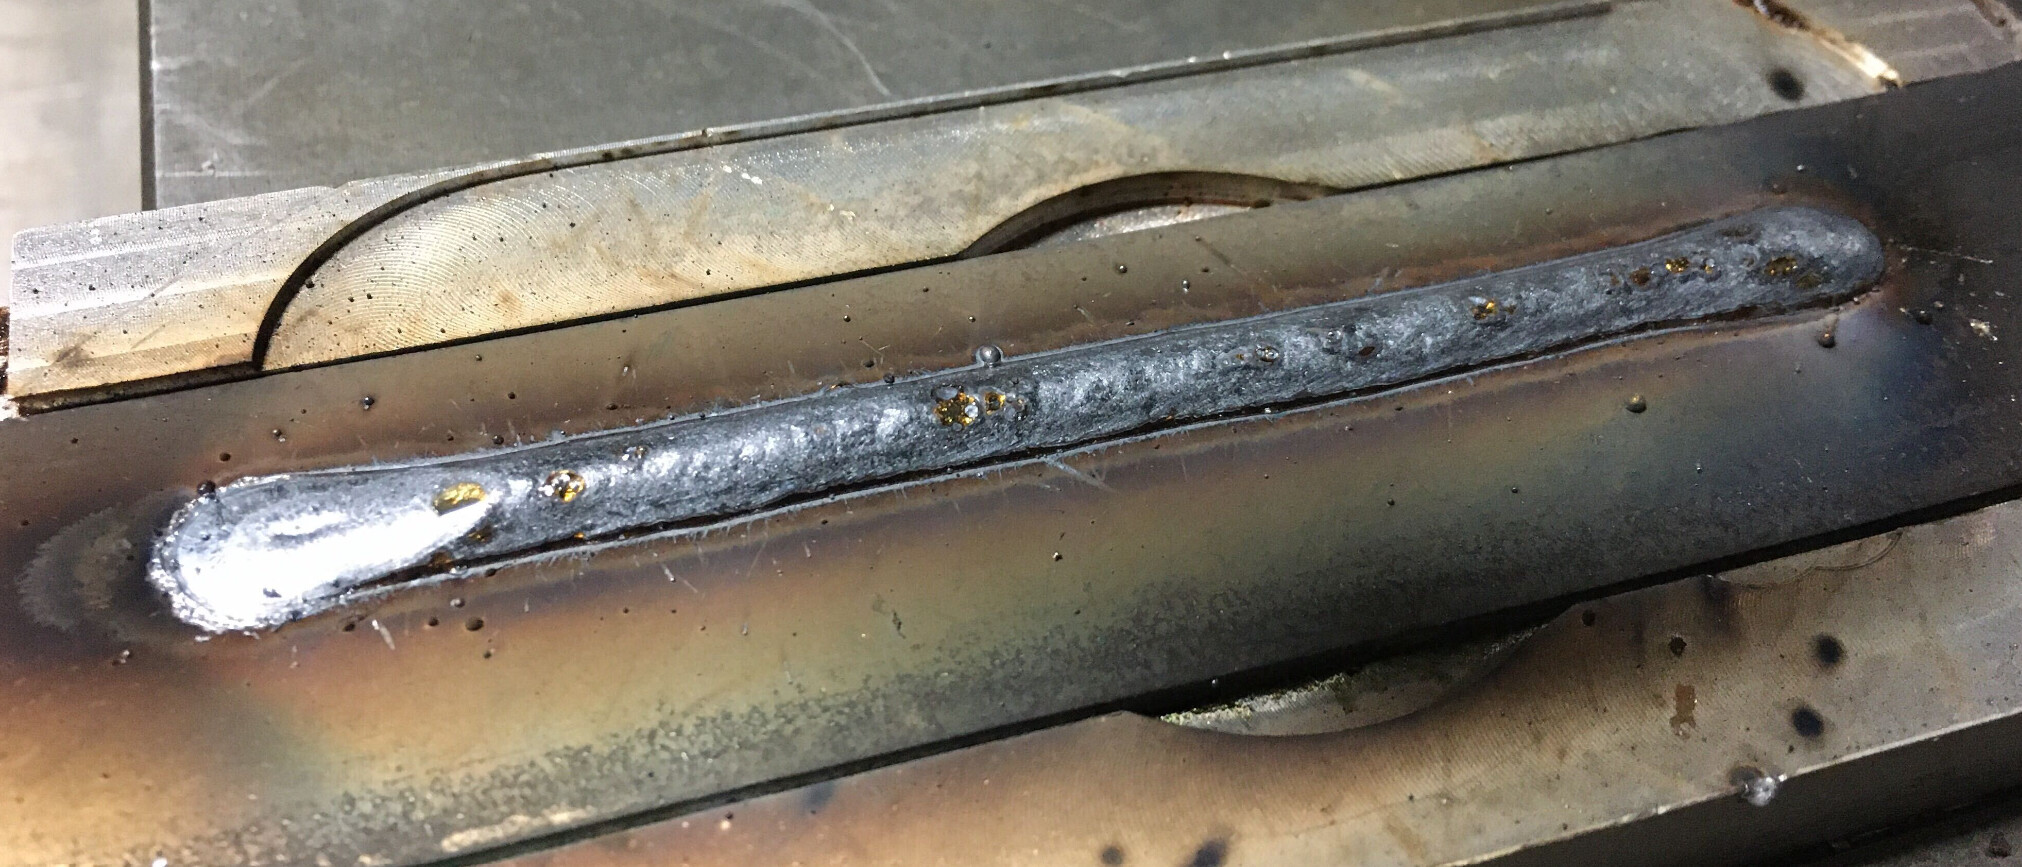
Dwell didn’t seem to be required. We have yet to have an issue where the wire is stuck in the puddle, but I expect that it will result in a J5 or J6 fault as the robot tries to pull away from the workpiece, assuming the workpiece is rigidly fixed to the table. The linear move produced a weld that is good enough for this application, so no need (yet) to experiment with that “stack of dimes” weld path.
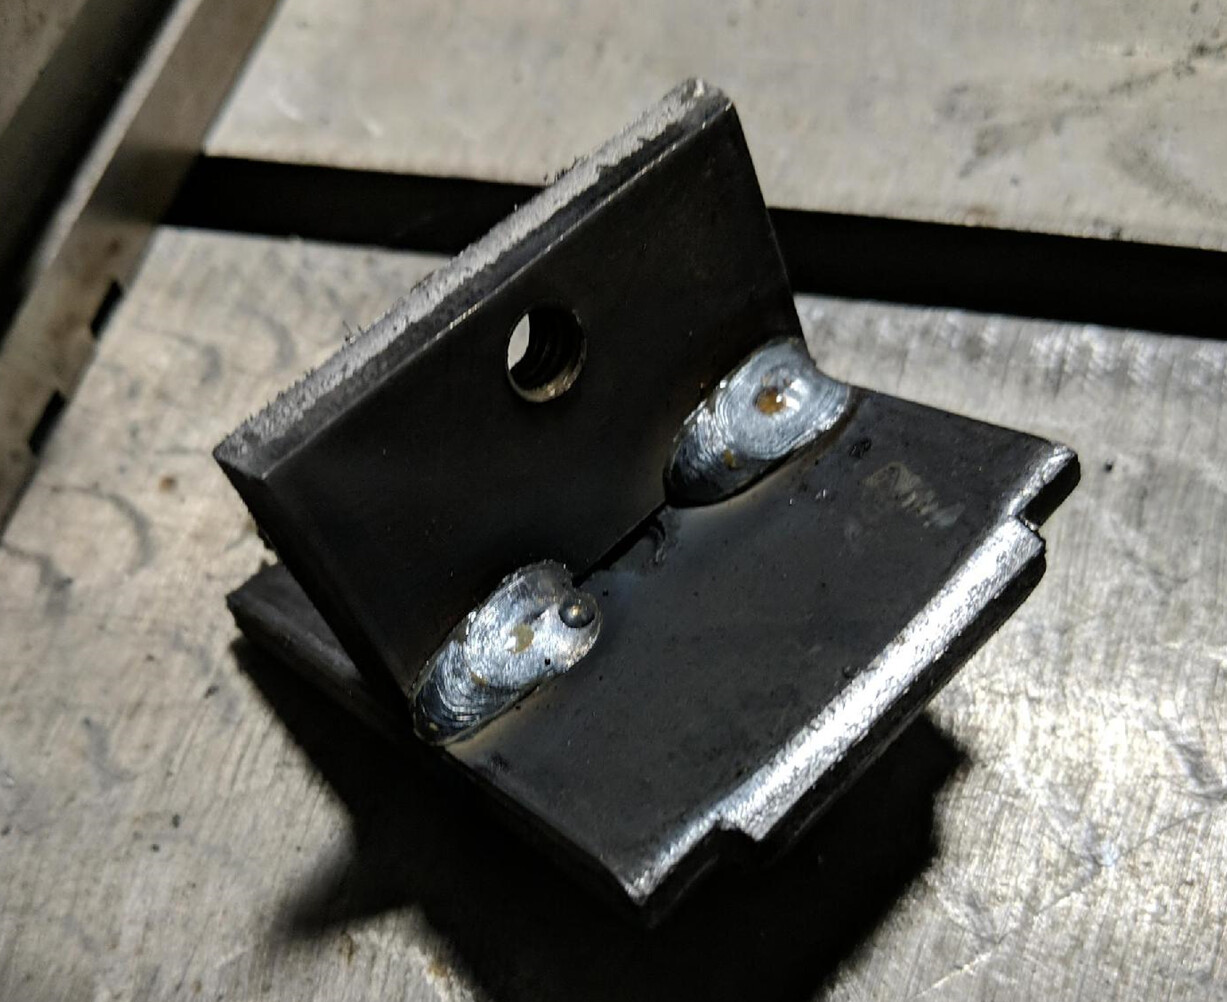
Next we set up a few samples from my friend’s company. Programming was done by teaching waypoints. Joint moves were used to do initial positioning, then linear moves were programmed for the welds using a velocity setting slower than conversational code currently allows - we had to hand-edit the robot program in PyCharm to reduce it to a 0.005 command. Here is the result:
And a video of the weld:

Next steps (if we take them) will involve making a fixture plate to hold 10 or 20 pieces at once, then writing a more robust program that does some error checking and can weld multiple pieces. The company makes many different parts, so a different fixure would be needed for each design. One interesting idea is to use CV (either AR tag recognition or something like Google Teachable Machine) that would let the robot recognize which fixture plate has been presented to it and then choose the appopriate program.
