Anyone laser engraving their tool holders? I currently have my tool holders marked with a paint pen, but over time, it eventually wears off from the coolant and the fact that I was running Blaser Synergy 735, which is really hard on paint, makes it a constant thing to keep up on, “just another thing”! if you get me.
Im thinking of Laser engraving the tool holders for my standard tooling. How well does it work? Pictures if anyone has some to show, would be cool.
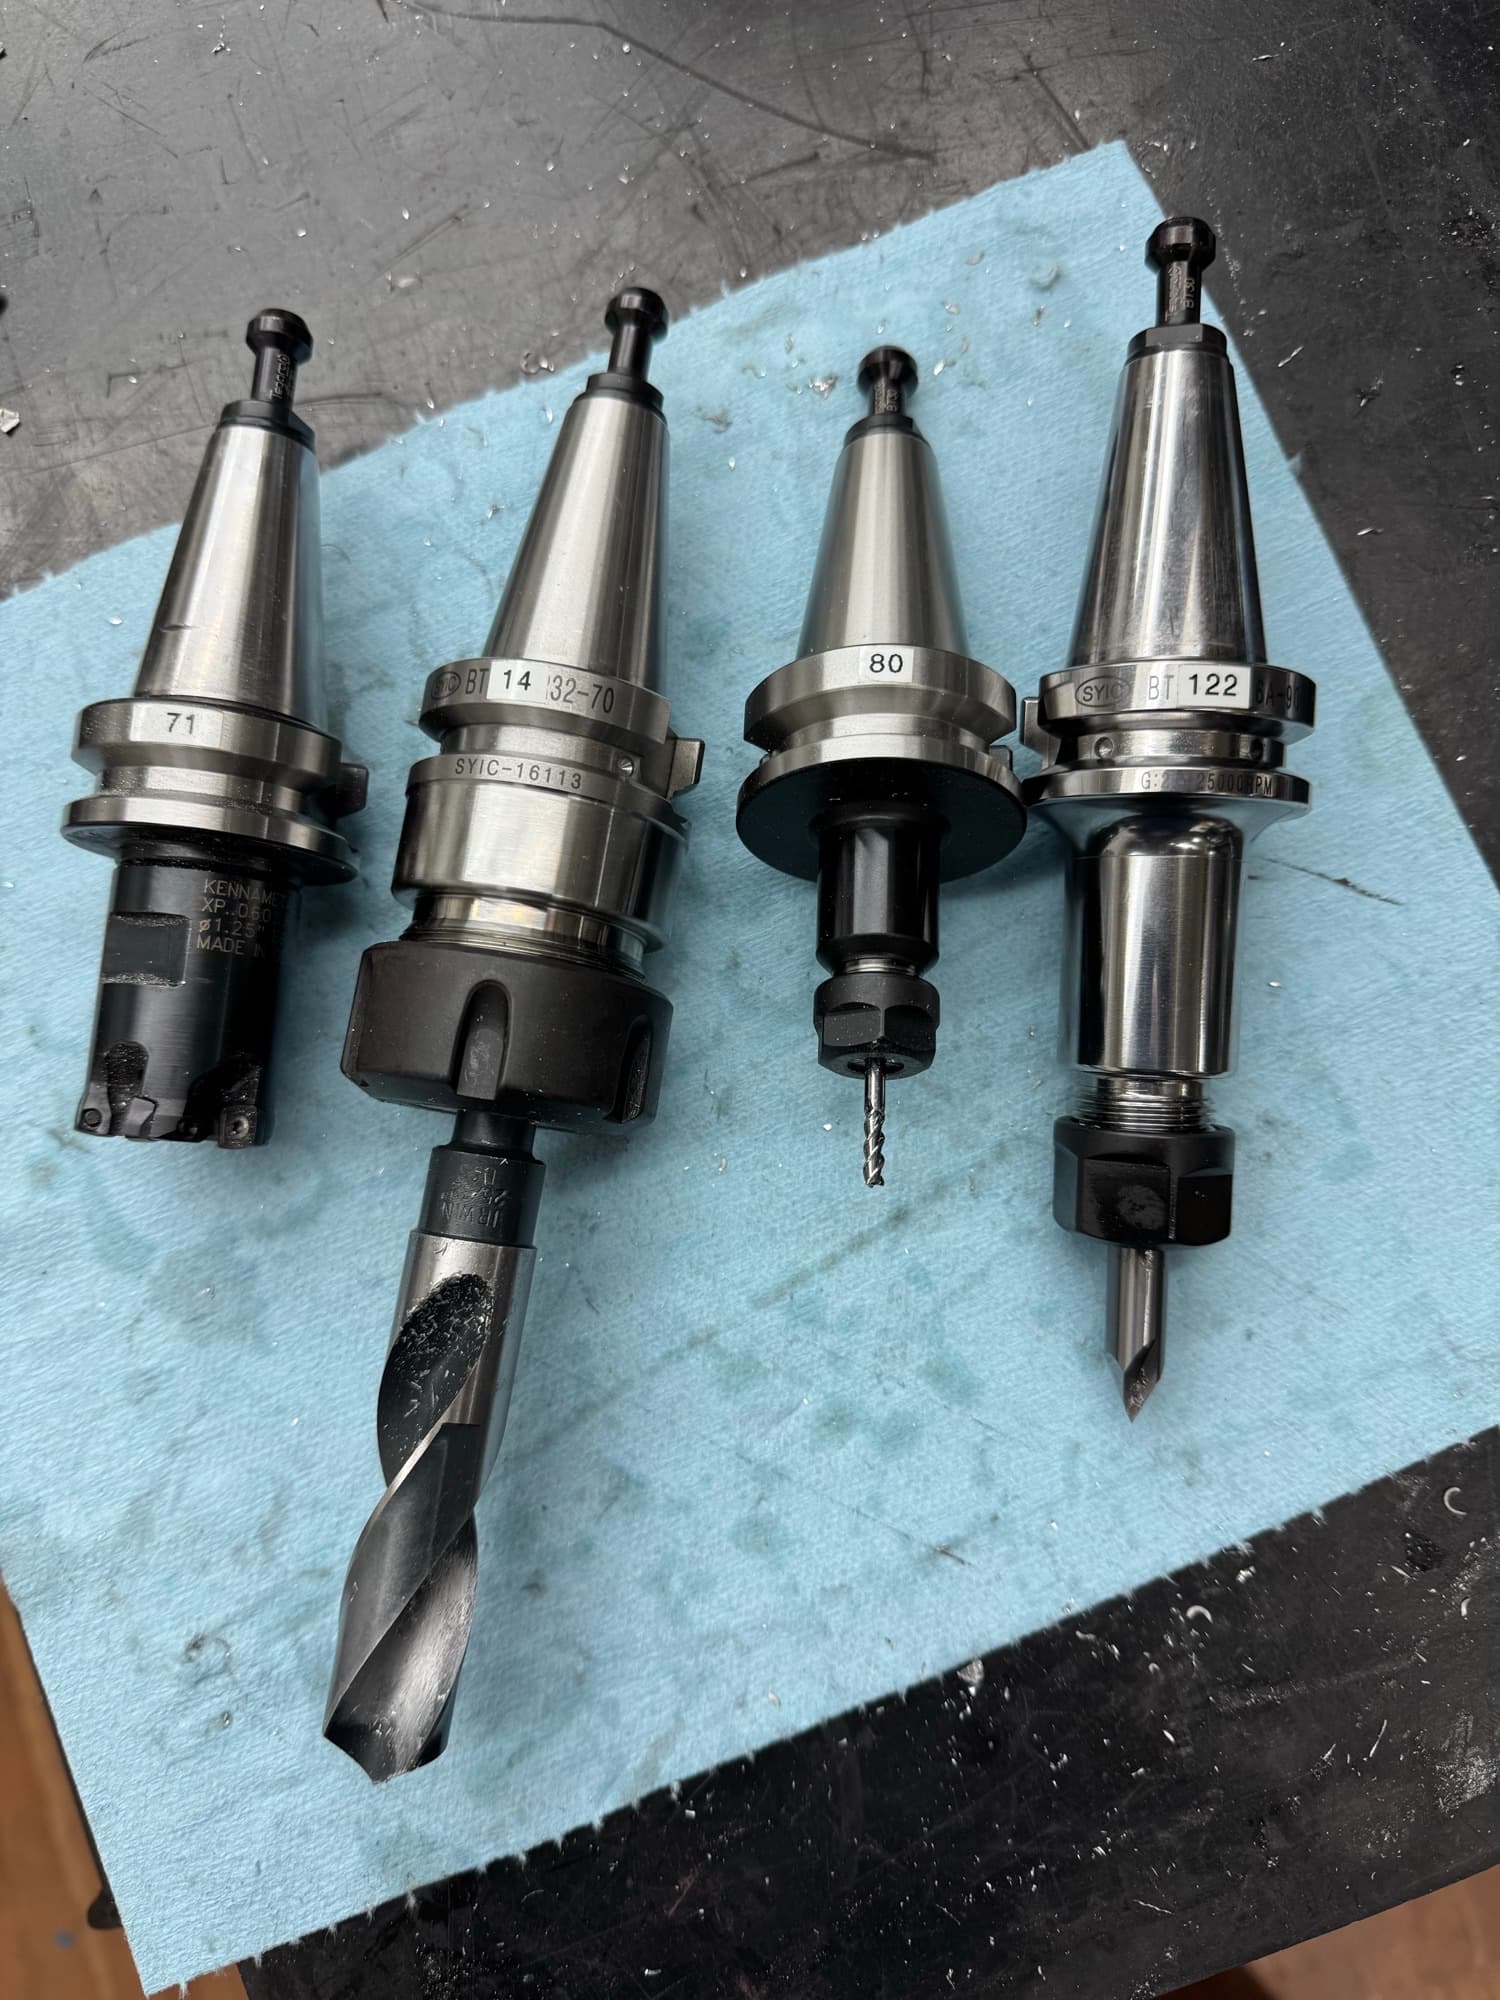
I have a laser engraver and considered it, but I assign numbers to specific tools and not tool holders, so a #21 drill is tool #121, but could be in whatever holder was handy last I needed a #21, or none at all if I needed that holder for something else, so instead I made 3d printed tags that clip into the BT30 holders and I write the tool number on them. They come off when the tool goes in the machine and back on when it comes out. If a tool holder with tool in the rack has a clip and number on it, that means it’s measured and in the PP tool table.
While I do have a couple tools that live forever in their holders, I am generally using multiple tools in the same holder so marking the holders in any sort of permanent way wouldn’t work well for me.
What I usually do is set my tools up before each job and arrange them in order of use in my tool rack on the front of the machine (assuming they’re not in the ATC). Tool comes off the rack and into the machine, when it’s time for a tool change, it comes out, goes into the empty spot on the rack, and the tool next to what was previously the empty space goes into the spindle. Repeat as necessary.
I did that too, I got in the wrong place on some as the ATC rips them up. I’m starting to rethink my strategy, though, and go with the clip-on 3d printed tags. I will at least not be locked in if I need to move stuff around, which is, of course, inevitable! Probably before I finish tagging them all!
My BT30 clip-on tag comes off when they go in the machine, as posted above. BT30Tag.stl (139.4 KB)
Here’s the STL if anyone wants it. There’s lots of others out there on the 3D print sites. I’ll usually print a few when I’m nearing the end of a roll of filament to use it up.
I have considered making the bottom flat for an additional marking surface, but sort of like the grip grooves. I write on the flat with a Sharpie that sticks well to the plastic (usually PETG)
Once I set up a tool & holder that I consider standard tooling, I don’t disassemble it until the tool chips or breaks and I need to replace it. I don’t have time to set up tools for every single job, working a full-time gig and trying to create products on the side.
Id rather spend a few extra bucks on holders and know that I have 80-90% of the tools ready to go at any time I need them. IMO its PIA setting up tooling for every single part/project. Yes always the need to have specialized tooling set up for many parts, but Im 80-90% done.
Thanks for the STL. Ive considered this as well, and doing the tags in colors to indicate tools that are fully defined and entered in both the control and Fusion (with Green color), telling me these tools are ready to use, and ones that are not in red or yellow to warn me that the tool/s is NOT fully entered into control and or Fusion. These would be for tools that are sitting on my tool shelf not in the ATC. Just a reminder for me so I dont screw up since Im not milling stuff all the time.
That’s basically the same as I do. I have a set of ‘standard’ tools like endmills that almost never leave their holders (or the ATC) and then there’s others that hold various drills and such like (taps, thread-mills, chamfer tools, roundover bits, extended endmills, ball-ends, bull-noses or whatever) that are less commonly used. I do R&D parts and a lot of one-offs so dedicated holders for every drill and tap and clearance hole isn’t practical. For a brand new part it’s usually only loading the ATC with tools from the rack, sometimes swapping a drill or so, so 80-90% setup too.
Since I print the tags with leftover filament they are various colors and I don’t bother color-coding-- if there’s a tag on a holder, it’s in Fusion and PP. If not, it needs to be setup. Every now and then I end up re-setting a tool, but not often.
Bill
I do the same thing as far as holders - I have over 30 now in ER 32 , ER 20, ER 16 & ER 11
I could really use many more though - I have a range for both steel and aluminum
For coolant I use 251C in a dual nozzle fog buster
Label wise - I have a Brother PTR-2040C and use TzeS211 - 1/4"(6mm) Strong adhesive labels
those are black print on white background - they make the same with yellow background
that’s the skinniest label they make - I dont have flood coolant - how they would hold up IDK
I think if you properly clean the holder and your fingers before applying the labels I think they will hold up
That’s essentially what I tried to do with the labels, but with the ATC and flood coolant it’s not been a durable solution. I think I’m going to try the tag method for all the reasons you and Roy are pointing out.
I like the labels, but Im skeptical they will hold up with flood coolant. I did recently switched to Sterlingcool-29, which is a clear coolant like the Synergy 735. I have not used it long enougth to seen how destructive it is on painted surfaces. I changed to resolve the paint stripping issues I had with the 735. I might test a label and see how it holds up.
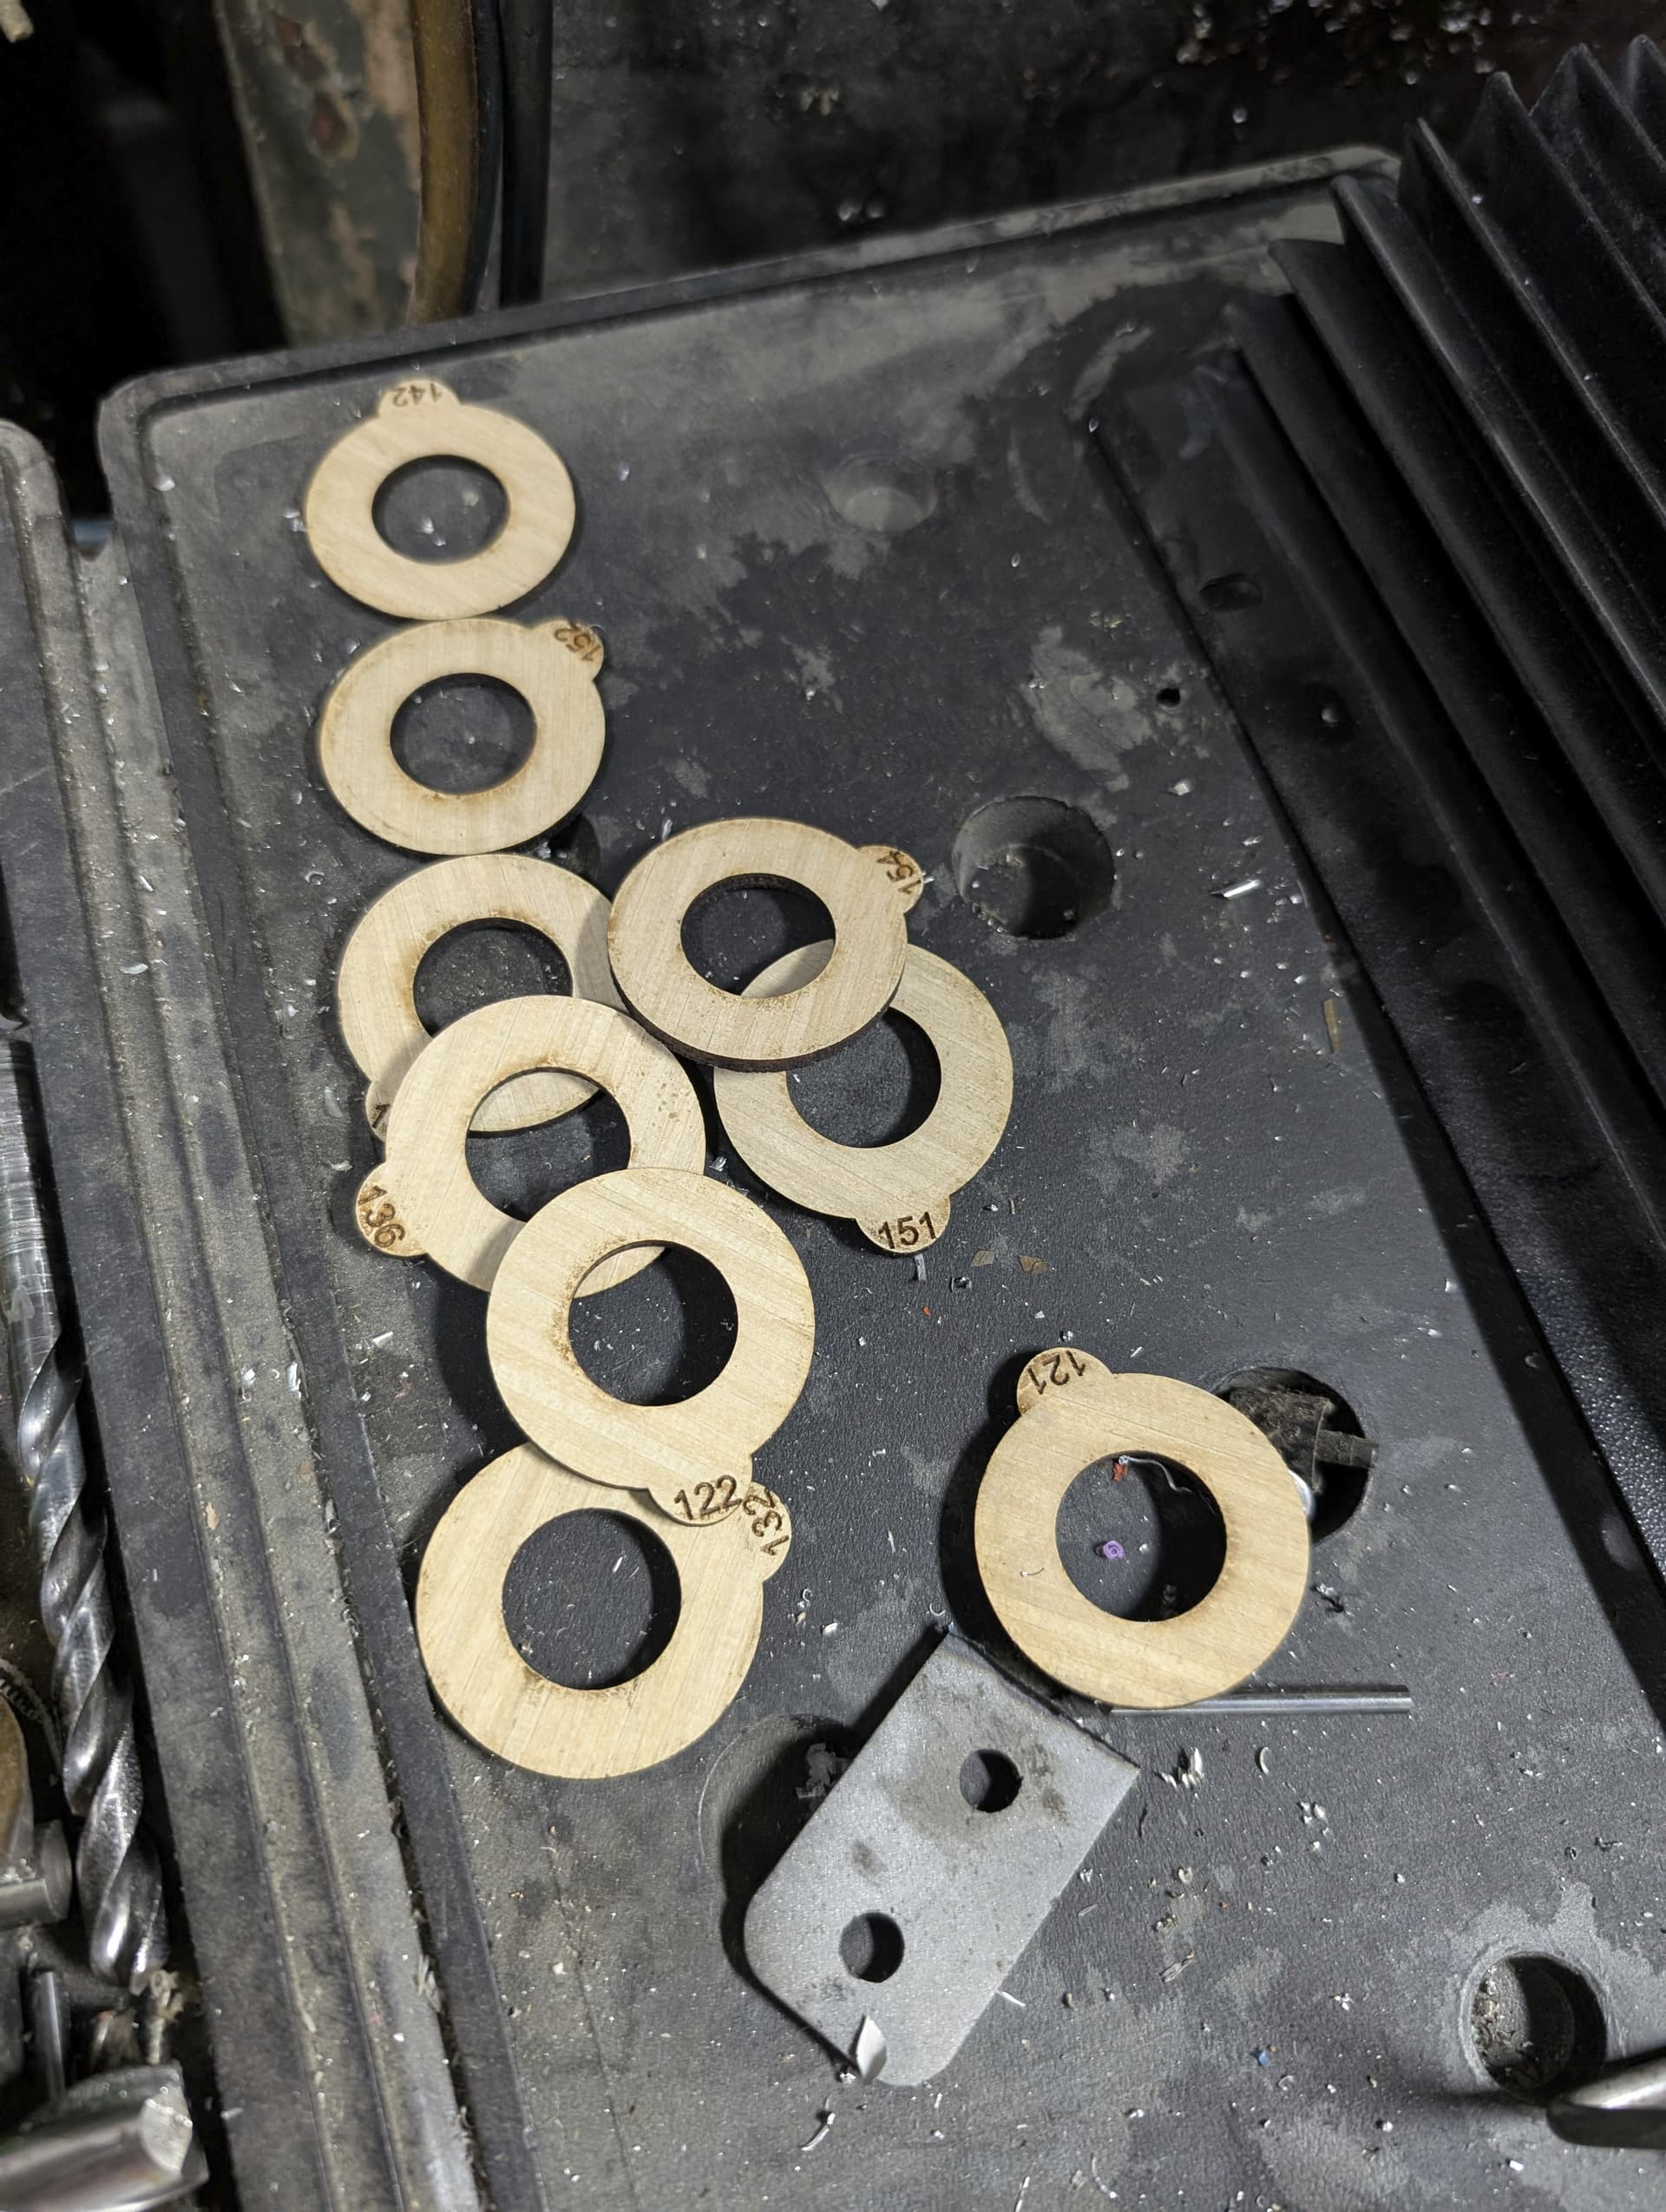
For the poor TTS users we tried paint markers, sharpie, CO2 engraving and now have a fiber laser (that would do great but it’s a lot of work), we ended up using the CO2 laser to cut little ring tags that slide onto the TTS shank and stay with the tool:
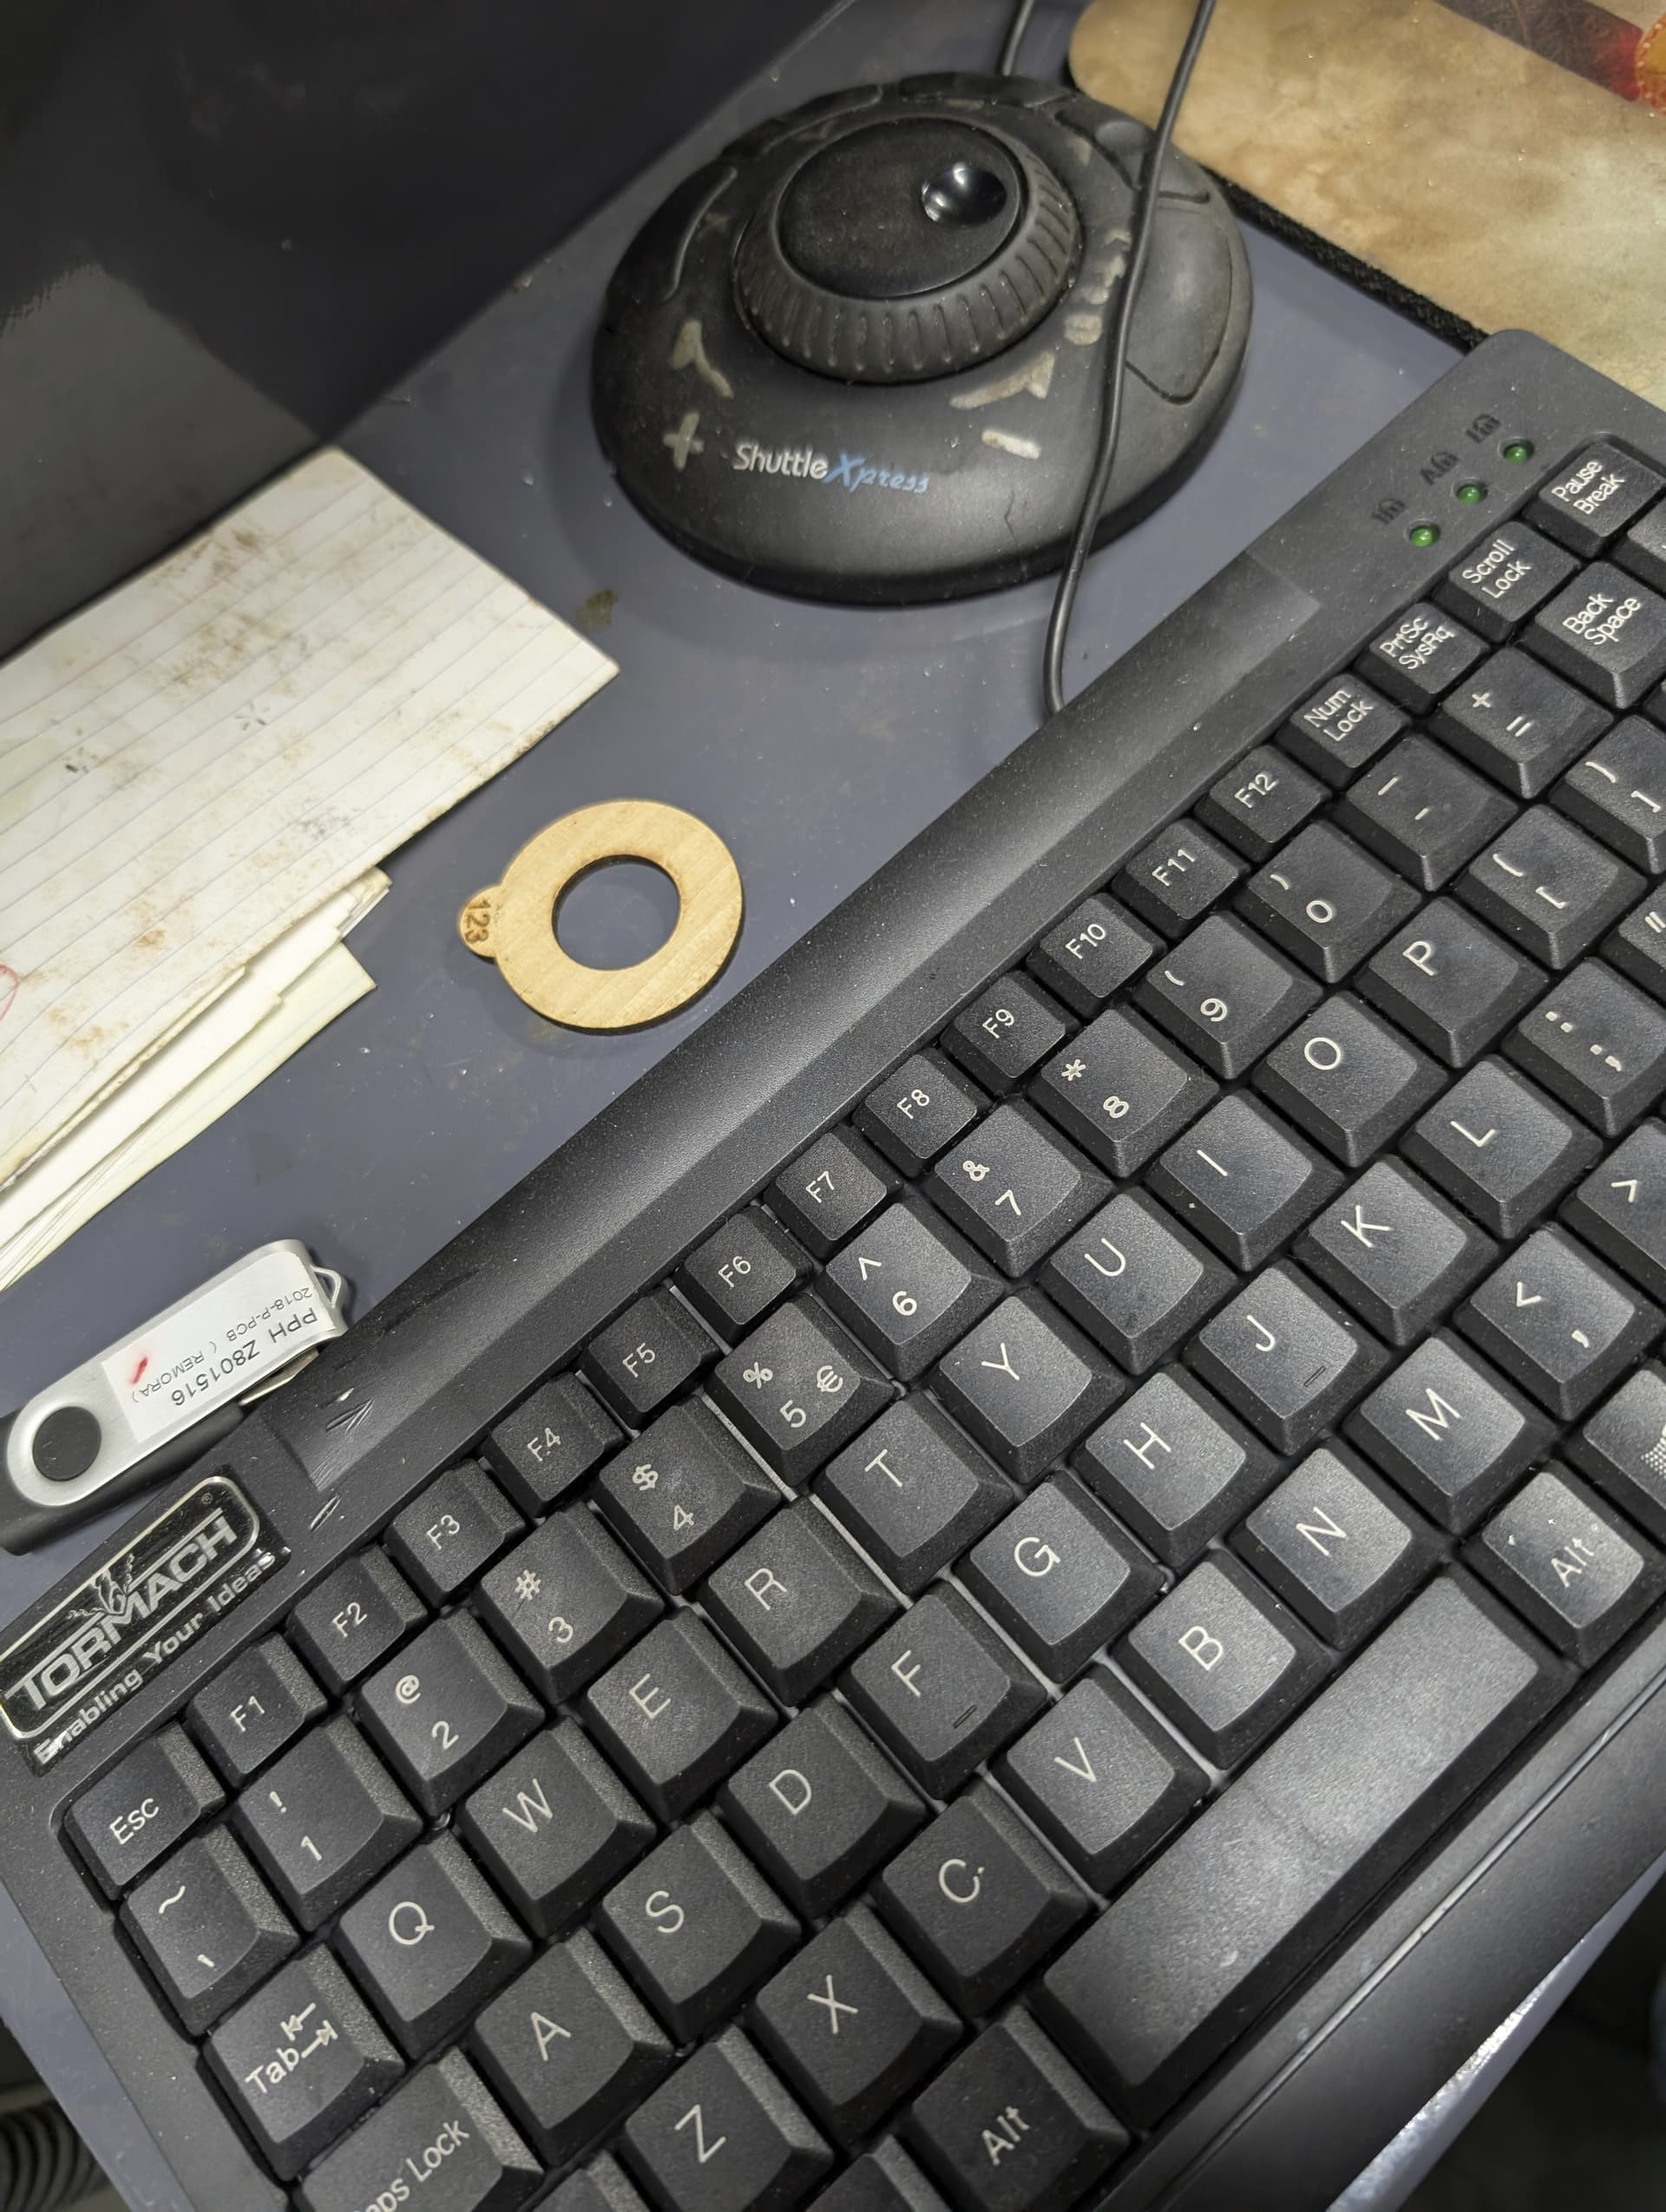
The ONLY deficiency to this approach is the chance you leave the collar on the tool, which should be easy enough as the ring should have been left by the keyboard! ||| DO NOT RUN THE TOOL IN THE MILL WITH THE COLLAR INSTALLED ON THE TTS SHAFT |||
I made this DXF file years back if it’s helpful to have a template feel free to use it: Tormach Tool Tags.dxf (585.8 KB)