ZA6 Arduino Transistor Video Clip
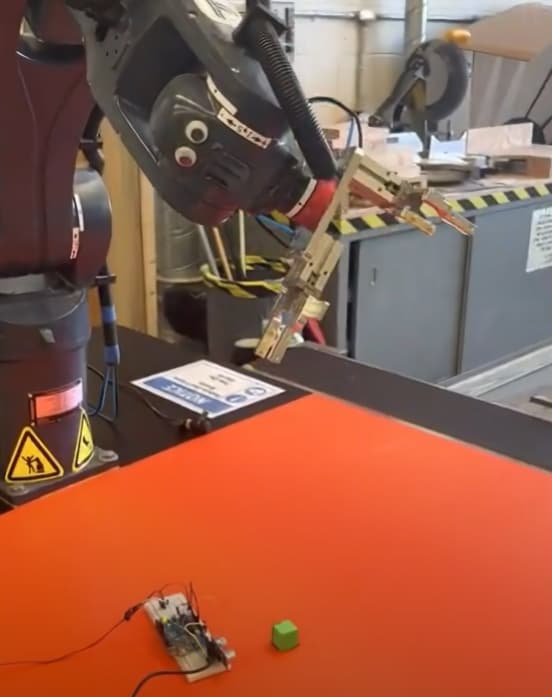
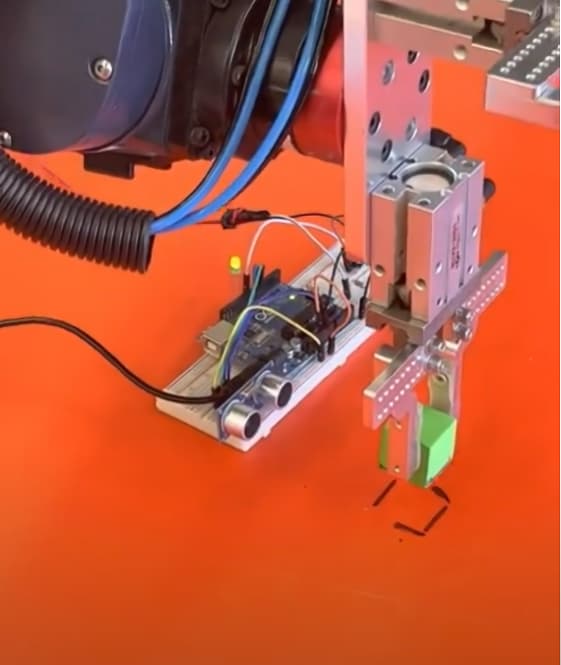
Here is an example of connecting an Arduino with a NPN Transistor to the ZA6. The transistor acts the same as a push button switch connected to the robot, however when it is paired with an Arduino you have the ability to use different sensors as the switch. In this example I used an ultrasonic distance sensor.
Here are the general steps to connect an NPN transistor to an Arduino:
Step 1: Gather the components
NPN transistor (e.g., 2N3904)
Arduino board
Resistor(s)
Breadboard (optional)
Jumper wires
Step 2: Identify the transistor pins
Identify the three pins of the NPN transistor: emitter (E), base (B), and collector (C). Refer to the datasheet or use a multimeter to determine the pin configuration.
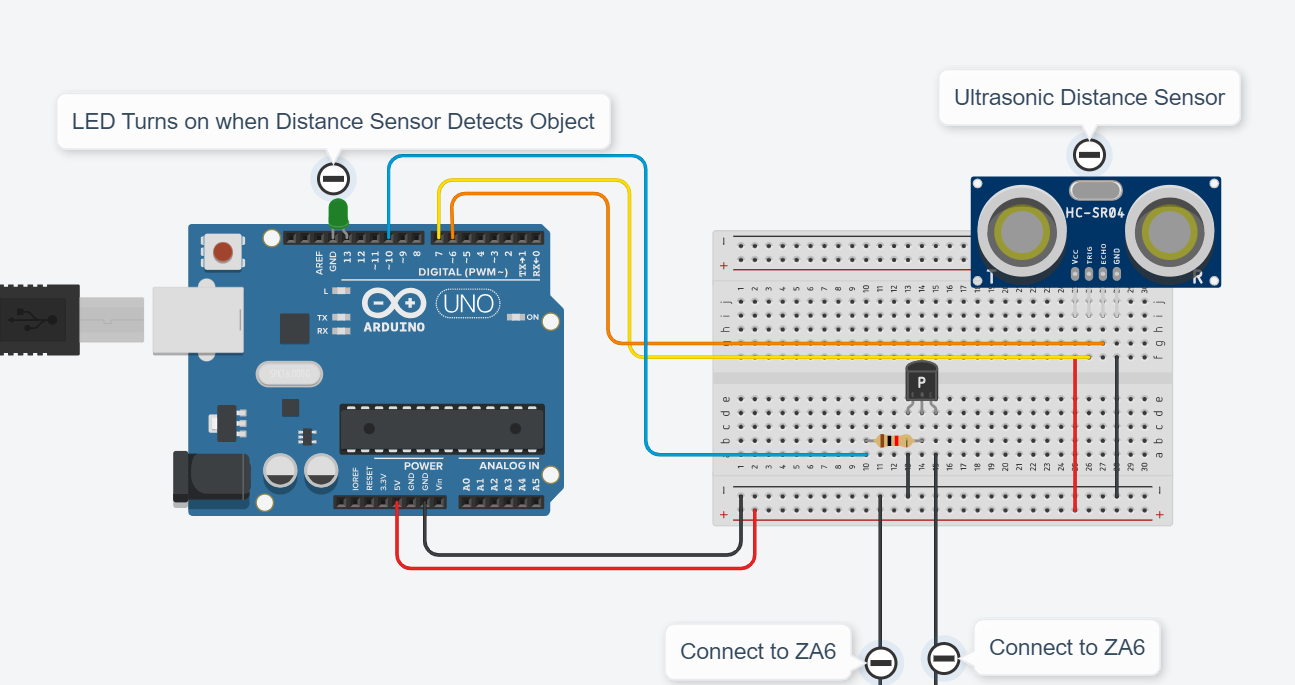
Step 3: Connect the transistor
Connect the emitter (E) pin of the transistor to the ground (GND) pin of the Arduino.
Connect the collector (C) pin of the transistor to the negative terminal of the load (the load should be connected to a separate power supply).
Connect a current-limiting resistor (usually between 220Ω to 1kΩ) to the base (B) pin of the transistor. The other end of the resistor will connect to the Arduino.
Step 4: Connect the Arduino
Connect the digital output pin of the Arduino to the free end of the resistor connected to the base (B) pin of the transistor.
Connect the ground (GND) pin of the Arduino to the ground rail on the breadboard (if using one).
Step 5: Connect the load
Connect the positive terminal of the load to a separate power supply (e.g., a battery or external power source).
Step 6: Power the circuit
Connect the ground of the separate power supply to the ground rail on the breadboard (if using one). Ensure that the ground of the Arduino is also connected to the ground rail.
Step 7: Write Arduino code
Write Arduino code to control the digital pin connected to the base of the transistor. Use the digitalWrite() function to set the pin to HIGH or LOW to turn the transistor on or off, respectively.
Example Arduino Code Below:
// C++ code
//
int Ultrasonic = 0;
long readUltrasonicDistance(int triggerPin, int echoPin)
{
pinMode(triggerPin, OUTPUT); // Clear the trigger
digitalWrite(triggerPin, LOW);
delayMicroseconds(2);
// Sets the trigger pin to HIGH state for 10 microseconds
digitalWrite(triggerPin, HIGH);
delayMicroseconds(10);
digitalWrite(triggerPin, LOW);
pinMode(echoPin, INPUT);
// Reads the echo pin, and returns the sound wave travel time in microseconds
return pulseIn(echoPin, HIGH);
}
void setup()
{
Serial.begin(9600);
pinMode(10, OUTPUT);
pinMode(LED_BUILTIN, OUTPUT);
}
void loop()
{
Ultrasonic = 0.01723 * readUltrasonicDistance(6, 7);
Serial.println(Ultrasonic);
if (Ultrasonic <= 80) {
digitalWrite(10, HIGH);
digitalWrite(LED_BUILTIN, HIGH);
} else {
digitalWrite(10, LOW);
digitalWrite(LED_BUILTIN, LOW);
}
delay(10); // Delay a little bit to improve simulation performance
}