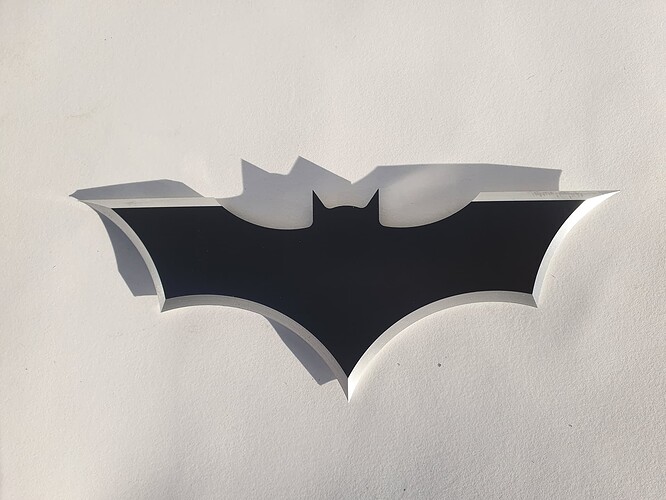
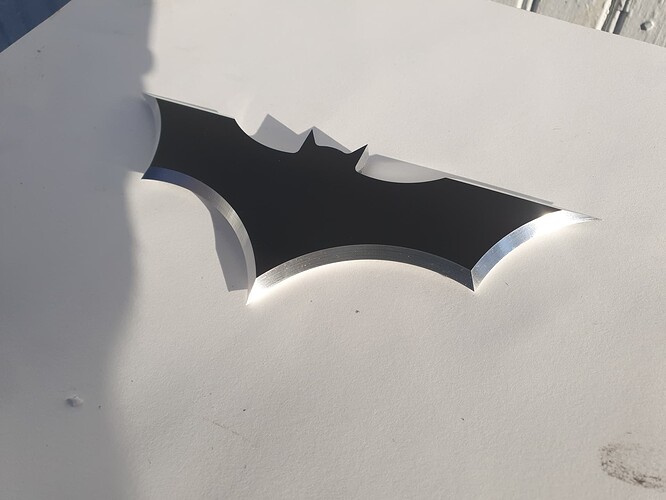
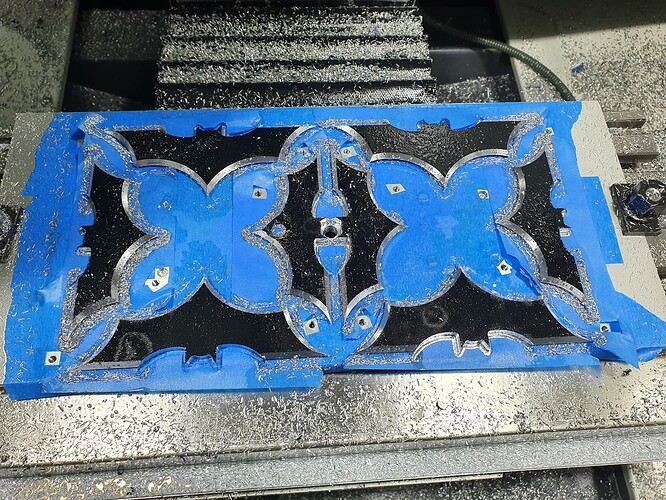
When I first started at Tormach my brother couldn’t understand why I was excited about getting CNC capabilities into my hands and looked at me flatly and asked “what on earth will you do with that thing?” to which I replied “MAKE BATARANGS!” and there was never a question of whether or not I should dive headlong into this profession after that. Well it took a while of thinking on this and trying to figure it out but I finally have some usable batarangs to show off.
I ended up using superglue hold down for Op 2 which took some figuring and more broken bits than I am comfortable with, but hey I am learning, right?
CAM:
The short summary of the work flow on this part is that I used Fusion360 to layout a DXF file with 8 batarangs in it, then used conversational to layout the tool paths because Fusion360 doesn’t play well with non-circular chamfers. I did end up using Fusion to clean out the center pocket because I had some issues with the two center pieces coming detached while the heads were being cut out. In order to get the desired effect I figured out that I want the tip of the chamfer tool to be 0.032" below and outside the edge that I am cutting so I created a dummy tool that has a tool diameter of 0.064" and told PathPilot to cut outside the line.
Fixture:
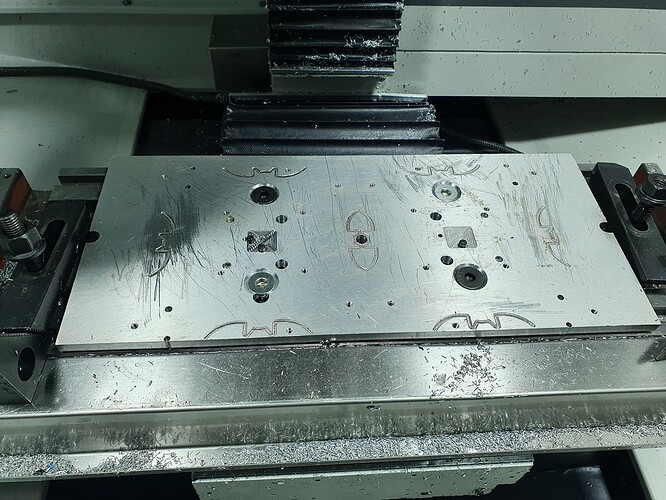
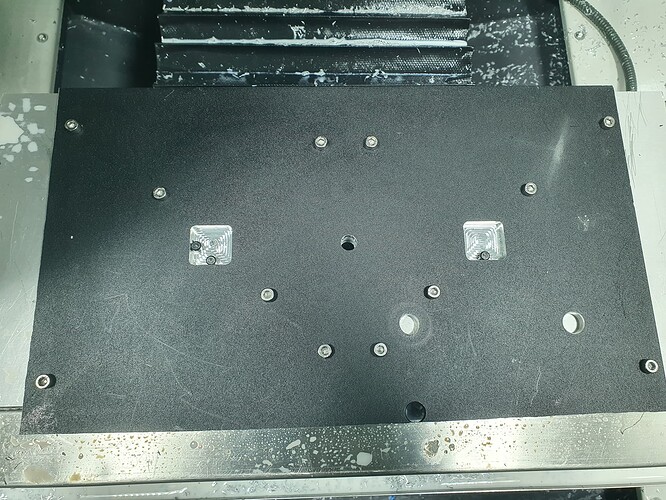
This project relies on a fixture that Op1 is screwed to and Op2 is glued to. This fixture has three locate pins that holes cut in the stock are registered against for each operation.
Here is the g-code I used to make the fixture. SheetFixture.nc (89.0 KB)
DXF files
I created these dxf files in Fusion360 to fully utilize the working envelope of the 770 series machines. I seperated them into head and chamfer so that I cold overlap the tool paths a little to keep from having awkward corners where they meet.
Batarang_Sheet_Chmf.dxf (11.5 KB)
Batarang_Sheet_Head.dxf (14.2 KB)
Prep Stock
The first step in actual production of these is to prepare the stock. Since I have a fixture with locate pins I would shim up the flat stock and toe clamp it in place before running
Batarang_Op1A_PrepStock.nc (10.1 KB). Notice that there are a few extra holes in this stock because I am using an old piece of stock from a different project.
Op 1
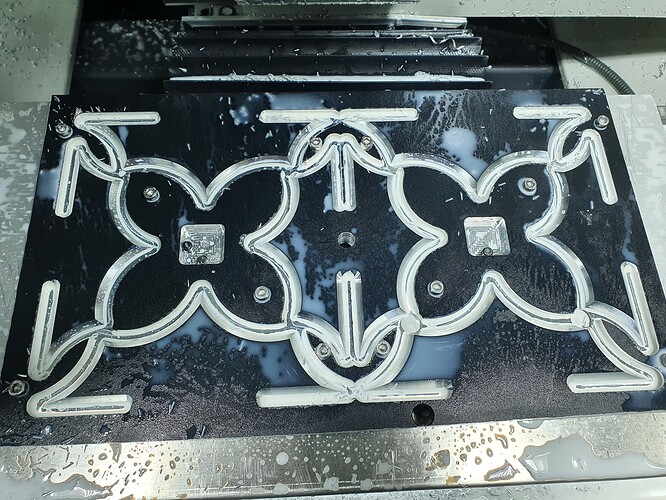
After the stock is prepped then I pull the toe clamps and shims and screw the stock to the fixture making sure to press firmly against the locate pins while tightening the first couple screws.
Then run
Batarang_Op1B_Cut.nc (33.1 KB) which will cut the top half of the chamfers.
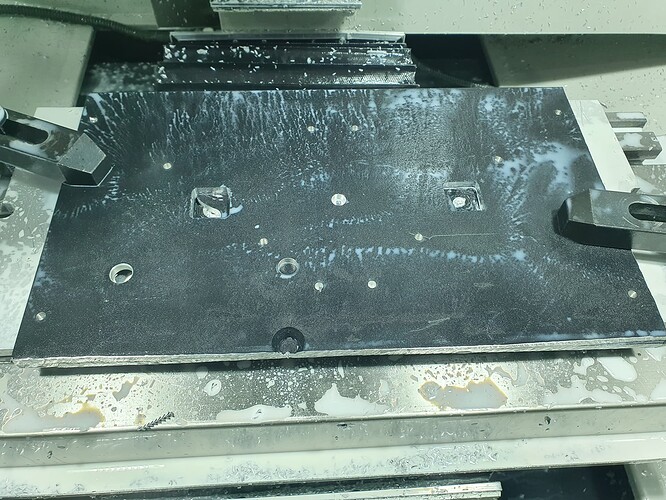
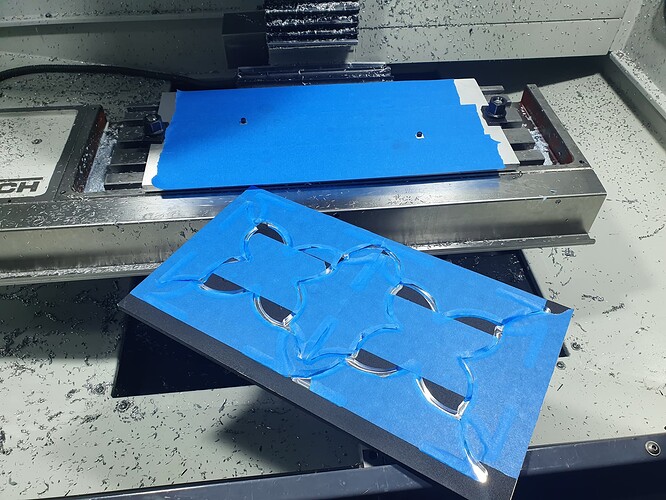
Super glue work holding
The next step is to clean the fixture and the stock with isopropyl alcohol to prep it for super glue work holding.
Here are some pointers I have learned using super glue:
- Clean everything well
- do your best to not have seams in the blue tape on your part, put the seams in the excess where possible.
- use mist coolant, flood coolant will cause the blue tape to un-stick and your parts will fly.
Op 2
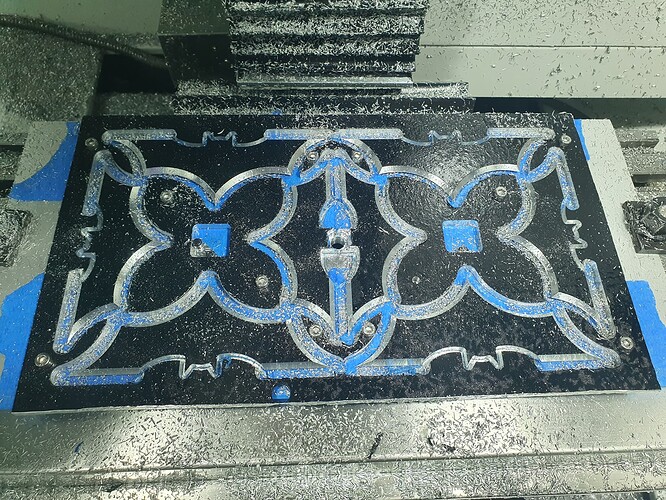
The final step is to run Batarang_Op2.nc (89.2 KB) which has the center pocket program inside of it. This will cut the chamfers, cut out 6 of the head profiles, cut the center pocket then cut the last two head profiles.
