This tutorial is meant as a “how-to” on how to make these hearts on your mill and can be used by beginners to go through the motions of making a part without having to learn CAD/CAM right away. I did this project on a 770 but this can be done on any of our mills.
It is worth noting here that I am also relatively new to CNC machining at the time of writing this so I recognize that there are likely ways that I can make this better and faster but I haven’t learned those yet.
What you will need:
- 2" x 2" x 1.25" stock (I am using 6061 T6 Aluminum)
- Soft jaws (you can also make your own)
- 1/2" 3 flute flat end mill Tool 1
- 3/8" 3 flute 0.03" radius end mill Tool 8
- 1/4" 3 flute flat end mill Tool 3
Files
-
3D Contoured Heart v5.f3d (9.1 MB) if you want to follow along or change the parameters.
-
HeartSoftJaws.nc (1.0 MB)
-
HeartStepJaw.nc (472 Bytes)
-
HeartOp1_Radial.nc (1.4 MB)
-
Heart_Op2_Cleanup.nc (1.8 KB)
-
HeartOp2_Radial.nc (1.1 MB)
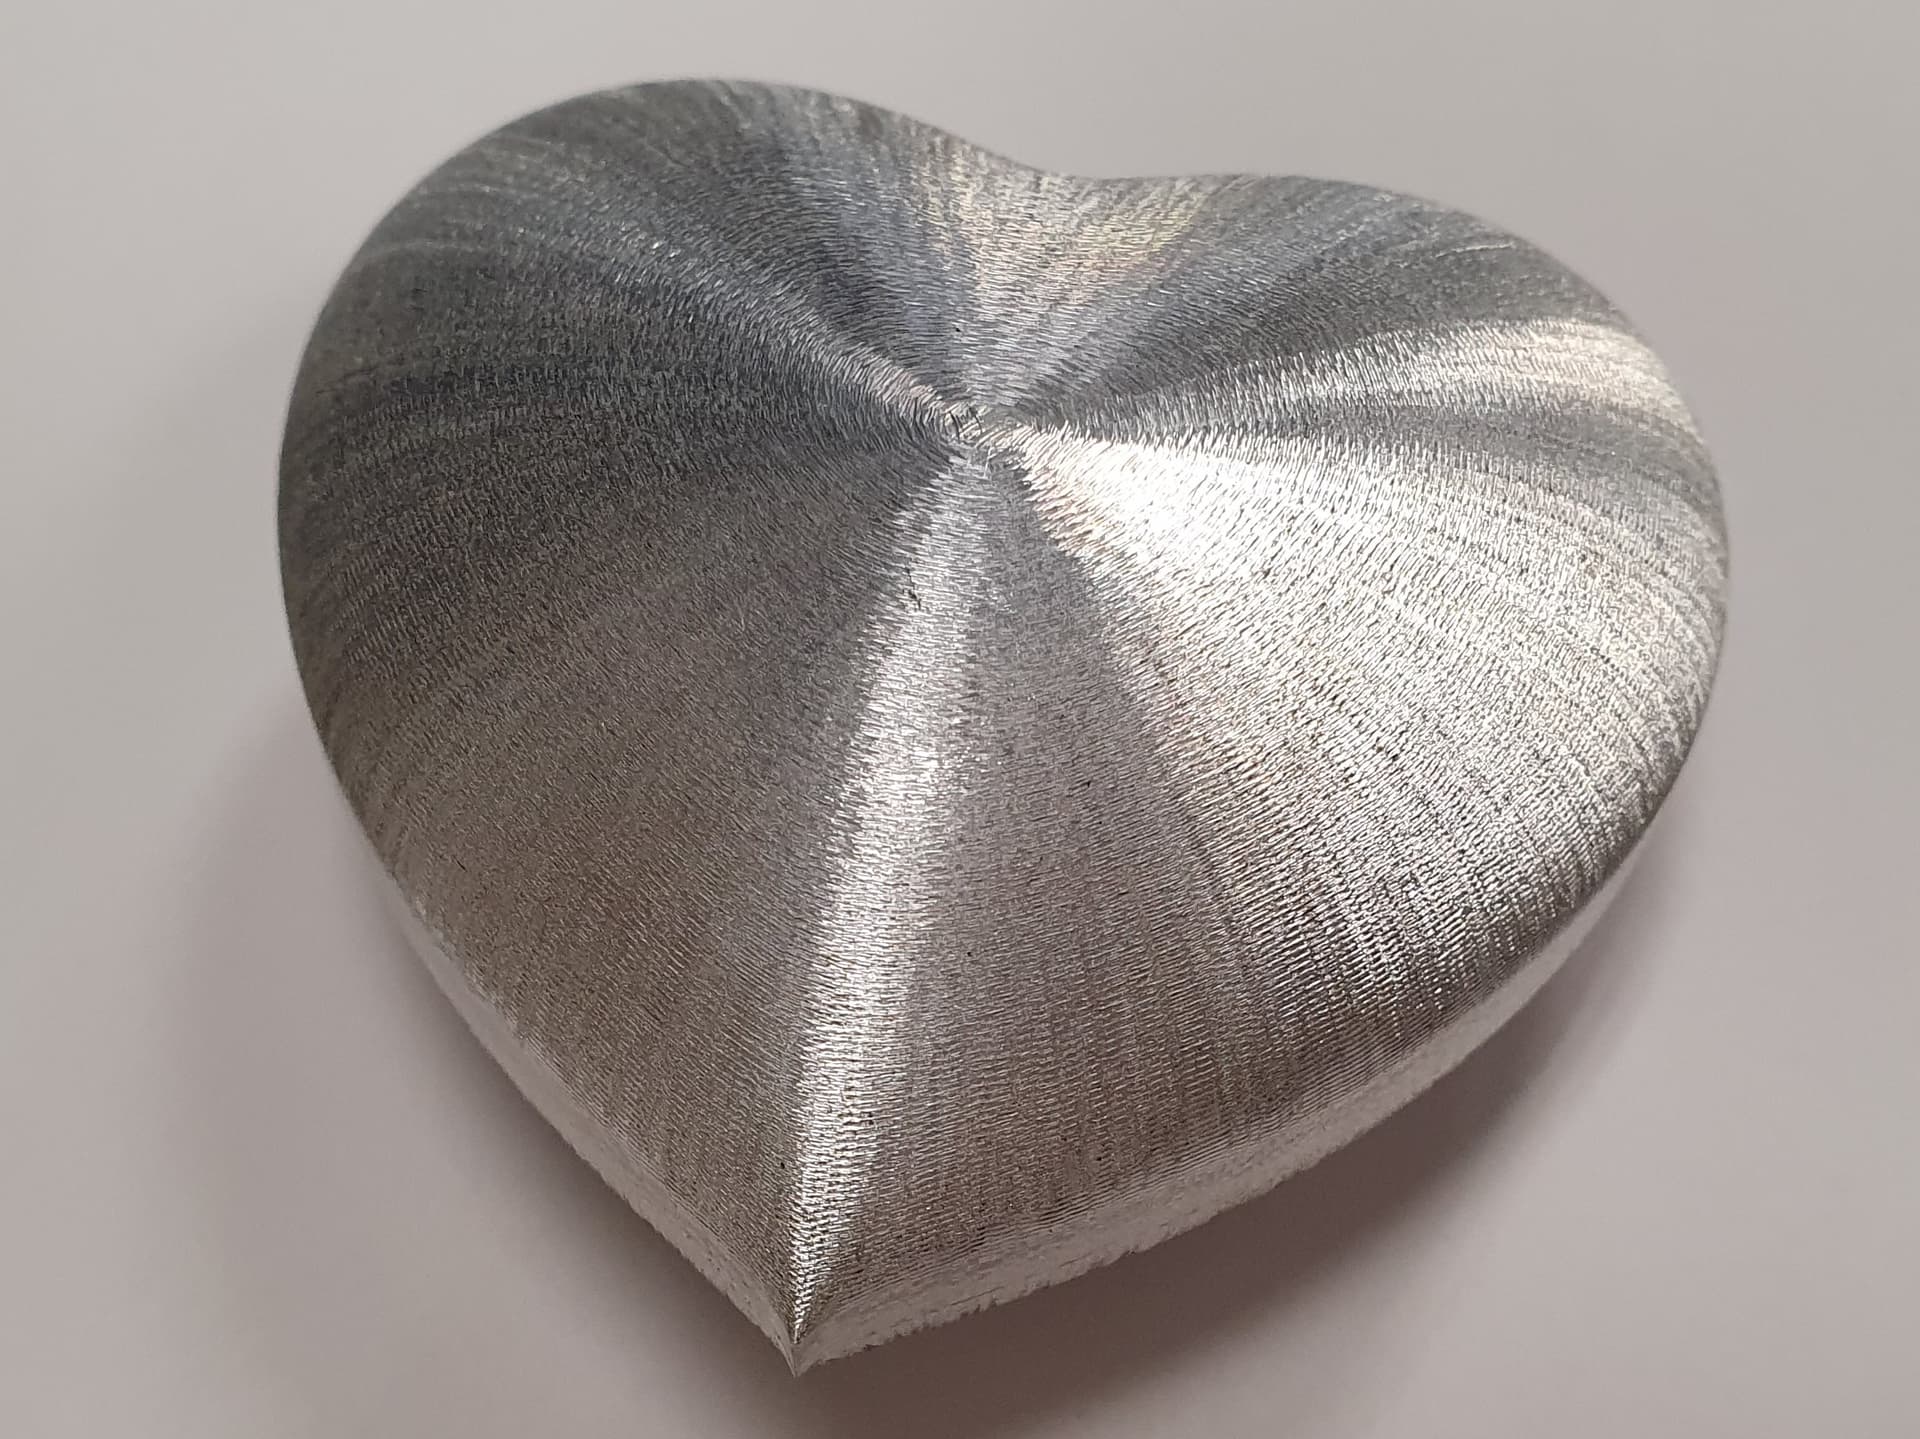
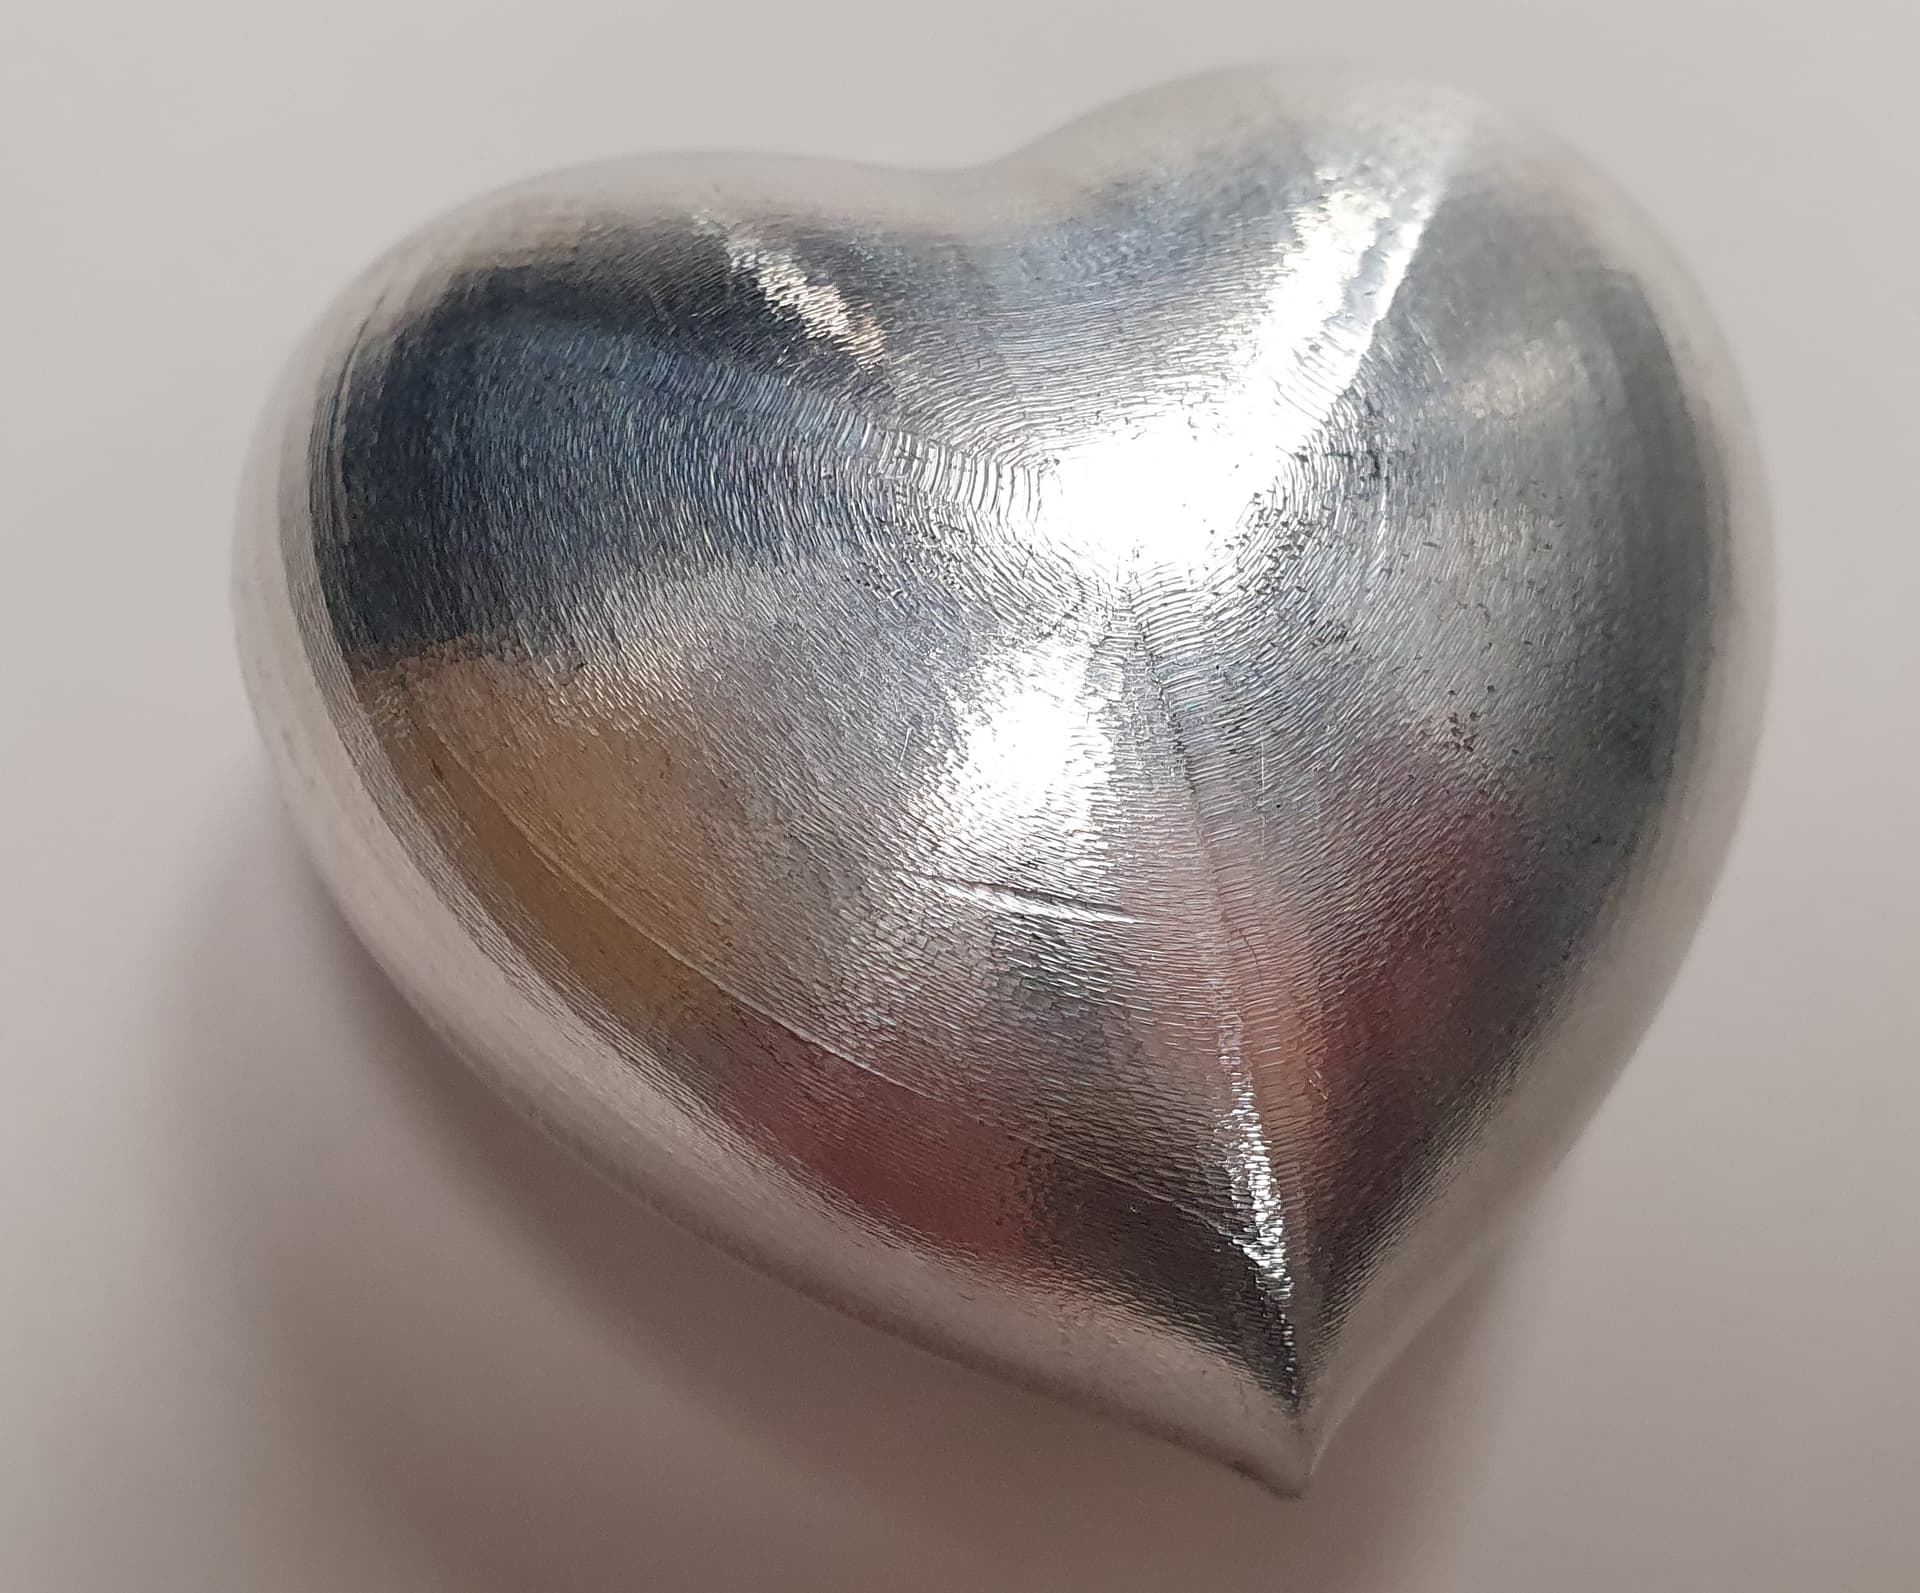
These are not listed in the write up but use a 1/4" Flat endmill instead of the radius end mill to create a neat shimmer effect on the surface. Otherwise, the workflow is identical.
- HeartOp1_Shimmer.nc (1.3 MB)
-
HeartOp2_Shimmer.nc (1.1 MB)
Using what I learned from How to Mill a Sphere with Fusion 360 | Tormach 1100MX I created a tool path that uses the Ramp and Scallop paths to get the true shape of the original body. Notice the seam line where the two tool paths overlap.
- HeartOp1_RampScallop.nc (1.2 MB)
-
HeartOp2_RampScallop.nc (1.2 MB)
--------------------------------- CAD ---------------------------------
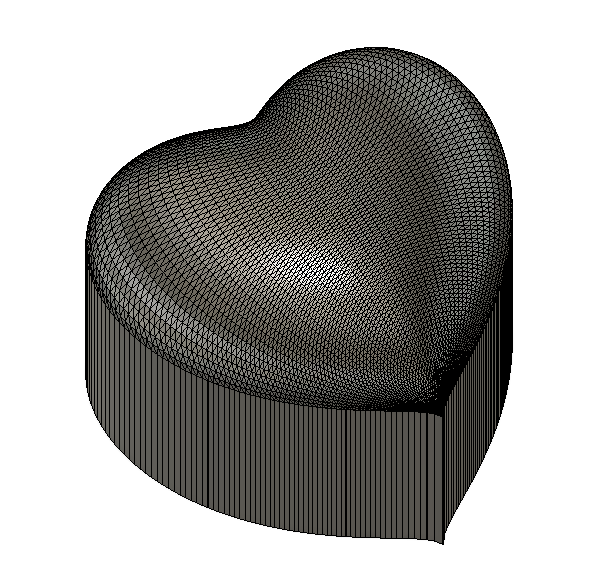
A few things to note on the 3D body that this was derived from:
- The original file for this heart was pulled from Thingiverse and edited to my liking. That was so long ago that I won’t go into the details because I don’t remember them.
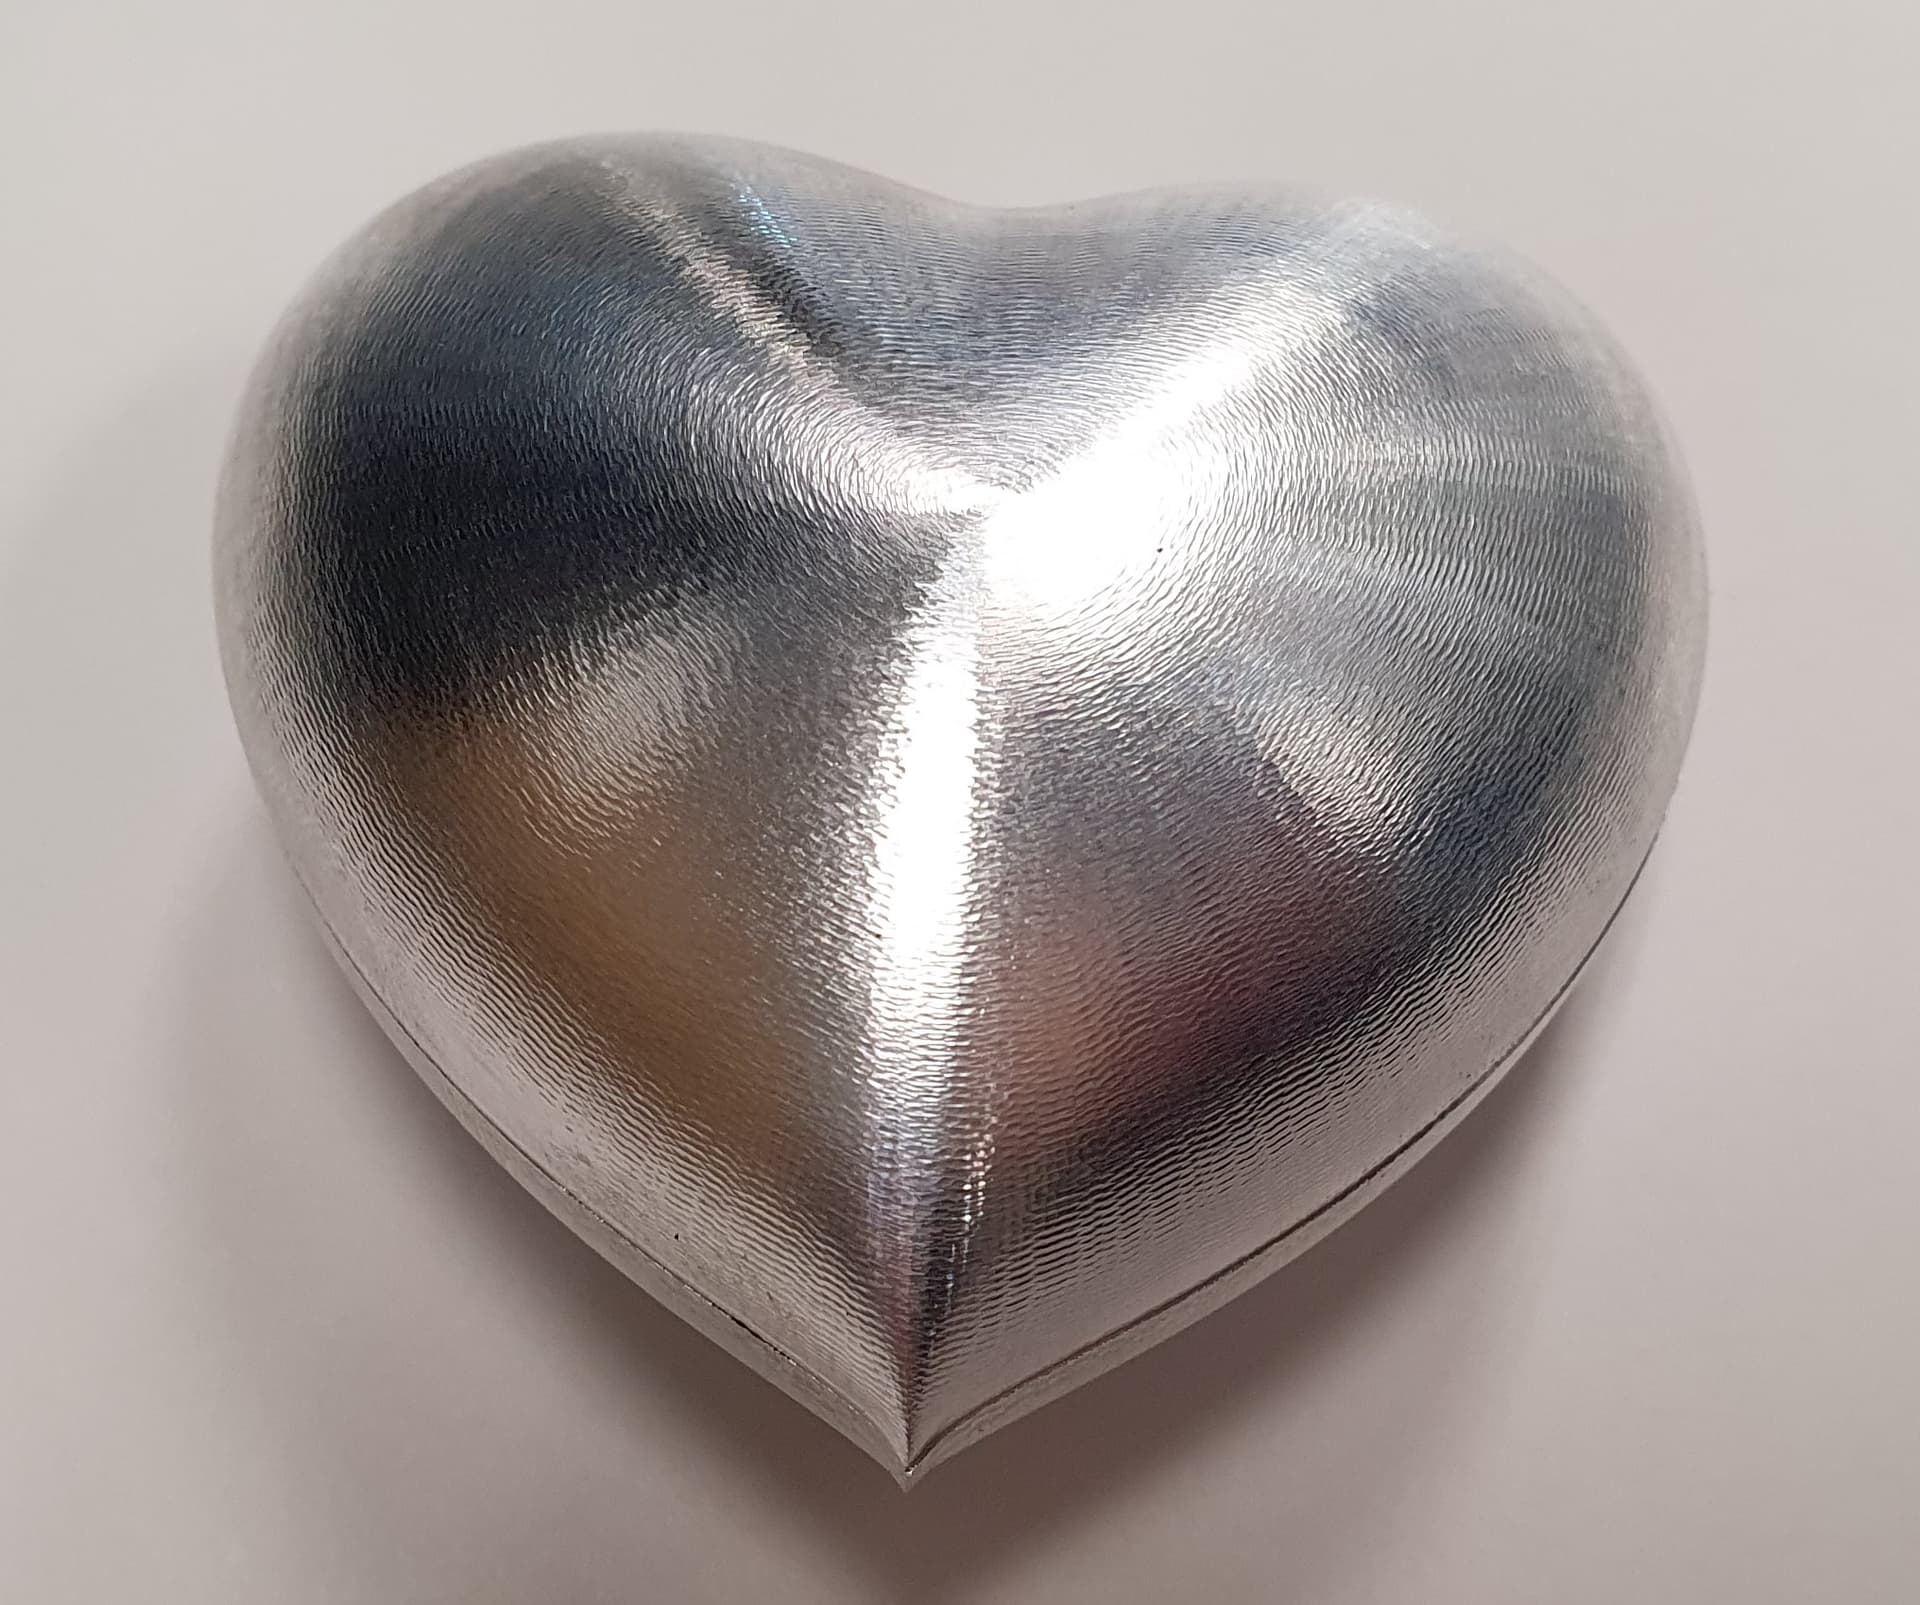
- Due to this being a model originally meant for 3D printing the sides are “faceted” which will be evident on your final project.
- I only have 1/2 of the final heart modeled here as I was able to “trick” CAM into making both sides by choosing the coordinate system of for both operations from the same orientation of the model.
--------------------------------- CAM ---------------------------------
The CAM is broken up into 3 parts (and I used conversational for one more small operation that I will address later).
Soft Jaws
In order to get this heart to be fully contoured I cut soft-jaws to hold the project after the first operation. To get the shape for these I extruded a block then cut one half of the heart shape out of it.
Clearances: There are three areas that I added clearances in my part that provided better clamping and easier machining.
-
At the top of the heart in the crux of the lobes I cleared the tightest part of the inside radius. If the tool is really sharp when I cut the jaws but kind of dull when I cut the part, then you will run into fitment issues.
-
On the bottom of the heart I created clearance for much the same reason as well as to eliminate the headache of trying to get the inside corner to cut cleanly into the jaws, this would need a tiny ball endmill and would be of almost no gain so I cut out enough that I can do all this work with 1/4 and 3/8 tools.
-
Notice that I also did not go all the way down on the contour because I will space these jaws apart later and most of this part of the contour will be tossed anyway.
Shout out to NYCCNC and YouTube University for teaching me all this. Here are two videos to get you started on soft-jaws. One and Two.
I planned this project to have a 0.062" flat around the perimeter so that the jaws have something to bite onto; this means that contouring the bottom of this pocket will not benefit anything.

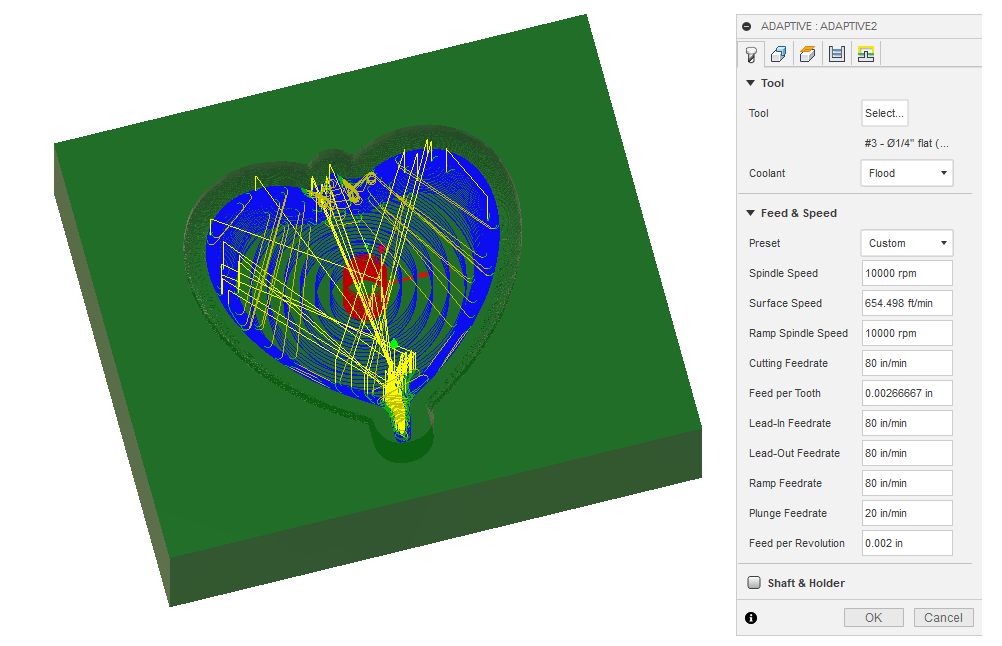
Once I had the shape made, I ran a few tool paths against it. Since I will be cutting this out of jaws on the vice, I just made the stock bigger than the work piece and centered the WCO (G56) on the top center of the opening.

Using an 3D adaptive strategy, I cleared out the heart hole with T3 (1/4")
The next step is to clean up the flat around the top that will do a bulk of the work holding. To achieve this I used a 2D contour and selected the top inside contour of the soft-jaw model.

The next step is to clean out the bottom to make room for the bulge of the heart using a 2D Adaptive strategy.

Finally, I used the Ramp tool path and T8 (3/8" 0.03" radius) to contour the inside face of the jaws.

Heart Operation 1
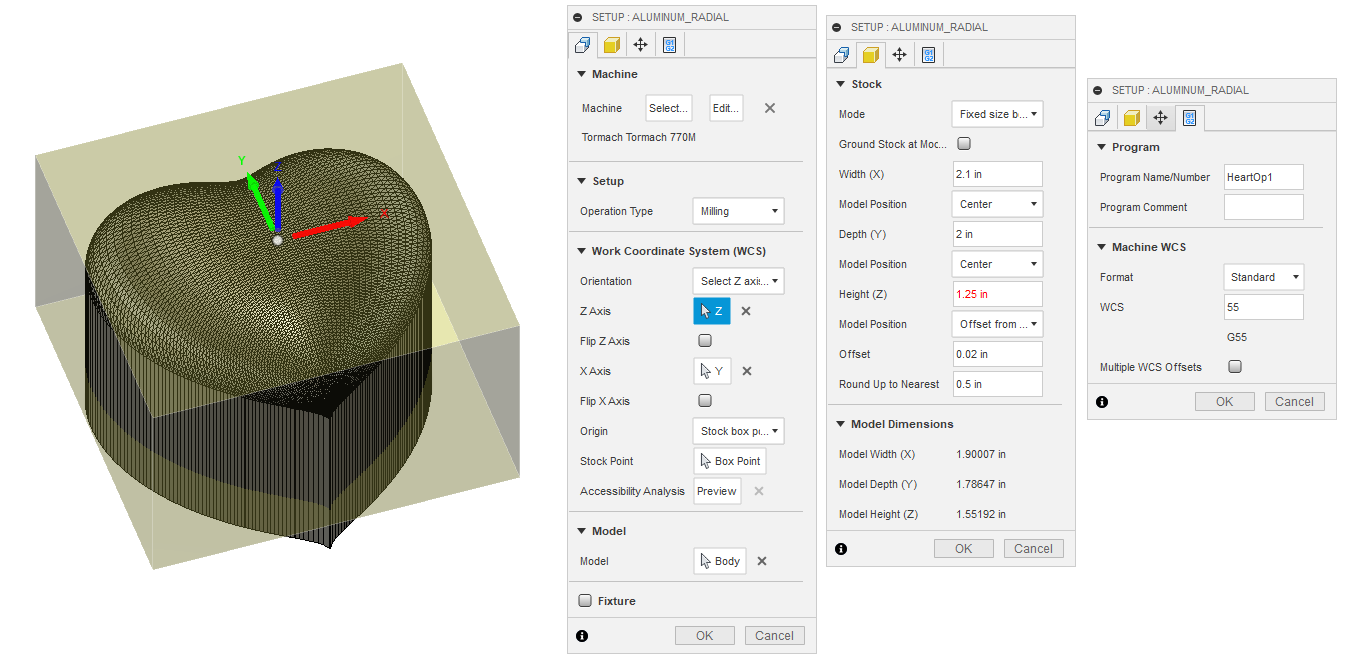
There are a few different ways to cut this heart out, but I will go into detail on the Radial tool path because that is my favorite way of doing this part. Here are a few pointers on how I setup this operation:
- Op 1 is set to use G55
- Notice that the X stock is 2.1", I did this because the stock I am using is 2"x1.25" bar stock and I wanted to have a little fudge room for saw cut ends that were not clean and tidy.
- I set the WCO to the center top of the face by manually selecting the axes then using a stock box point as the center.
- Notice that Fusion doesn’t like the fact that the model is taller than the stock. This won’t impede sucess here.
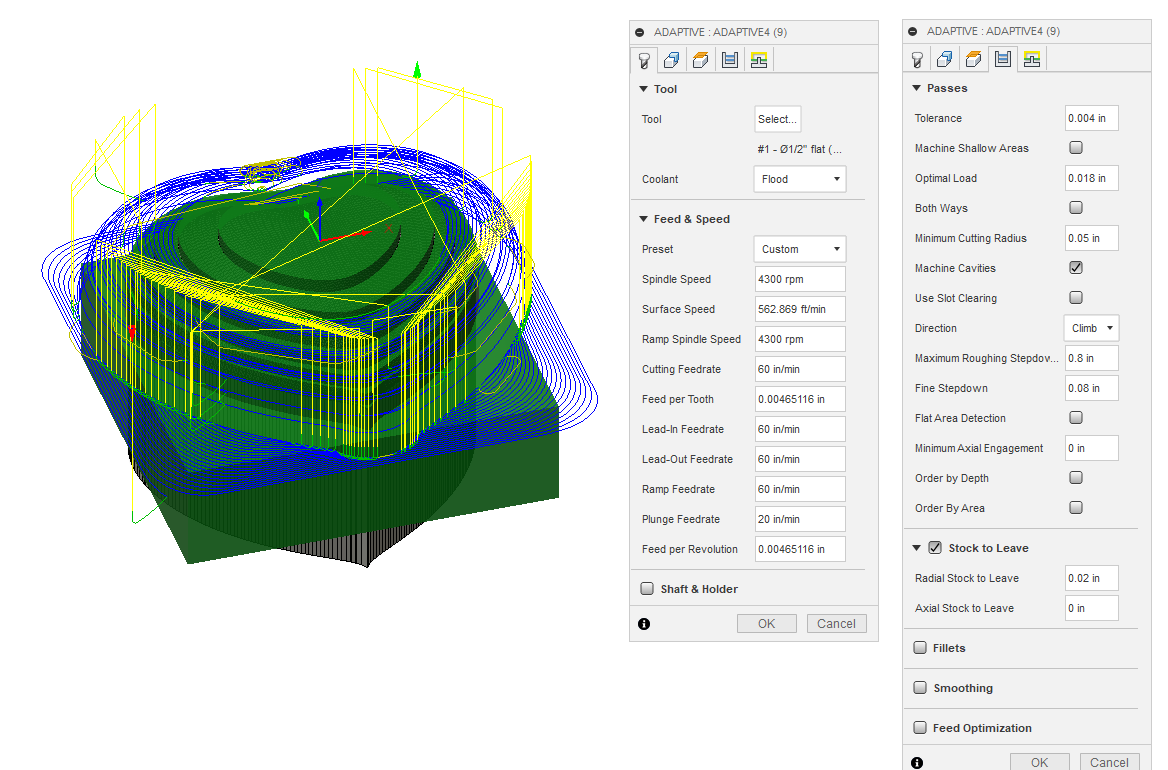
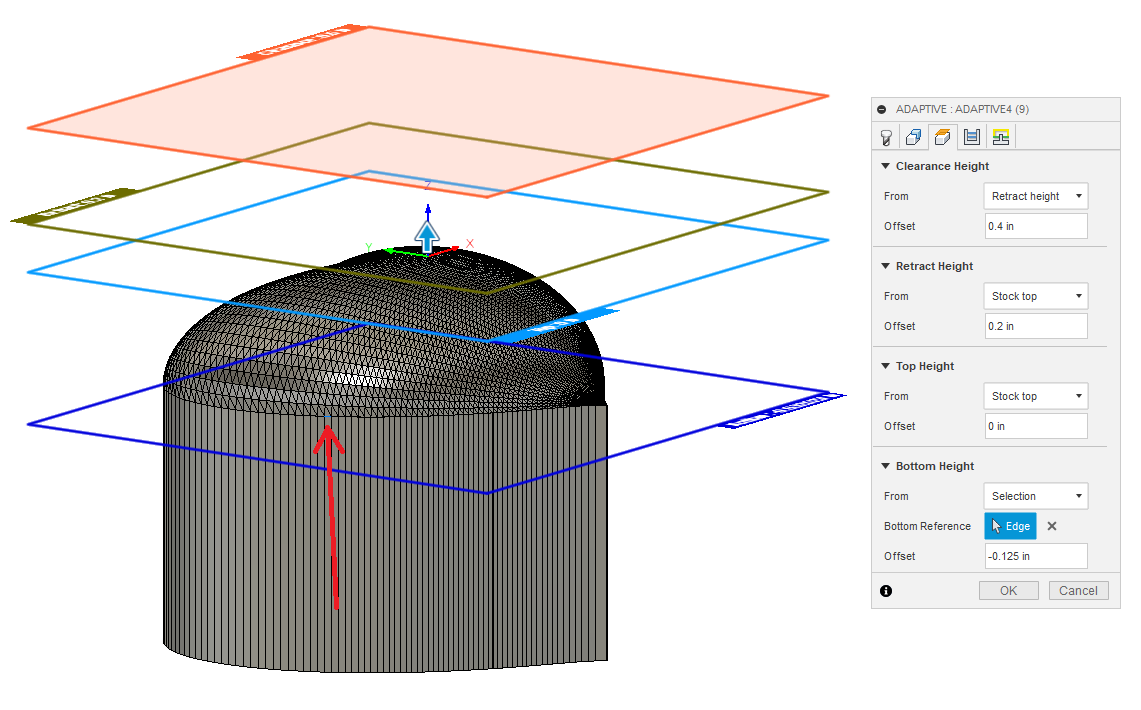
The first step is clearing of material, and I achieved this by using a 3D Adaptive strategy. I largely left this at default values and chose Tool 1 as the cutter. Notice the Optimal Load is set to 0.018". The 770s can easily handle more than this but with a tiny grip in the step jaws I kept this lite so I didn’t throw the material from the vice. If I was going into production on this, I would start here for optimizing the tool path.
Setting the height for this tool path requires a little attention. I selected one segment at the bottom of the contour (look for the blue selection) and then set the tool path to stop 0.125 below that line. This way I would get the flat needed for the top of the soft-jaws and have a little cleared for the radius tool to perform that cut.
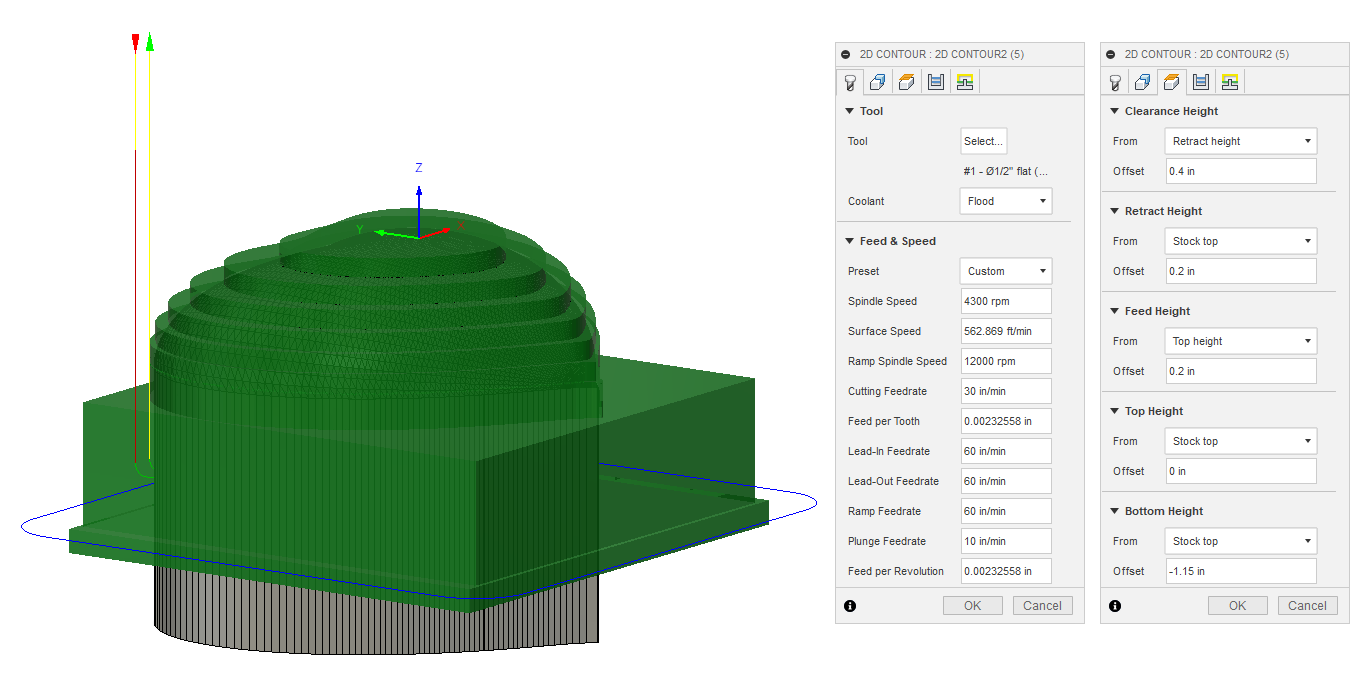
In order to be able to accurately probe the stock for Op 2 we need to be able to probe a feature that was milled in Op 1. This is beacuse I don’t like to rely on stock dimensions being stable as the can vary a little. In order for this heart to not have a massive seem line where the two operations meet, we need a clean edge to probe. To account for this I cleaned up the sides of the stock with the Tool 1 using a 2D Contour path. For the bottom height on this one I selected the stock top then subtracted 1.15" from that to have 0.1" of material left in the step jaws.
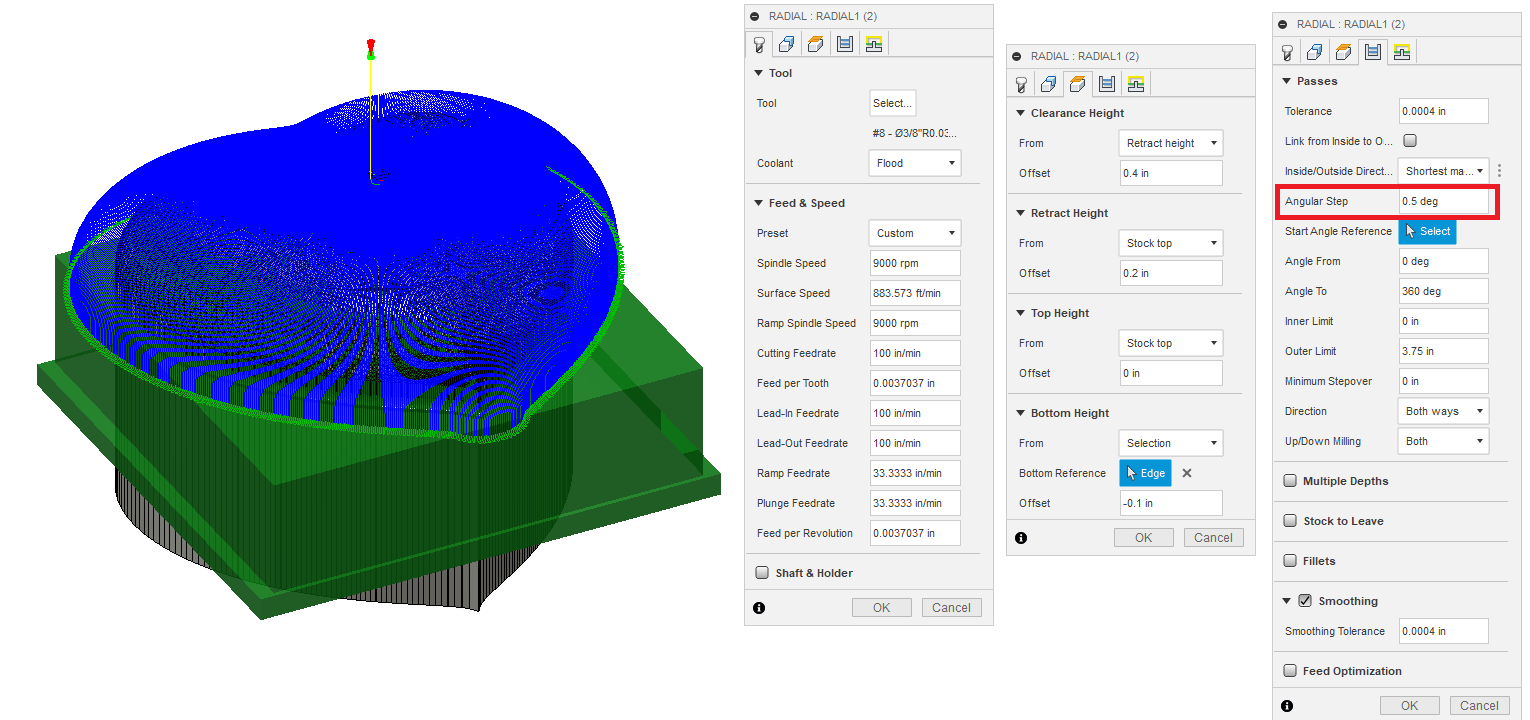
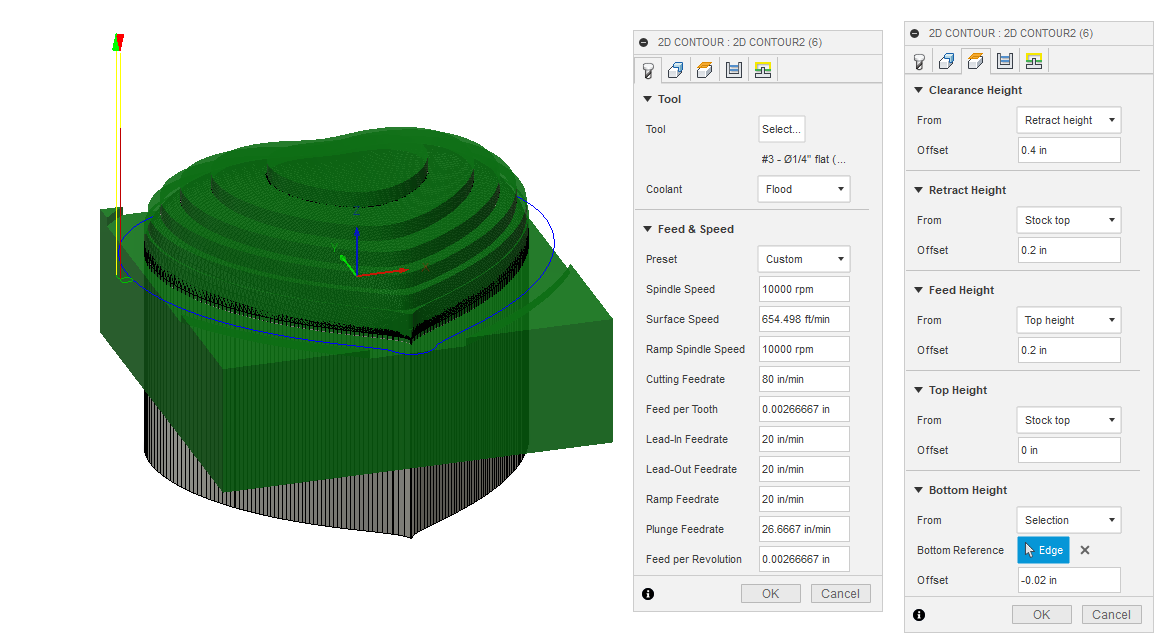
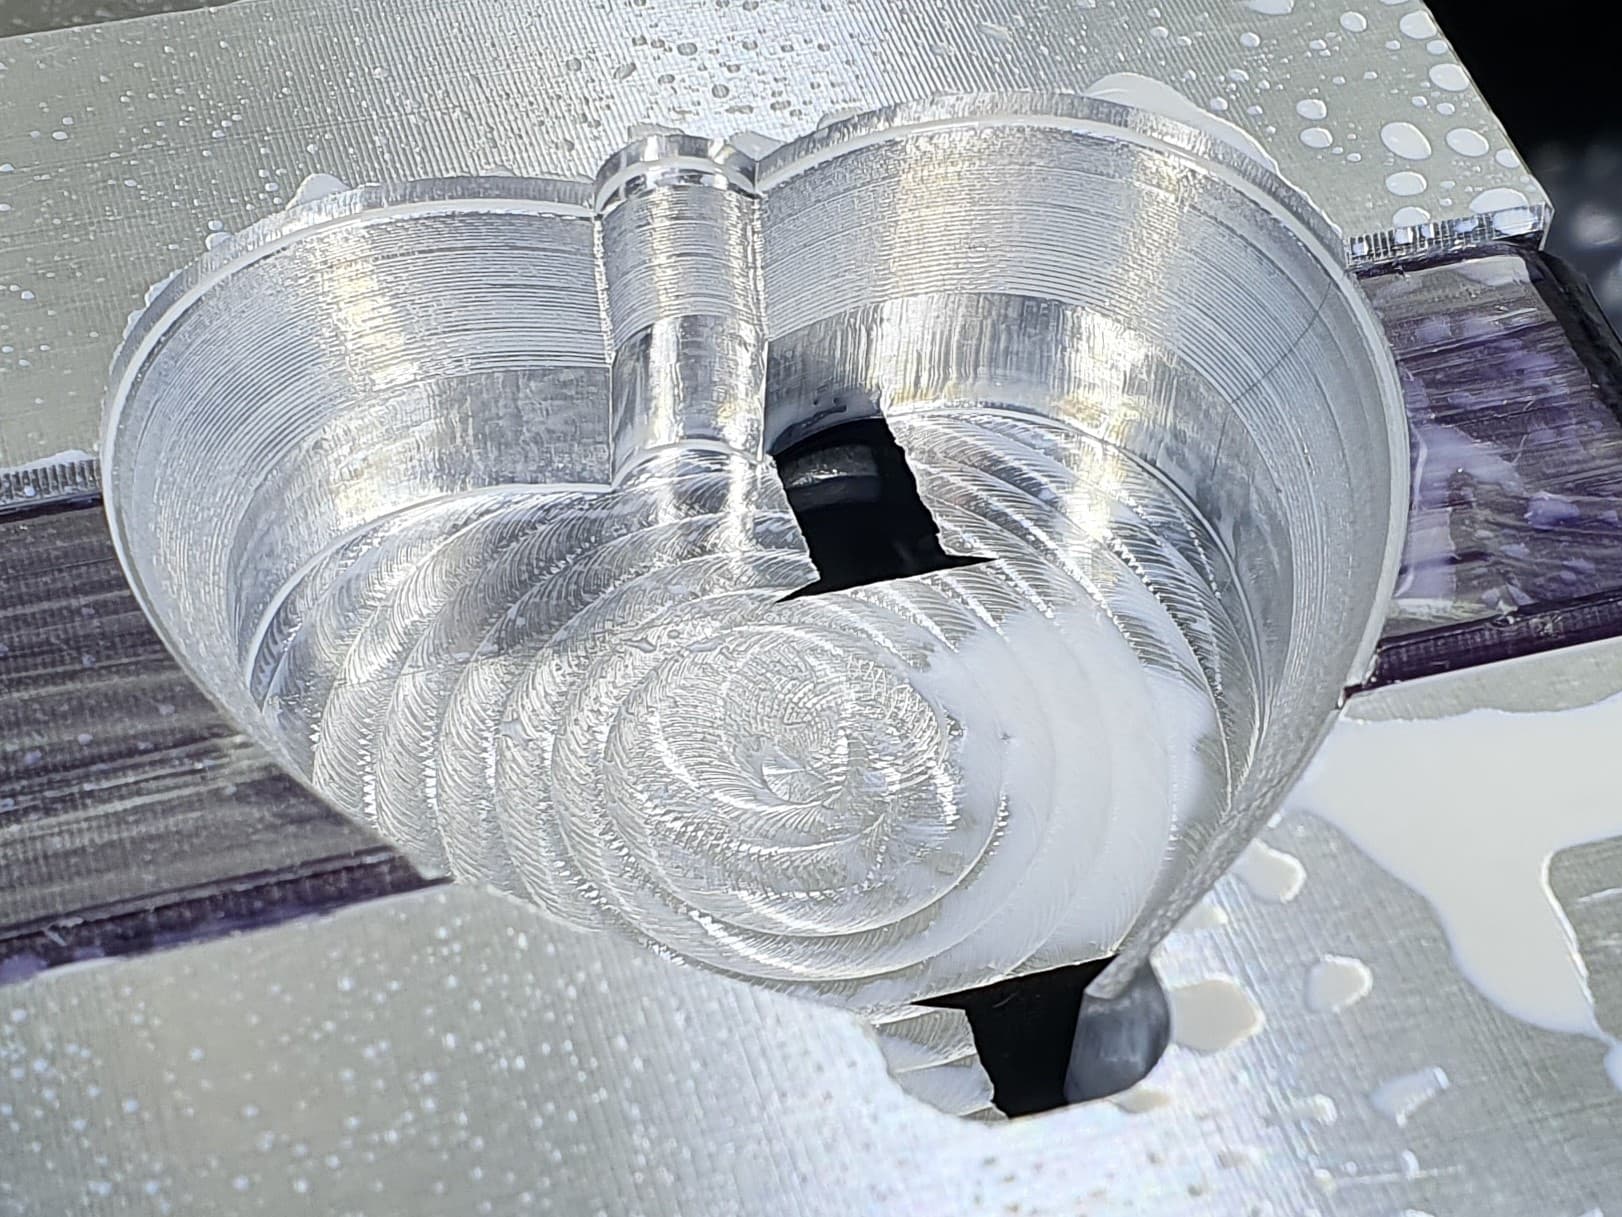
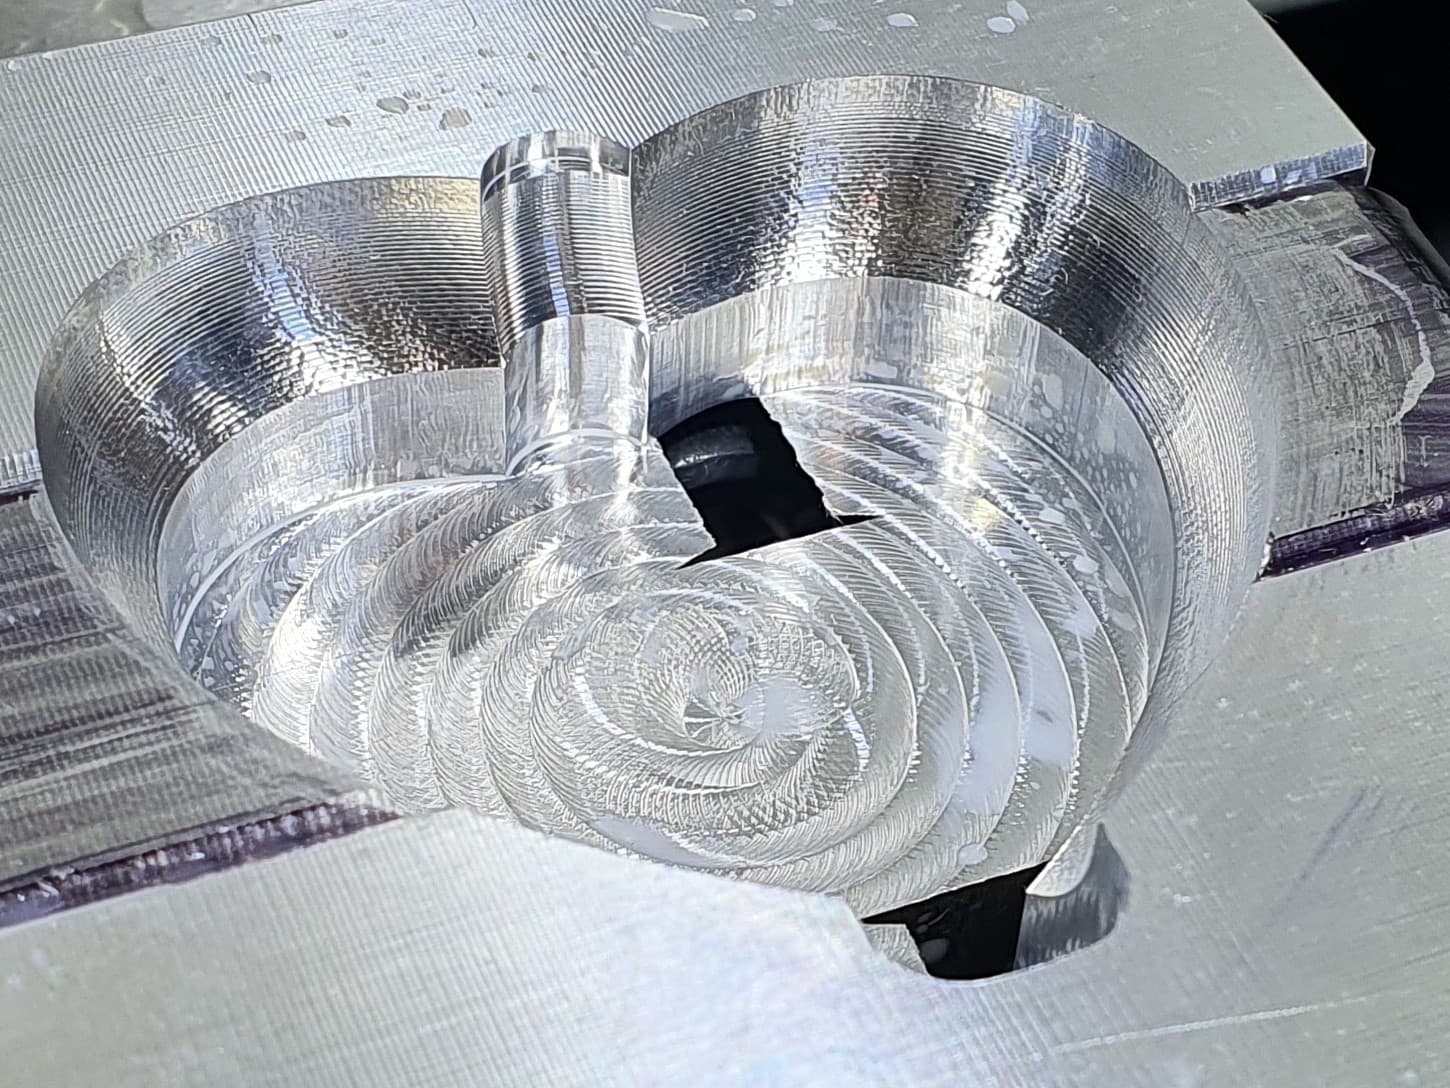
In order to perform the actual contour, I am using a radius end mill (Tool 8) and a Radial tool path.
Again, I selected the bottom edge of the contour and subtracted 0.1" from that as the bottom of the tool path. I set the Angular Step to 0.5 degrees; setting this to a lower value will create more cut lines and a higher number will space out the cuts more.
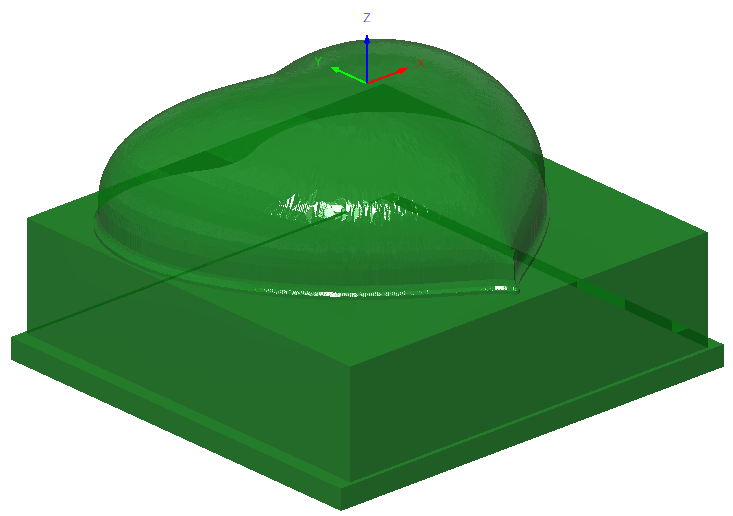
Here is the simulated result of Operation 1
Heart Operation 2
Since Op 2 will continue on the other side of the stock from Op 1 I needed to set up a WCO (G56) that was relative to the cut part and not the stock. In order to achieve this, I set a sketch with construction lines 0.062" below the bottom of the contour. I then the XYZ 0 to that point in the center.

This operation is much the same as Operation 1 except after the roughing operation instead of cutting a contour around the stock I use T3 to cut a contour around the heart to clean up the seam line. I set the height for this cut at 0.02" below the bottom of the heart contour which should keep it right off the top of the jaws. Then I use a radius tool to clean up the contour.
There is one more tool path that I did in Conversational that I will address in the Machining section.
put in the right place
--------------------------------- Machining ---------------------------------
Machine the Soft-jaws
- Due to the fact that the soft jaws are 2" thick and the final project will be just less than that I put a piece of 0.75" sacrificial material in between the jaws before clamping them closed I colored it black with marker to emphasize the sacrificial material
- You will also set your WCO to the following coordinates: Set Z0 to the top of the fixed jaw, set X0 to be 1.25" from the right edge of the fixed jaw; set Y0 to the center of the jaws with the sacrificial piece included. *I made a mark in the following picture so you can see where the WCO center is.
- Now run the g-code that we made in the CAM section:
HeartSoftJaws.nc (1.0 MB) - 3D Adaptive clearing
- 2D Contour lip
- 2D Adaptive clearing
- Ramp to clean up the surface of the contour
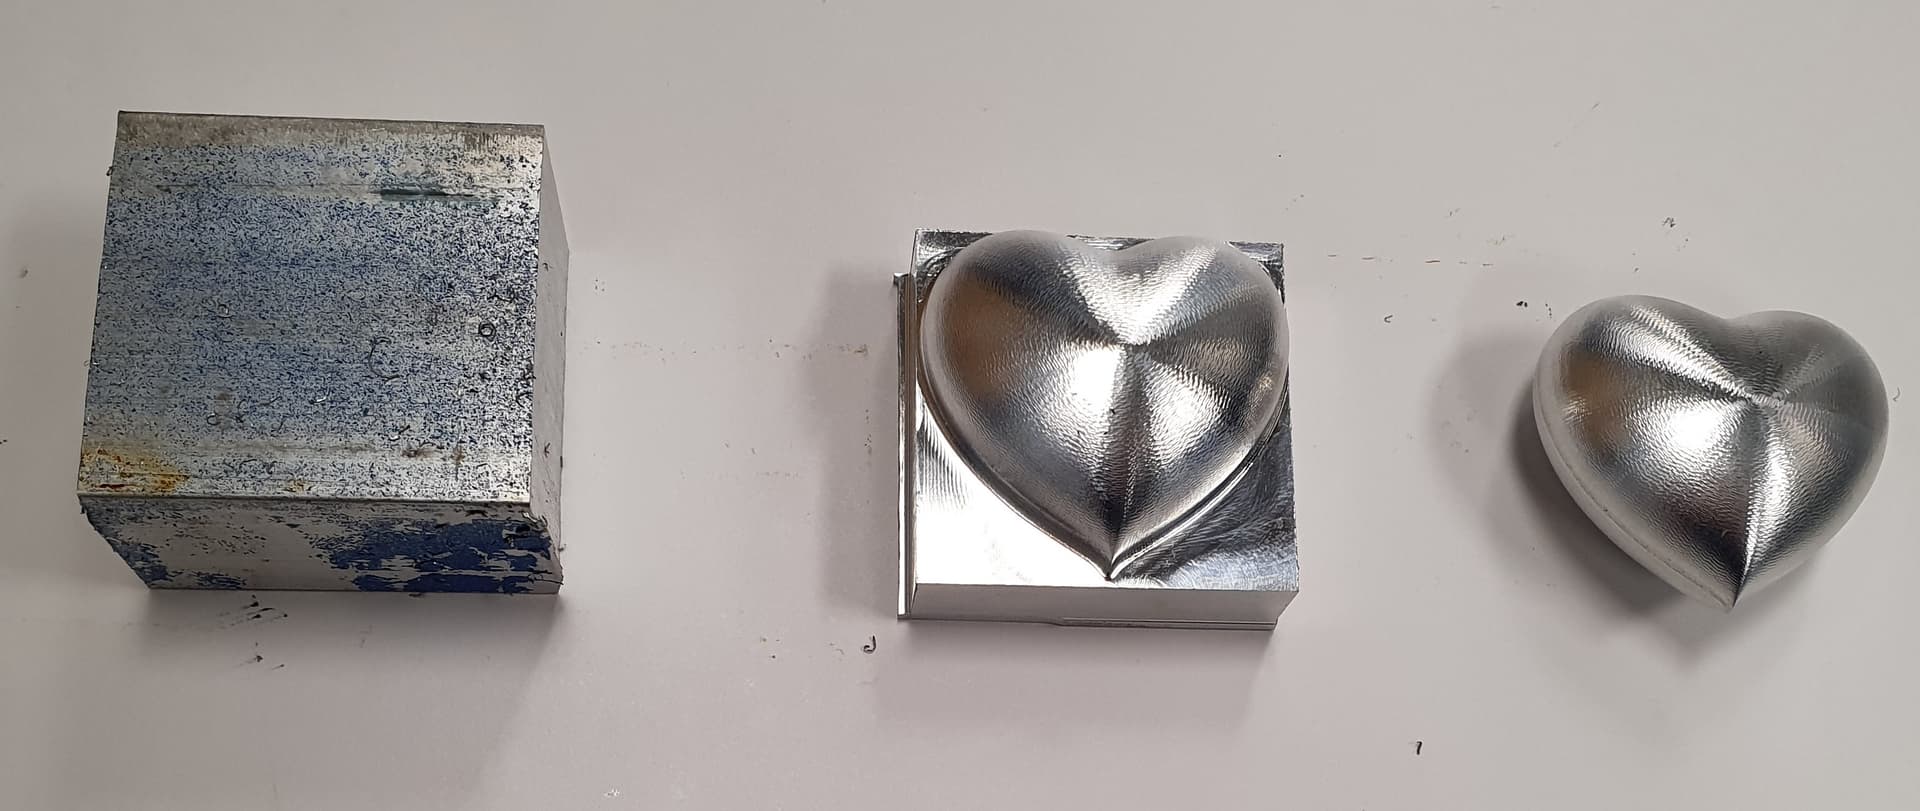
- Here is the final heart soft-jaw with the sacrificial piece taken out.

Machine the step-jaws
Now that you have the heart shape cut into the right side of the soft-jaws to hold the project for Op2, let’s put a step in the left side to hold the raw stock for Op1.
In order to achieve this, I set Z0 on the top of the fixed jaw again and set Y0 at the inside face of the fixed jaw. Set X0 to the left end of the fixed jaw.
Run HeartStepJaw.nc (472 Bytes) to cut the step with a corner that you will be able to index your stock off of. This is a simple program I wrote to cut this step.
Congratulations you made soft-jaws!!!
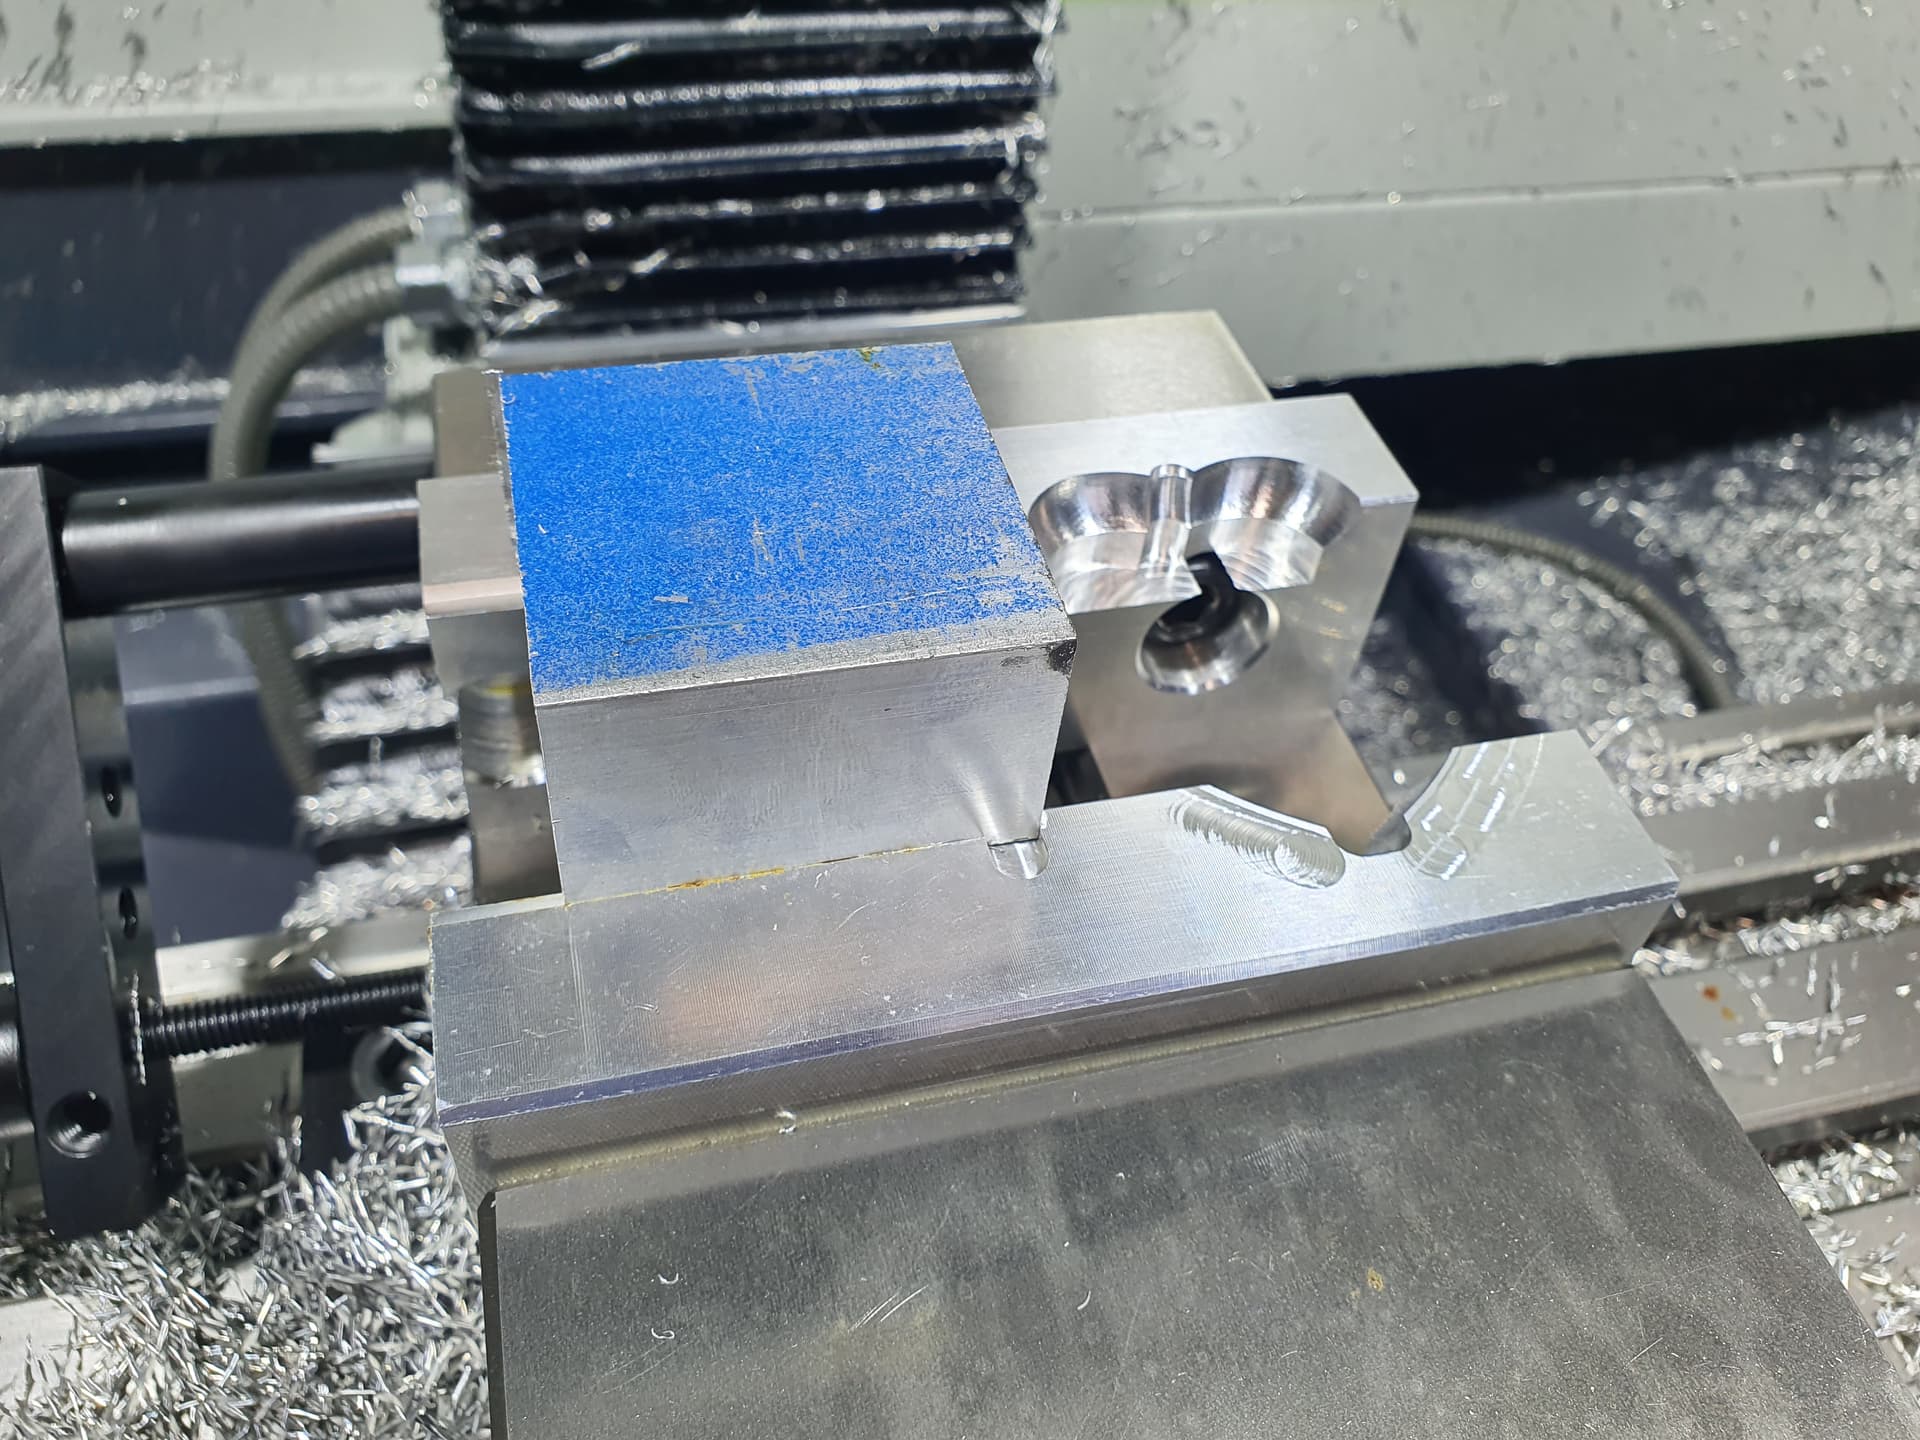
Machine Op1
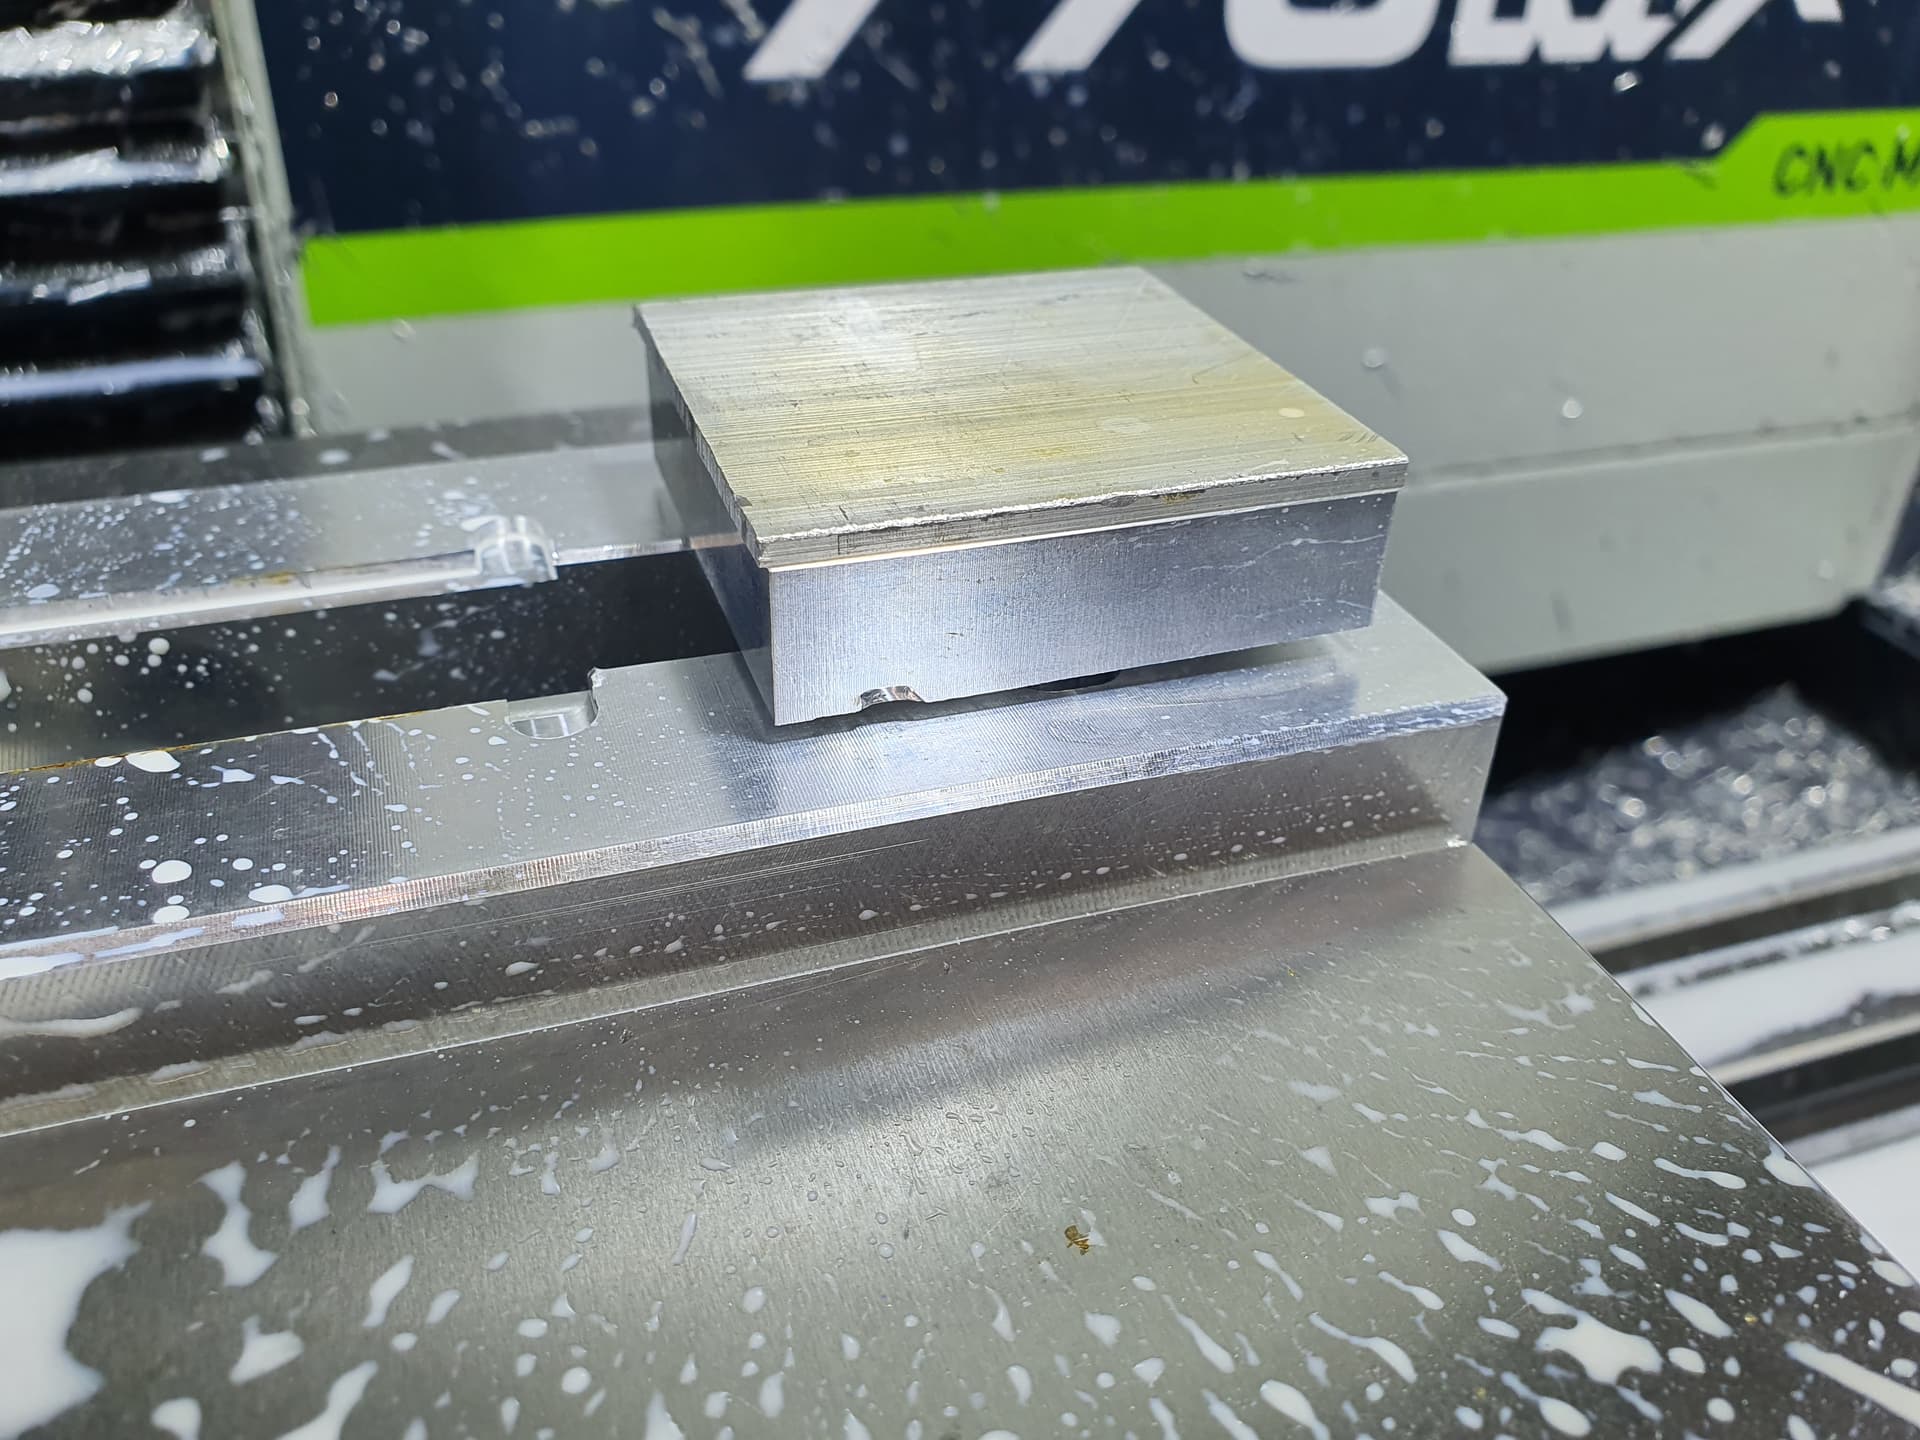
With your stock clamped securely in the step jaws and pressed into the corner of the step set your WCO (G55) to the top center of the stock.
Once the material is secure and the WCO is set then it is time to run
HeartOp1_Radial.nc (1.4 MB)
-
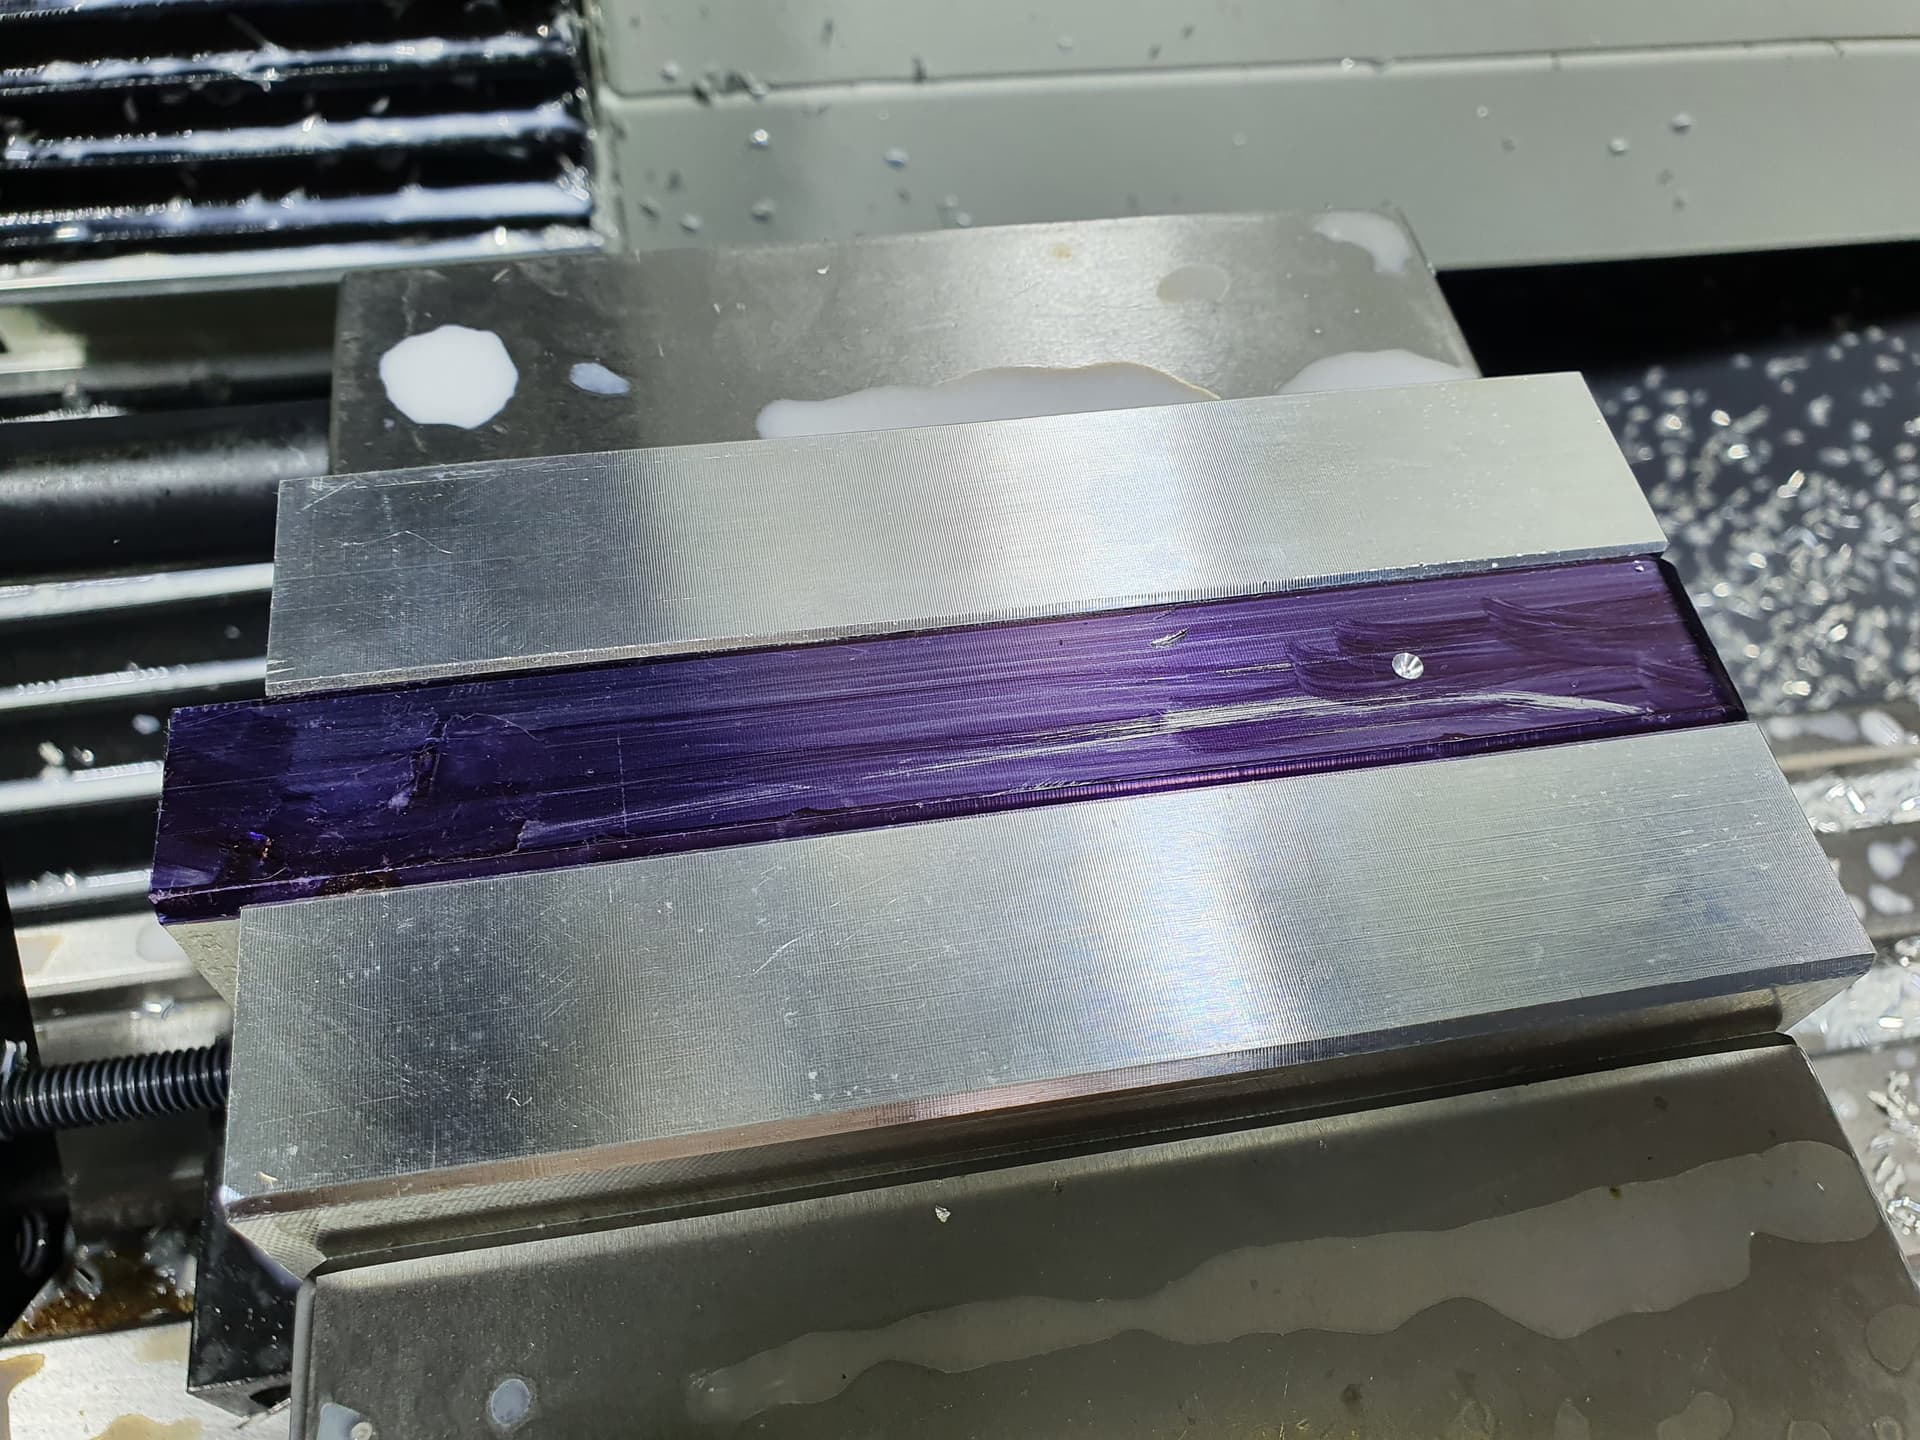
Stock in vise
-
Adaptive roughing
-
Radial contour
-
2D contour

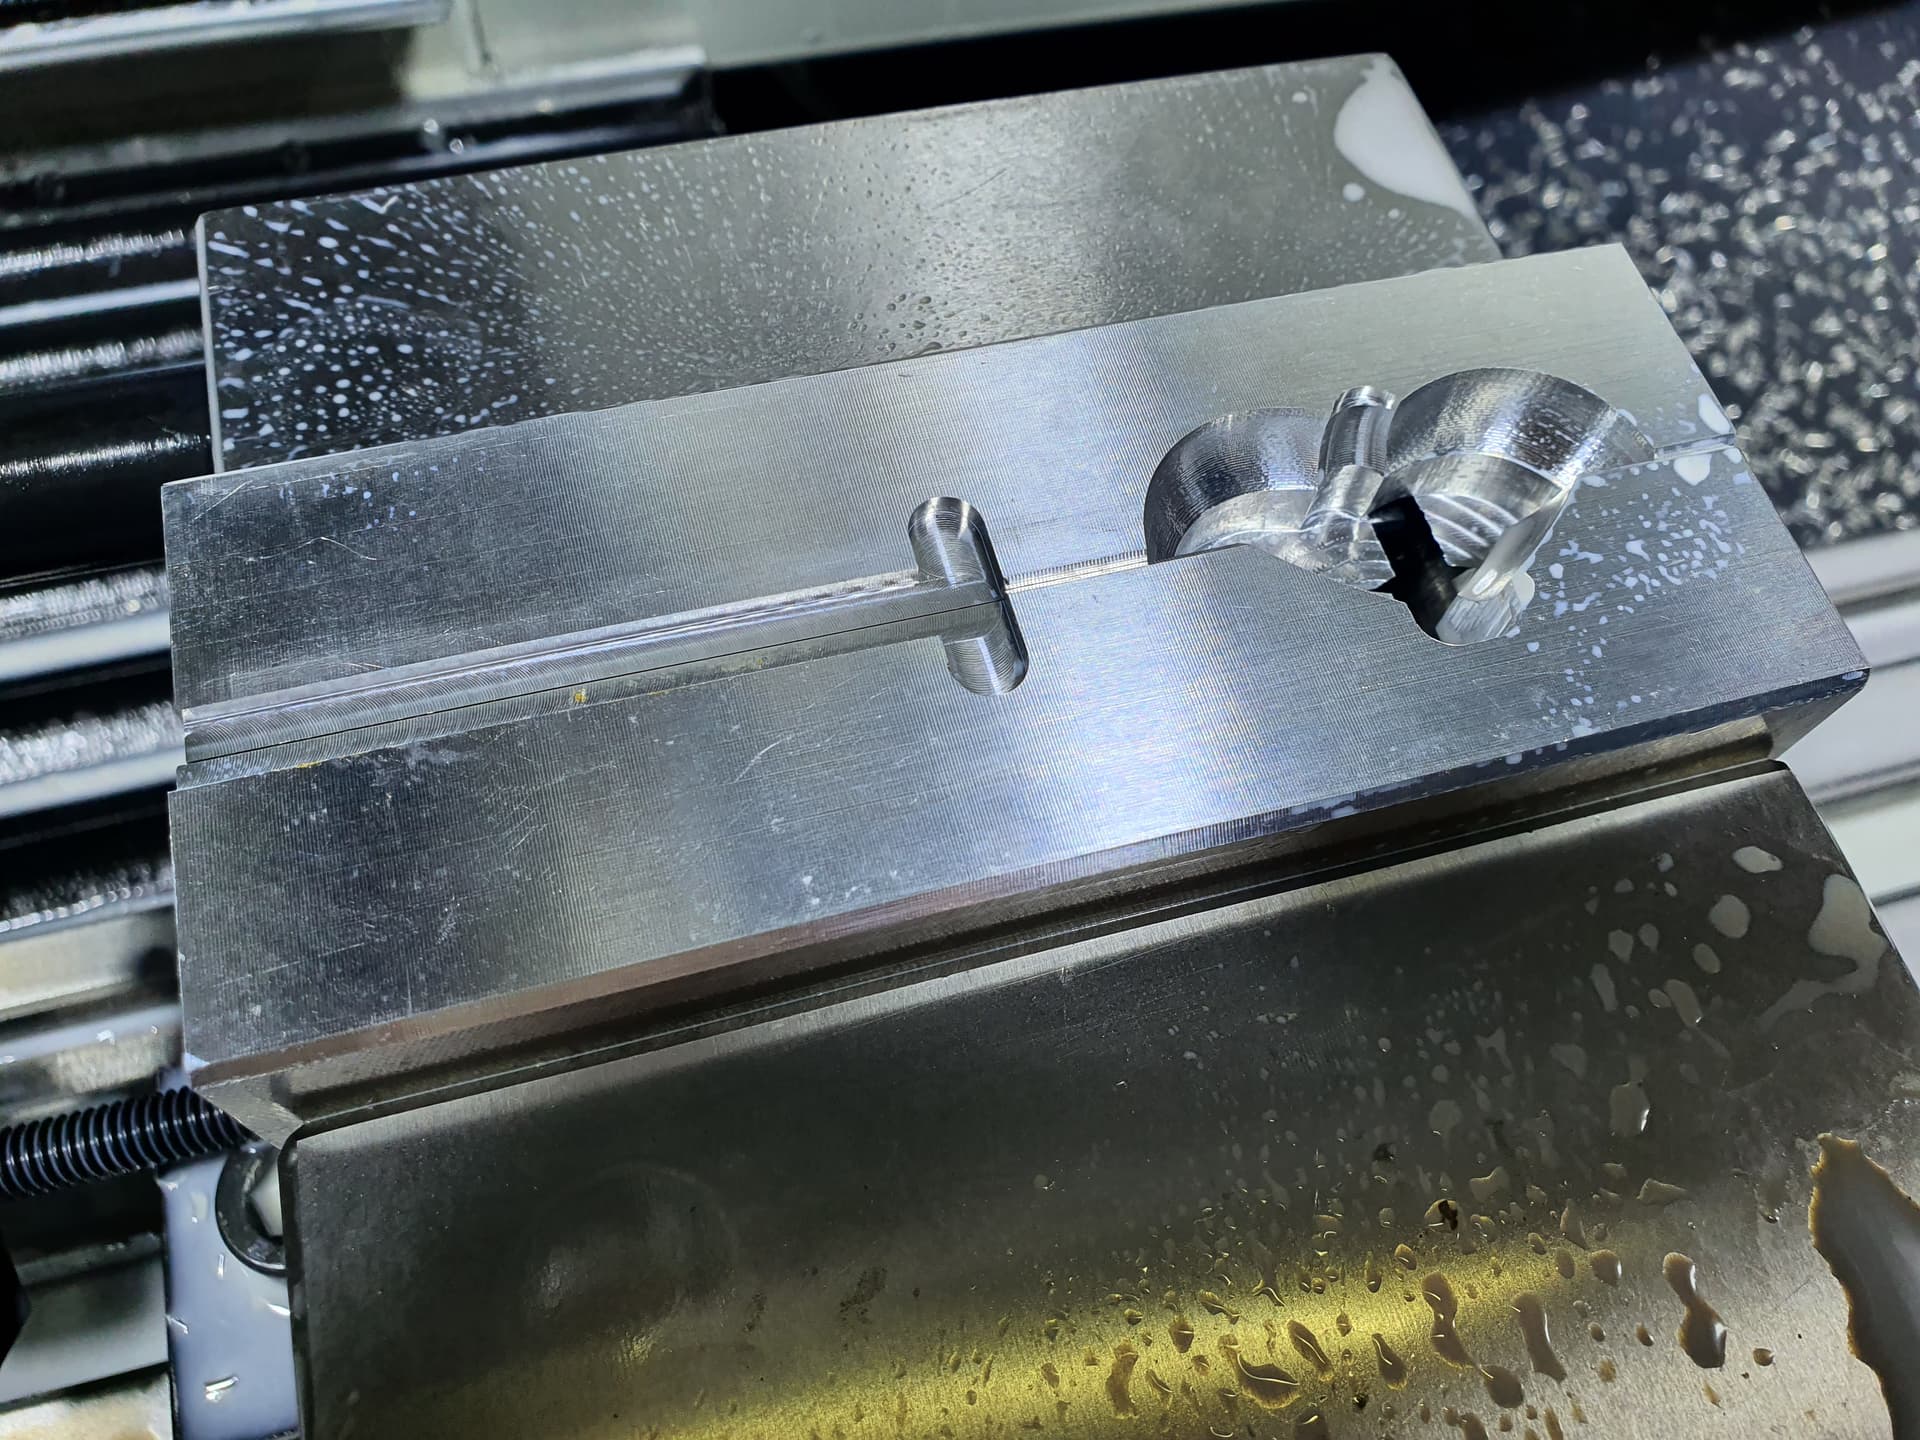
Machine Op2
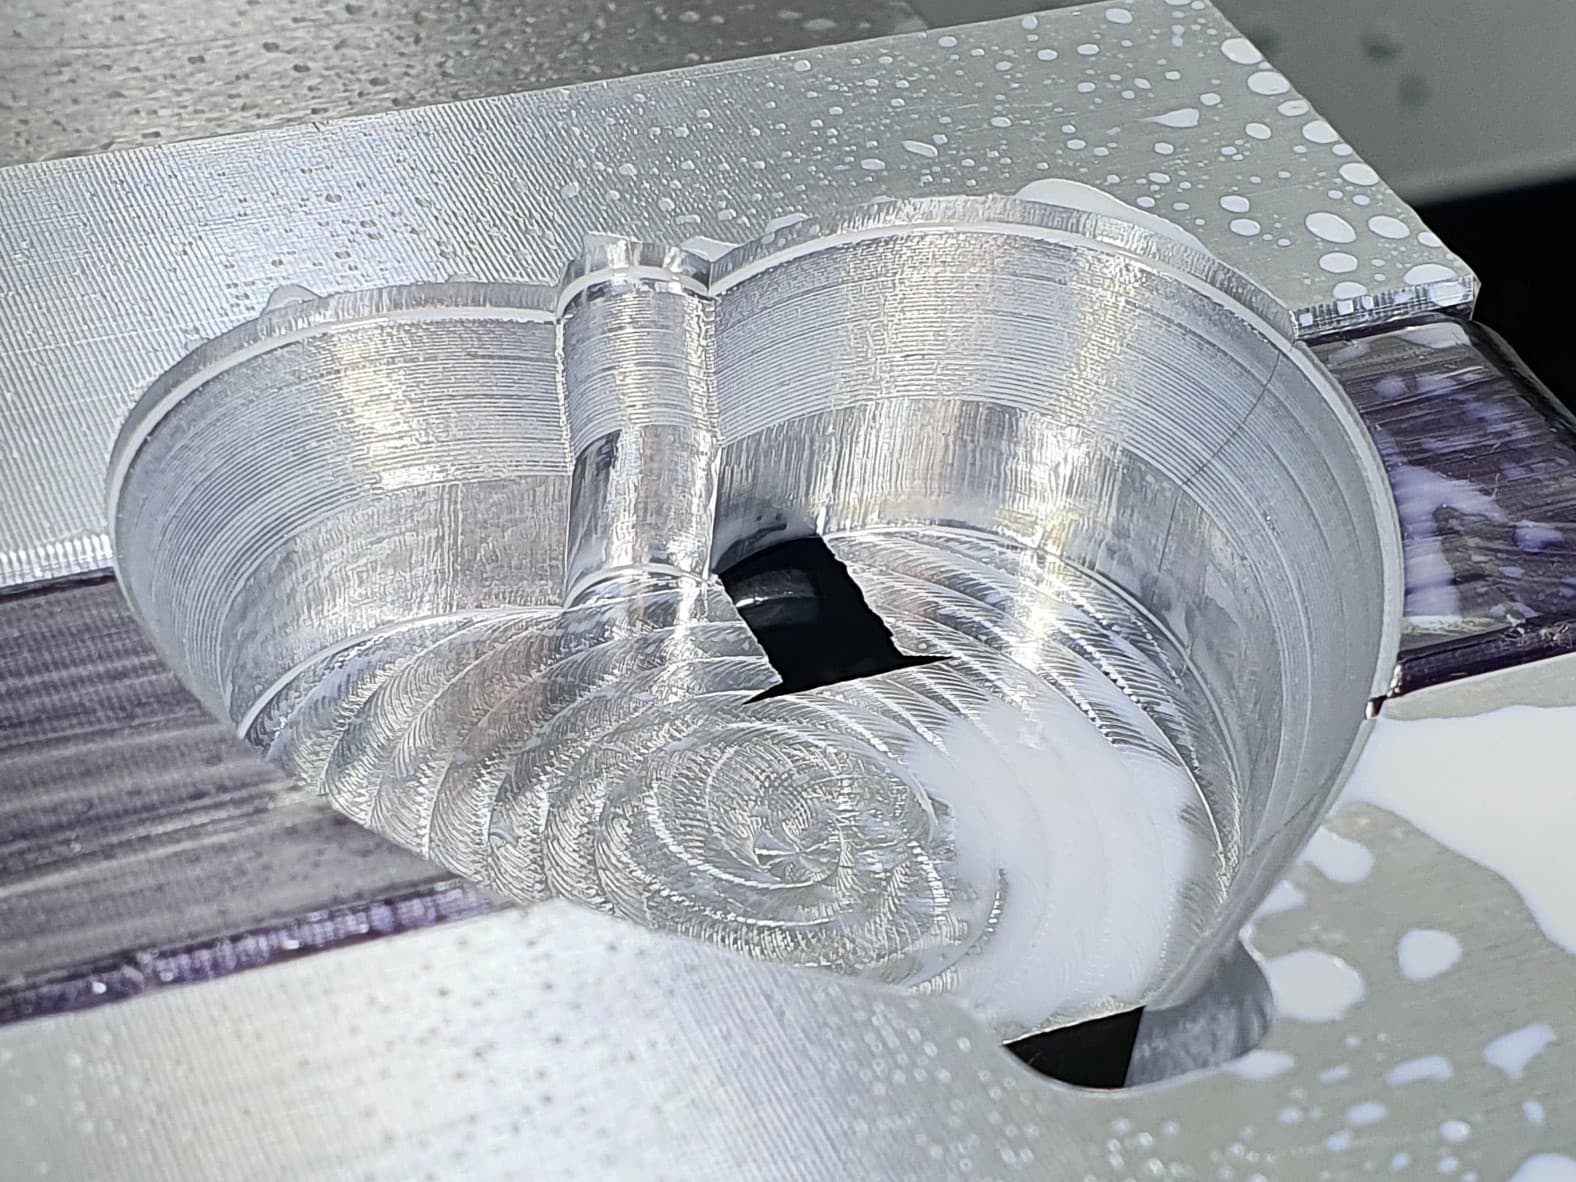
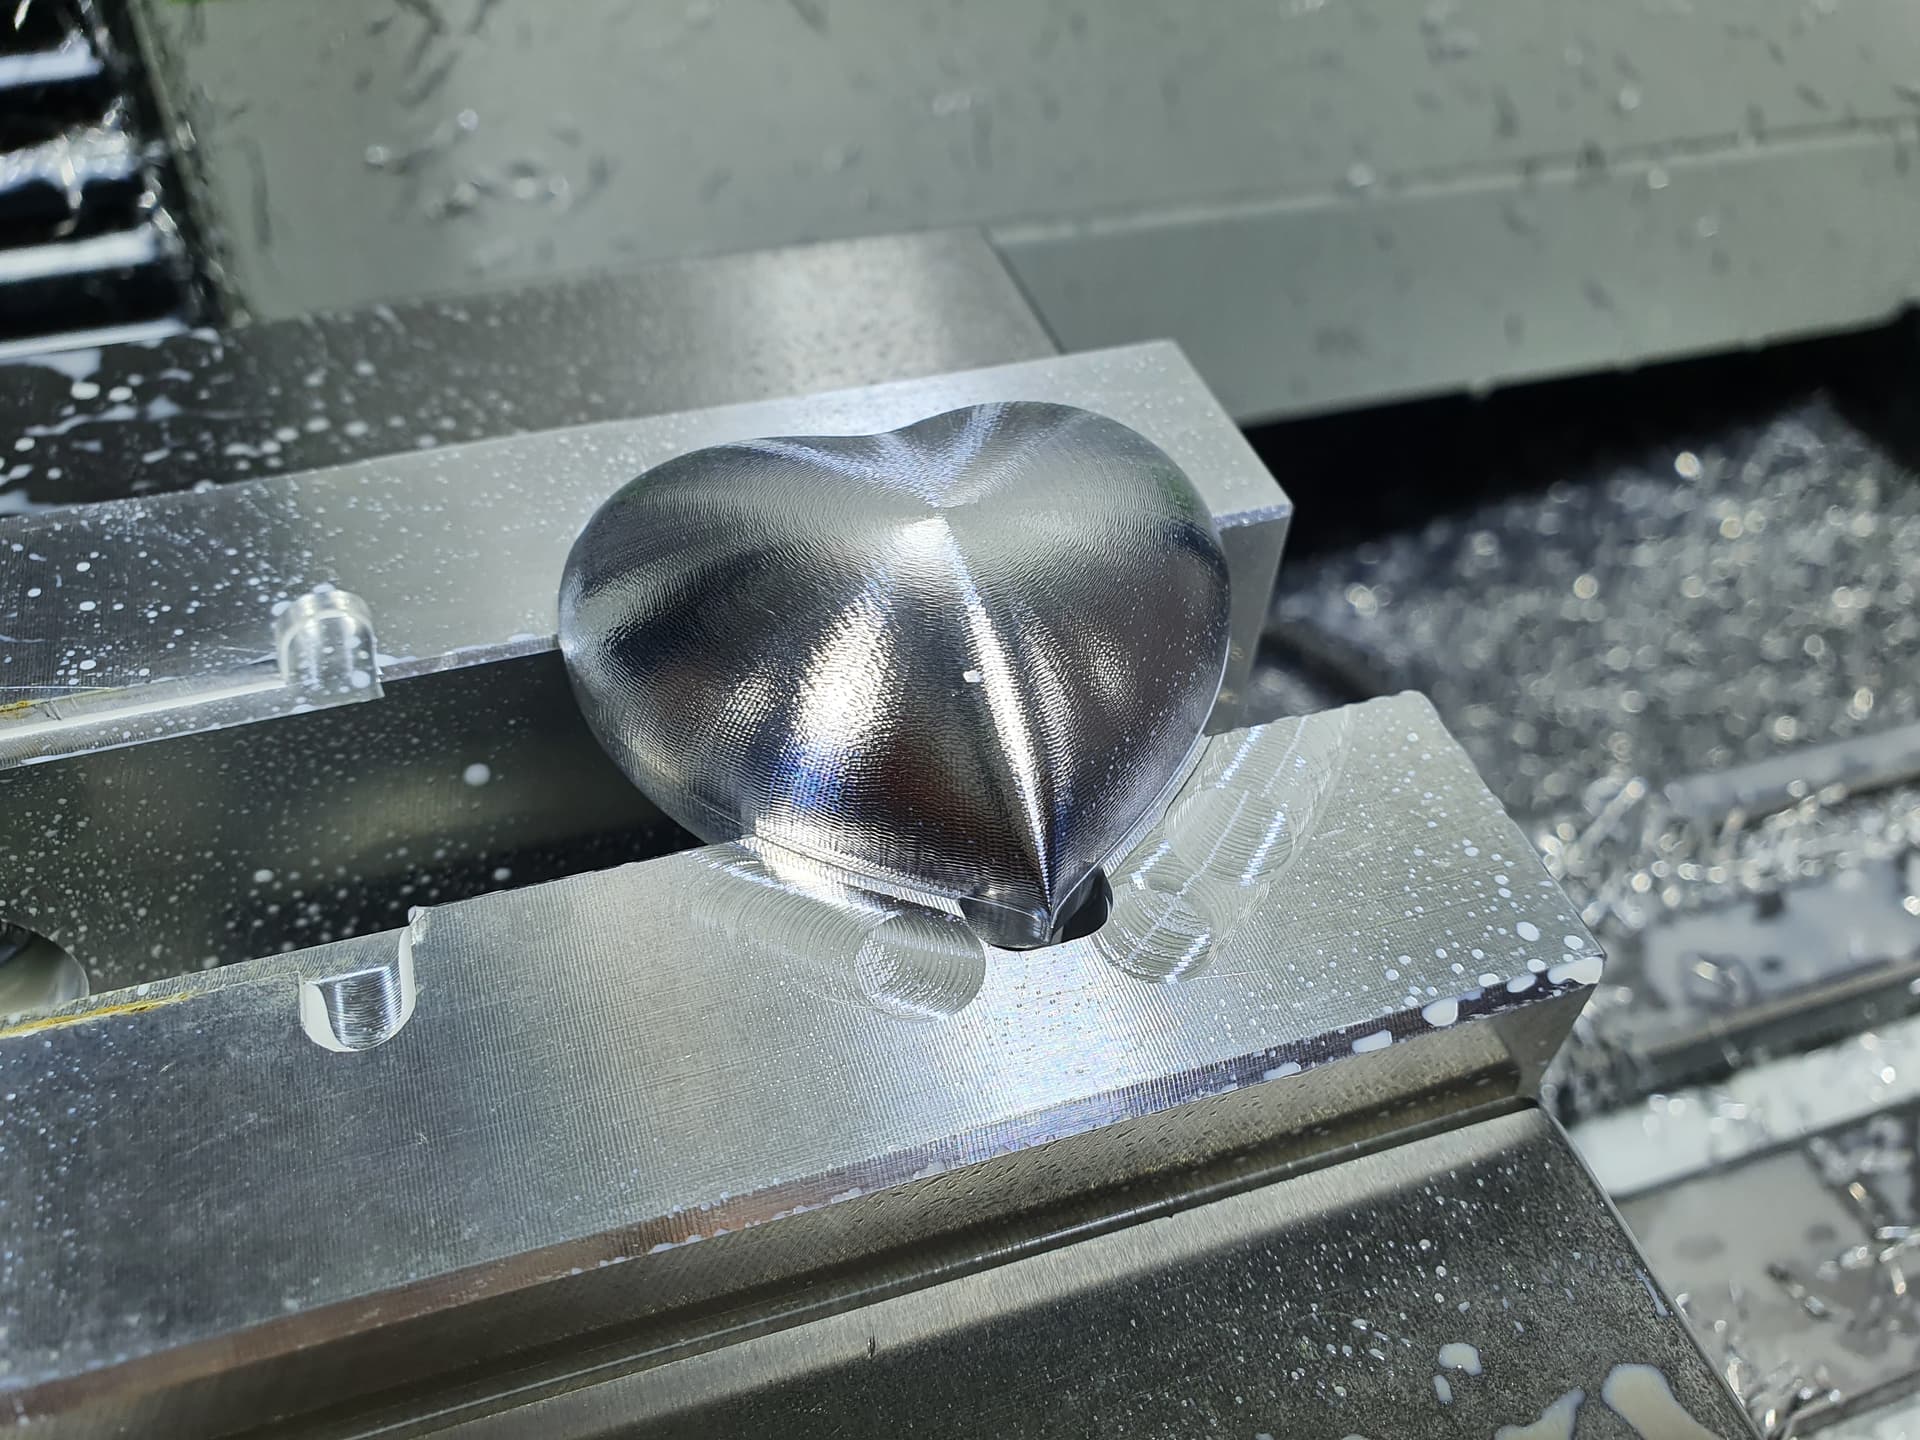
Close the soft-jaws loosely around the heart in preparation for operation 2. with the heart setting in the jaws slowly tighten the vice and watch that the heart seats level in the sof-jaws. As you tighten the jaws the heart will orient properly but you might have to help it along or re-adjust a little. This photo looks crooked but that is a trick of the camera angle and shadows.
Once the project is firmly clamped in the vice run you will need to clean up the left over stock on the top of the work piece so that you can access the cut contour to accurately probe for Op 2. To set up for this probe Z0 to the top of the fixed jaw and XY to the center of the work piece. Then run
Heart_Op2_Cleanup.nc (1.8 KB)
Once the extra material is cleaned up then you will need to re-probe XY on the contour cut in Op 1. This will give the most accurate placement for the second operation and ensure a minimal line between the two operations.
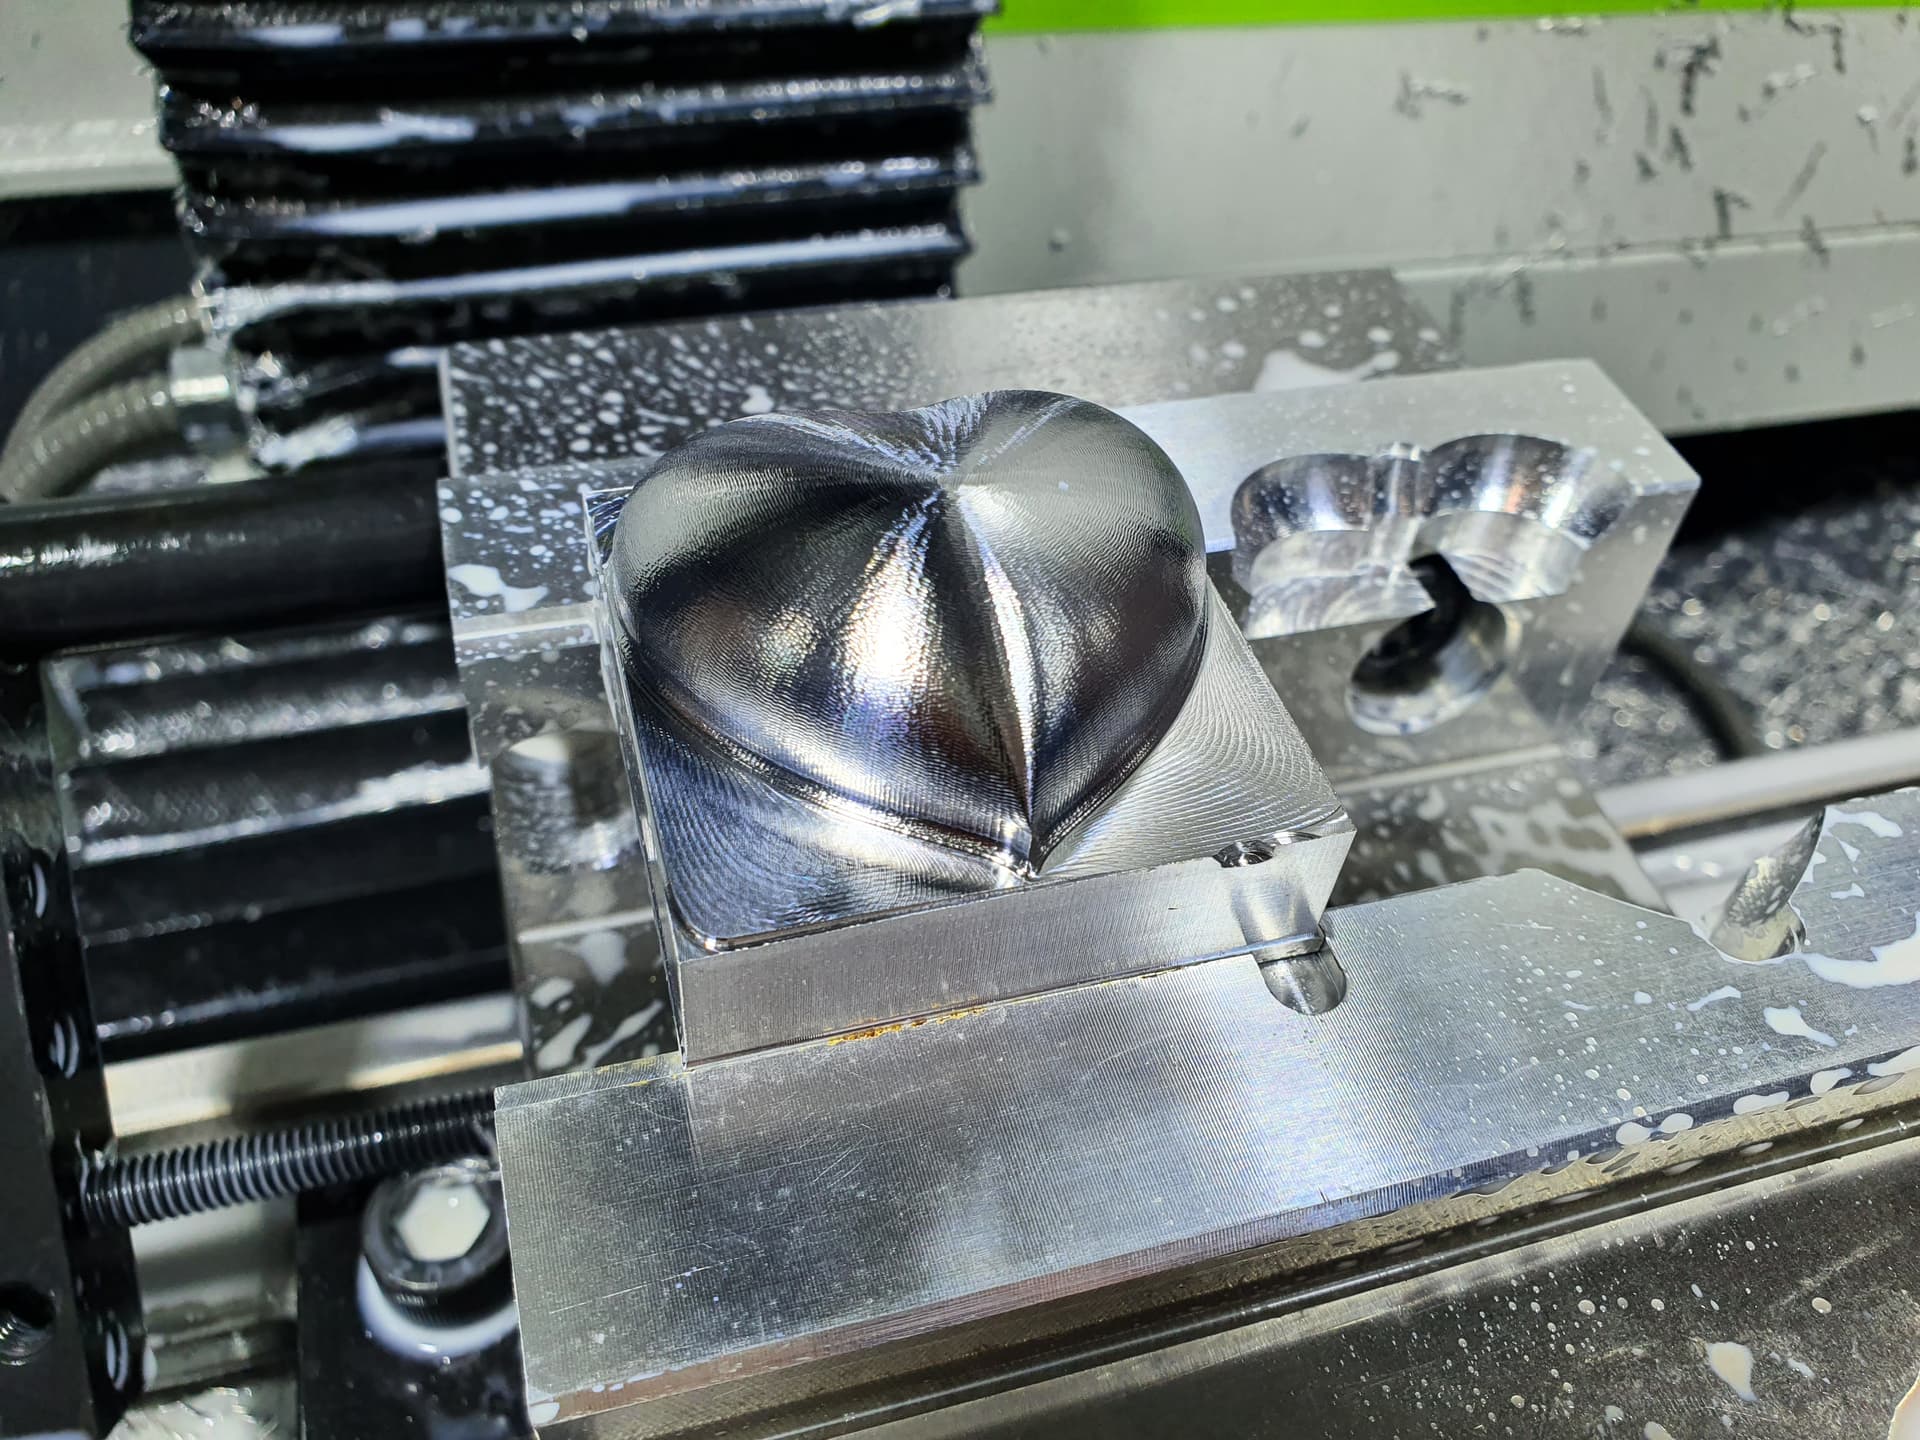
Now run HeartOp2_Radial.nc (1.1 MB)
- 3D adaptive roughing
- Radial contour

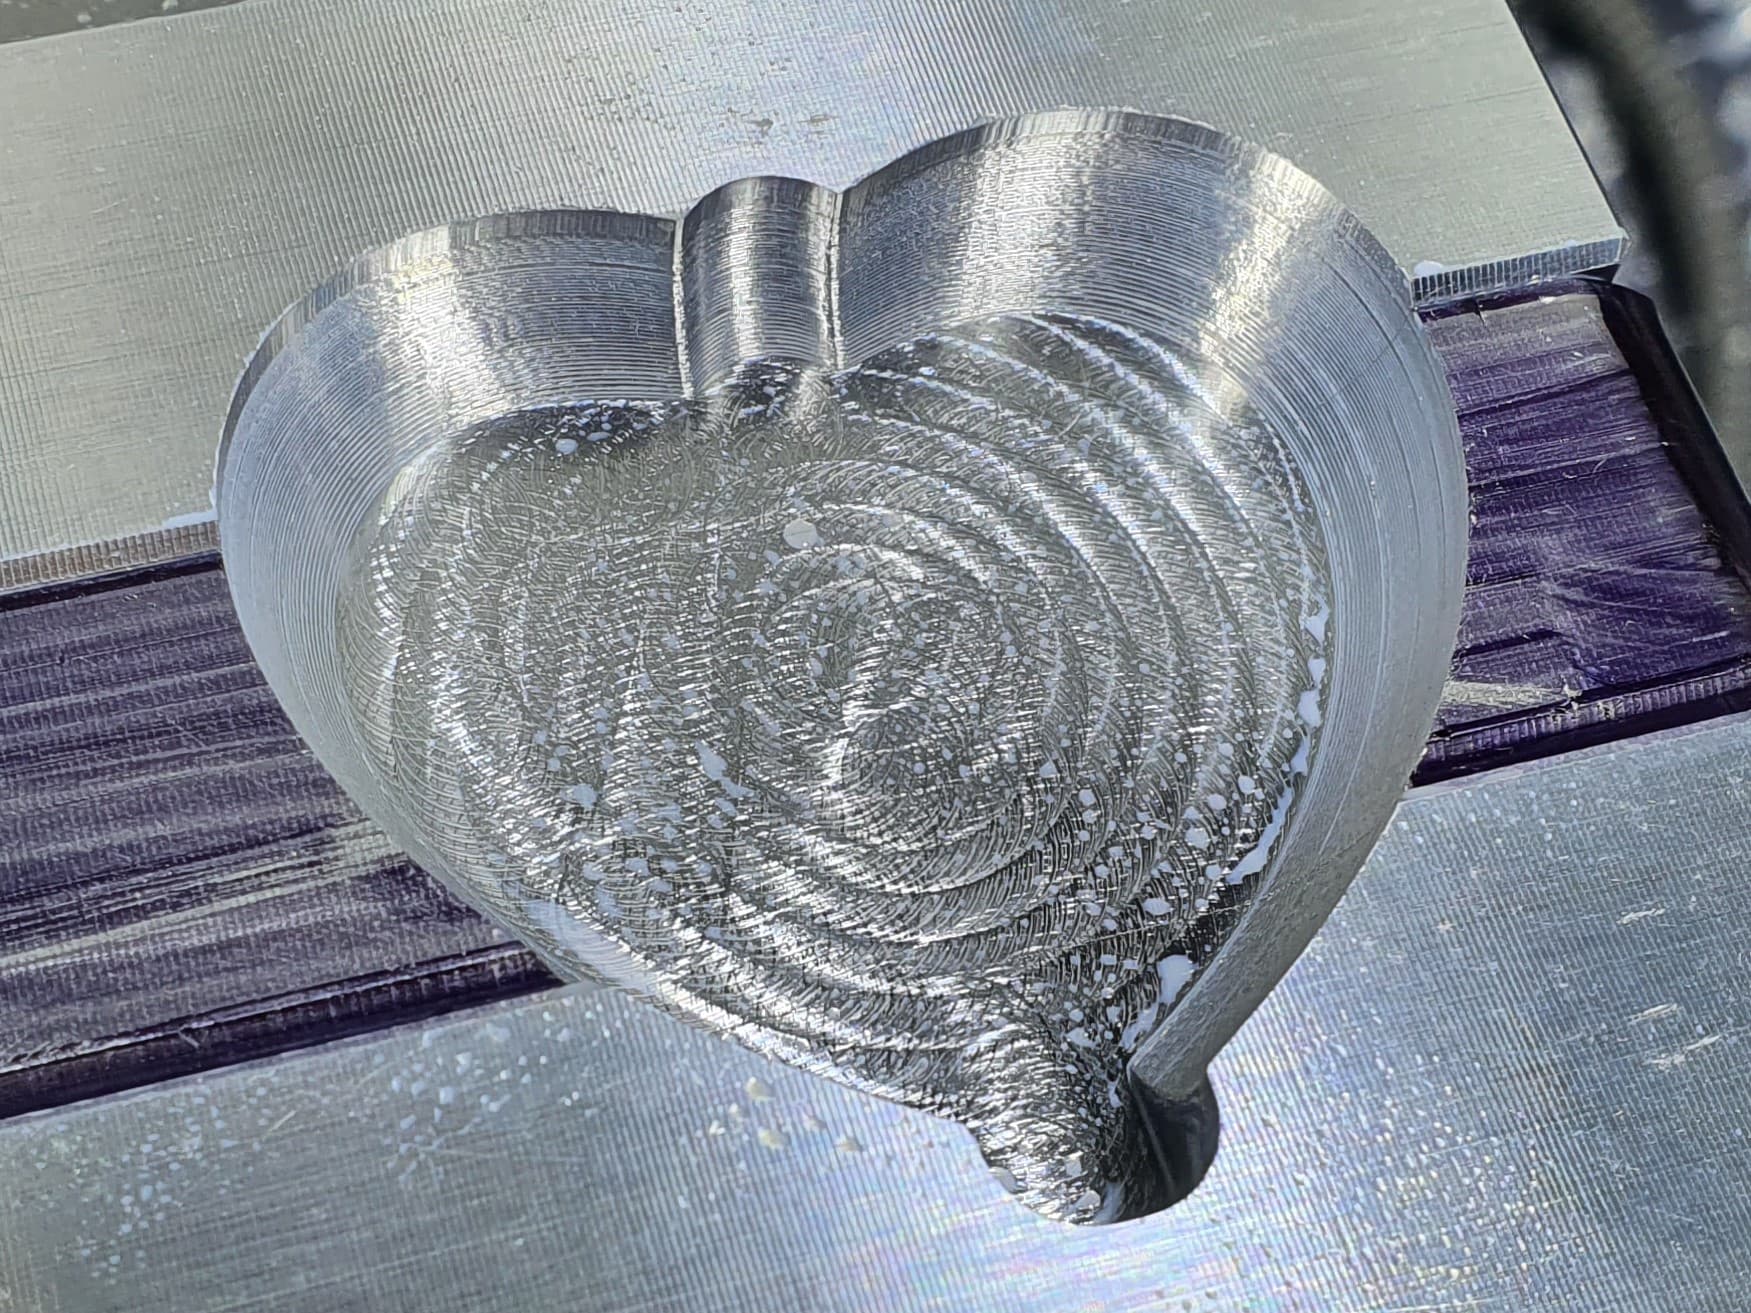
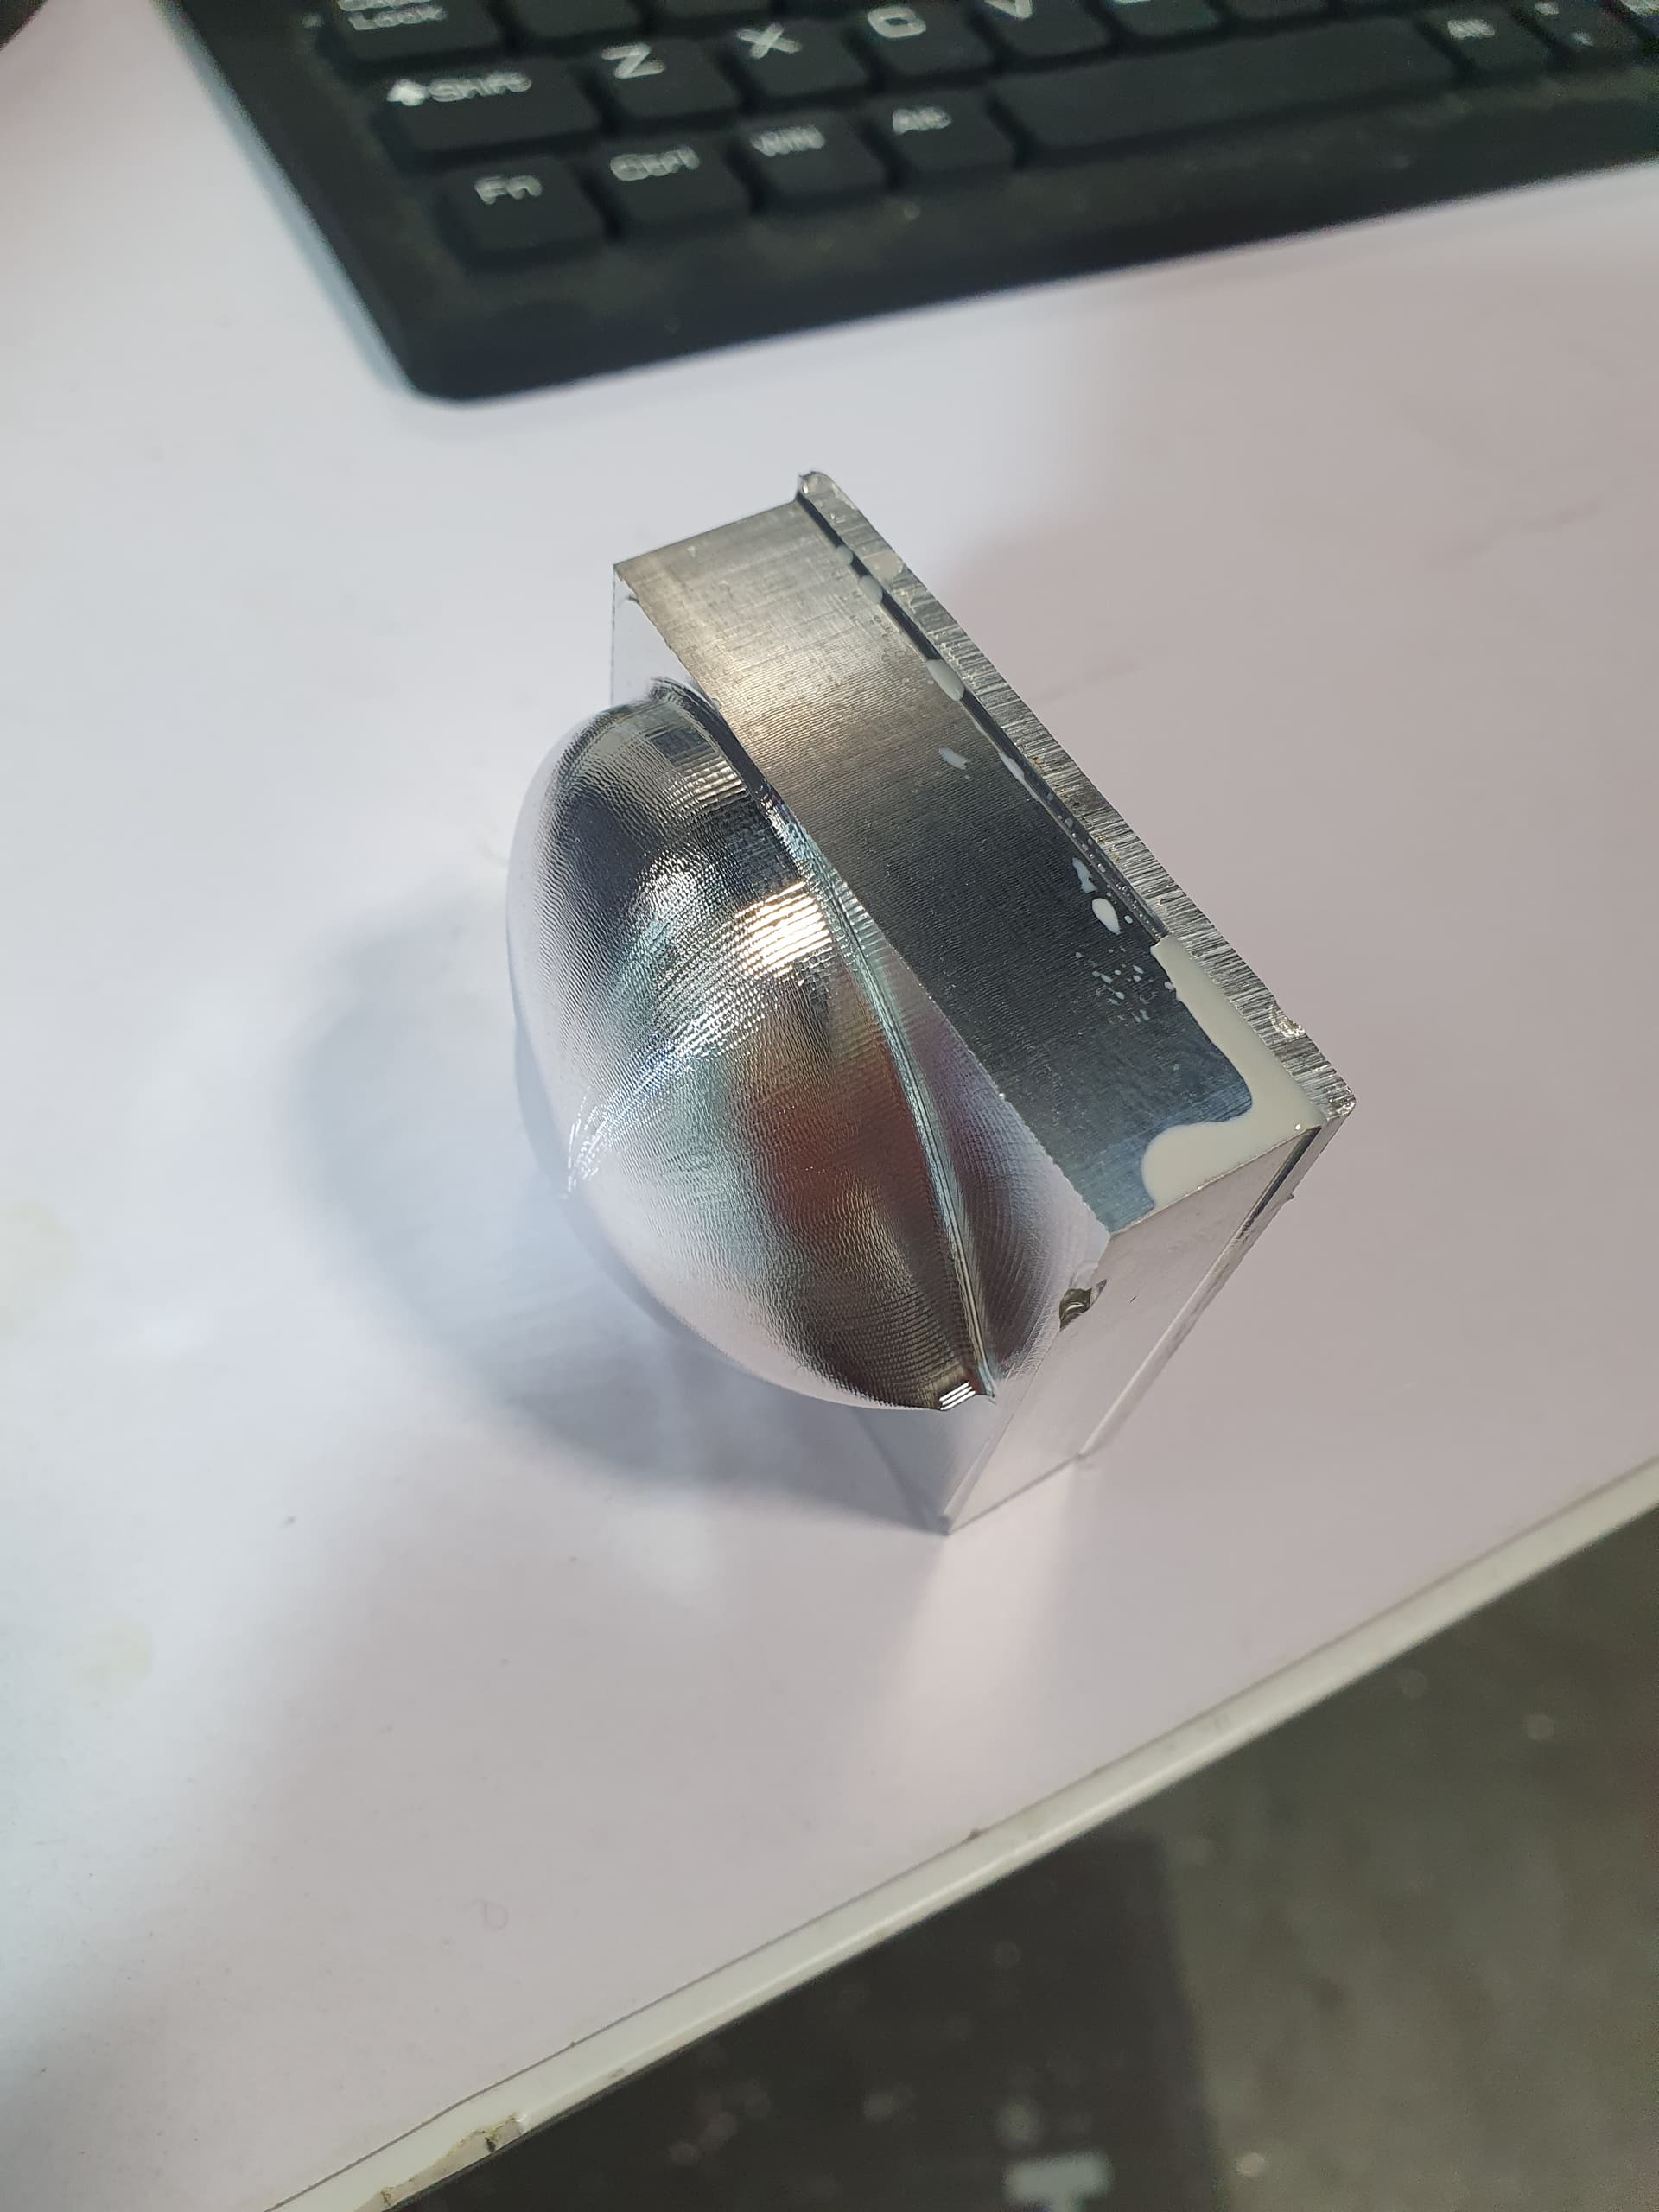
Wahoo!!! You made a heart!!
good work.