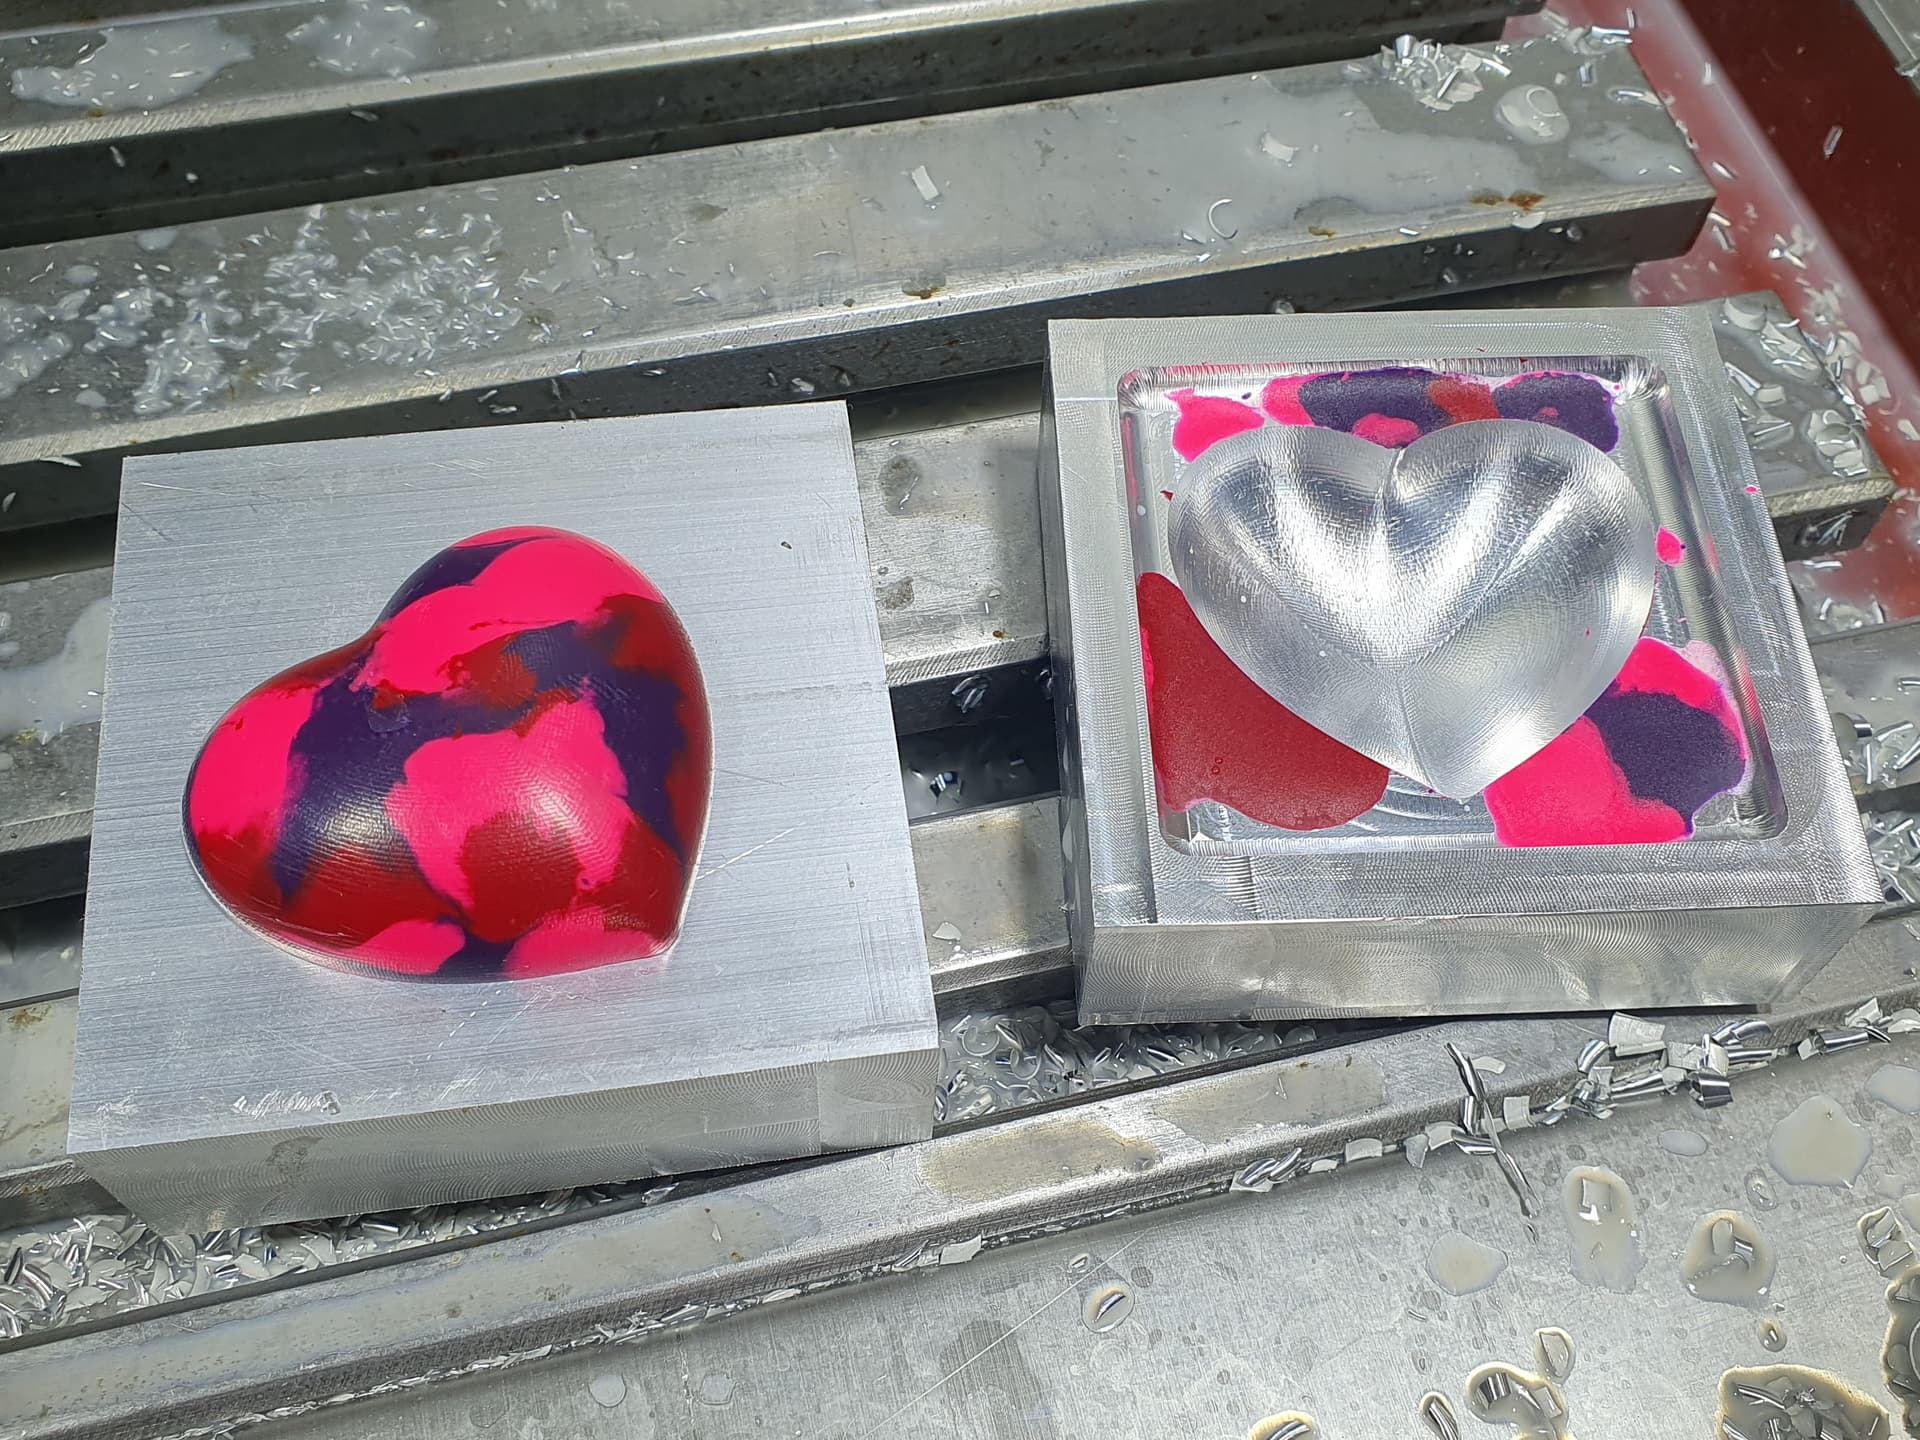
This is a project that my daughter and I came up with recently that I thought I would share. Once you have the mold made then you can melt old broken crayon pieces in the oven to make Heart shaped crayons.
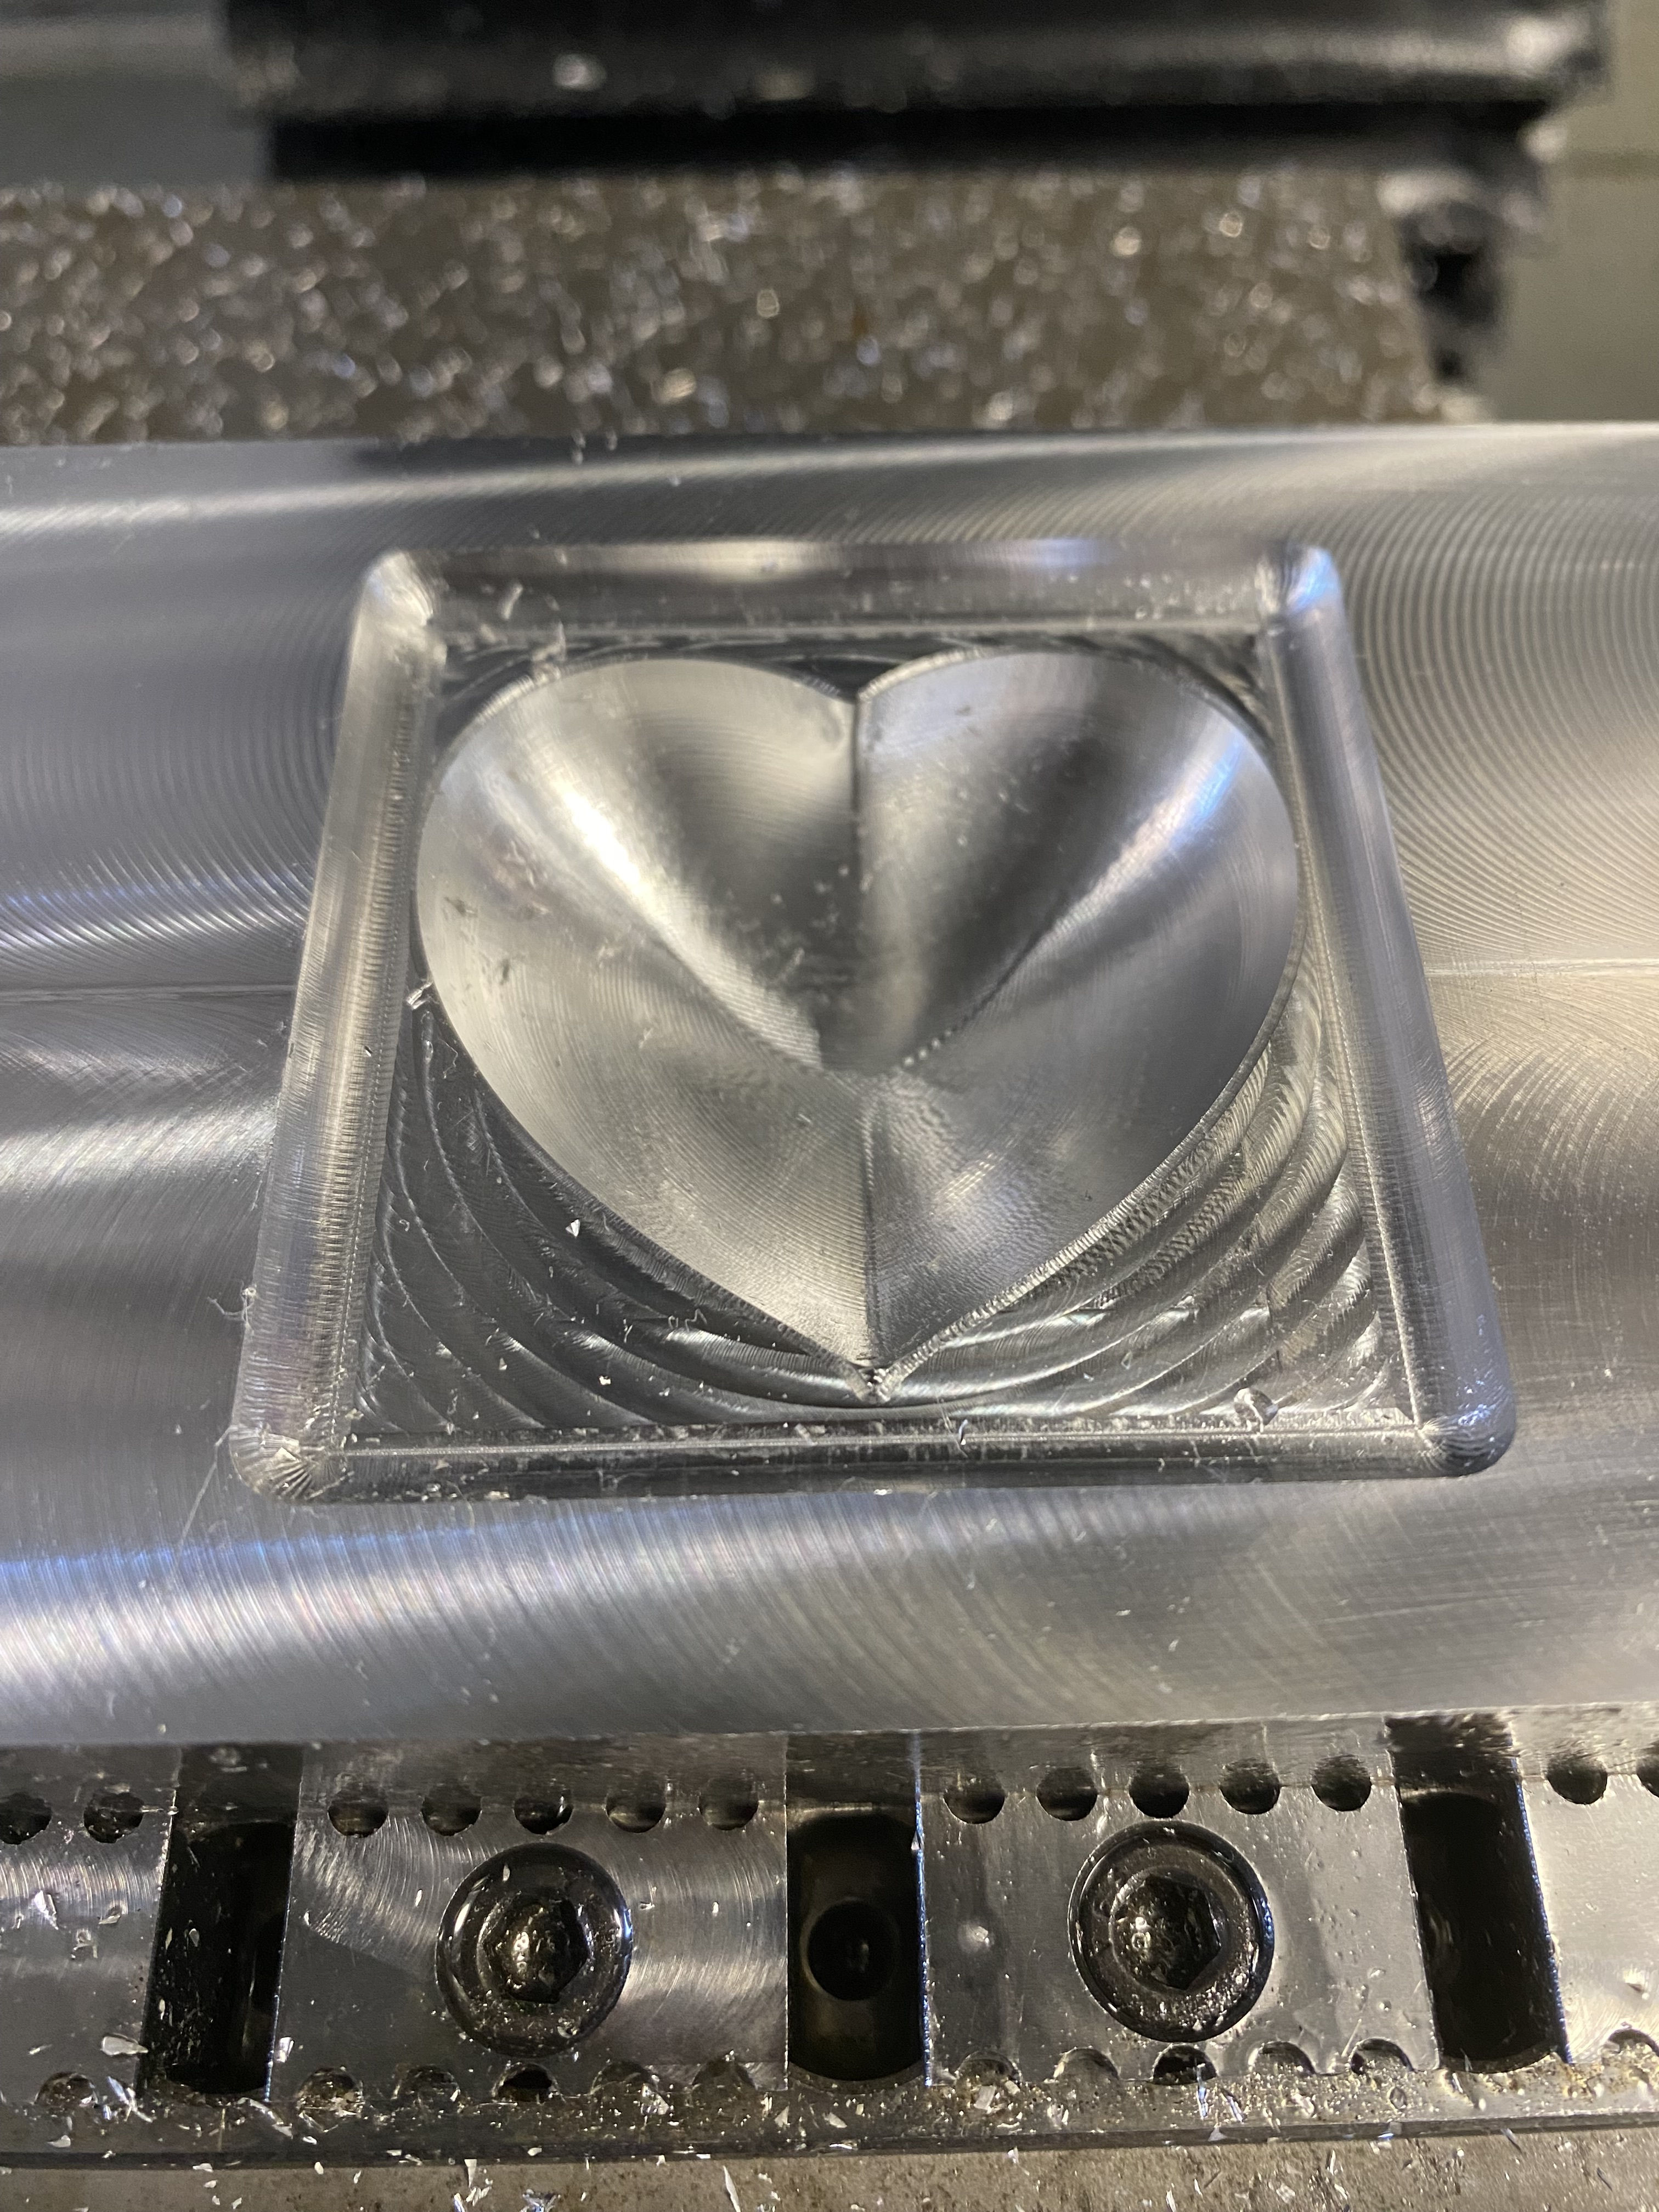
I made this project and my kid loves it! I did have to flip the part in f360, dial back the speeds and feeds (HSS tool and mist coolant), swap the WCS to G54 and changed the stock size to the piece of scrap I found.
@Justin_Weber Fantastic news! thanks for the note.
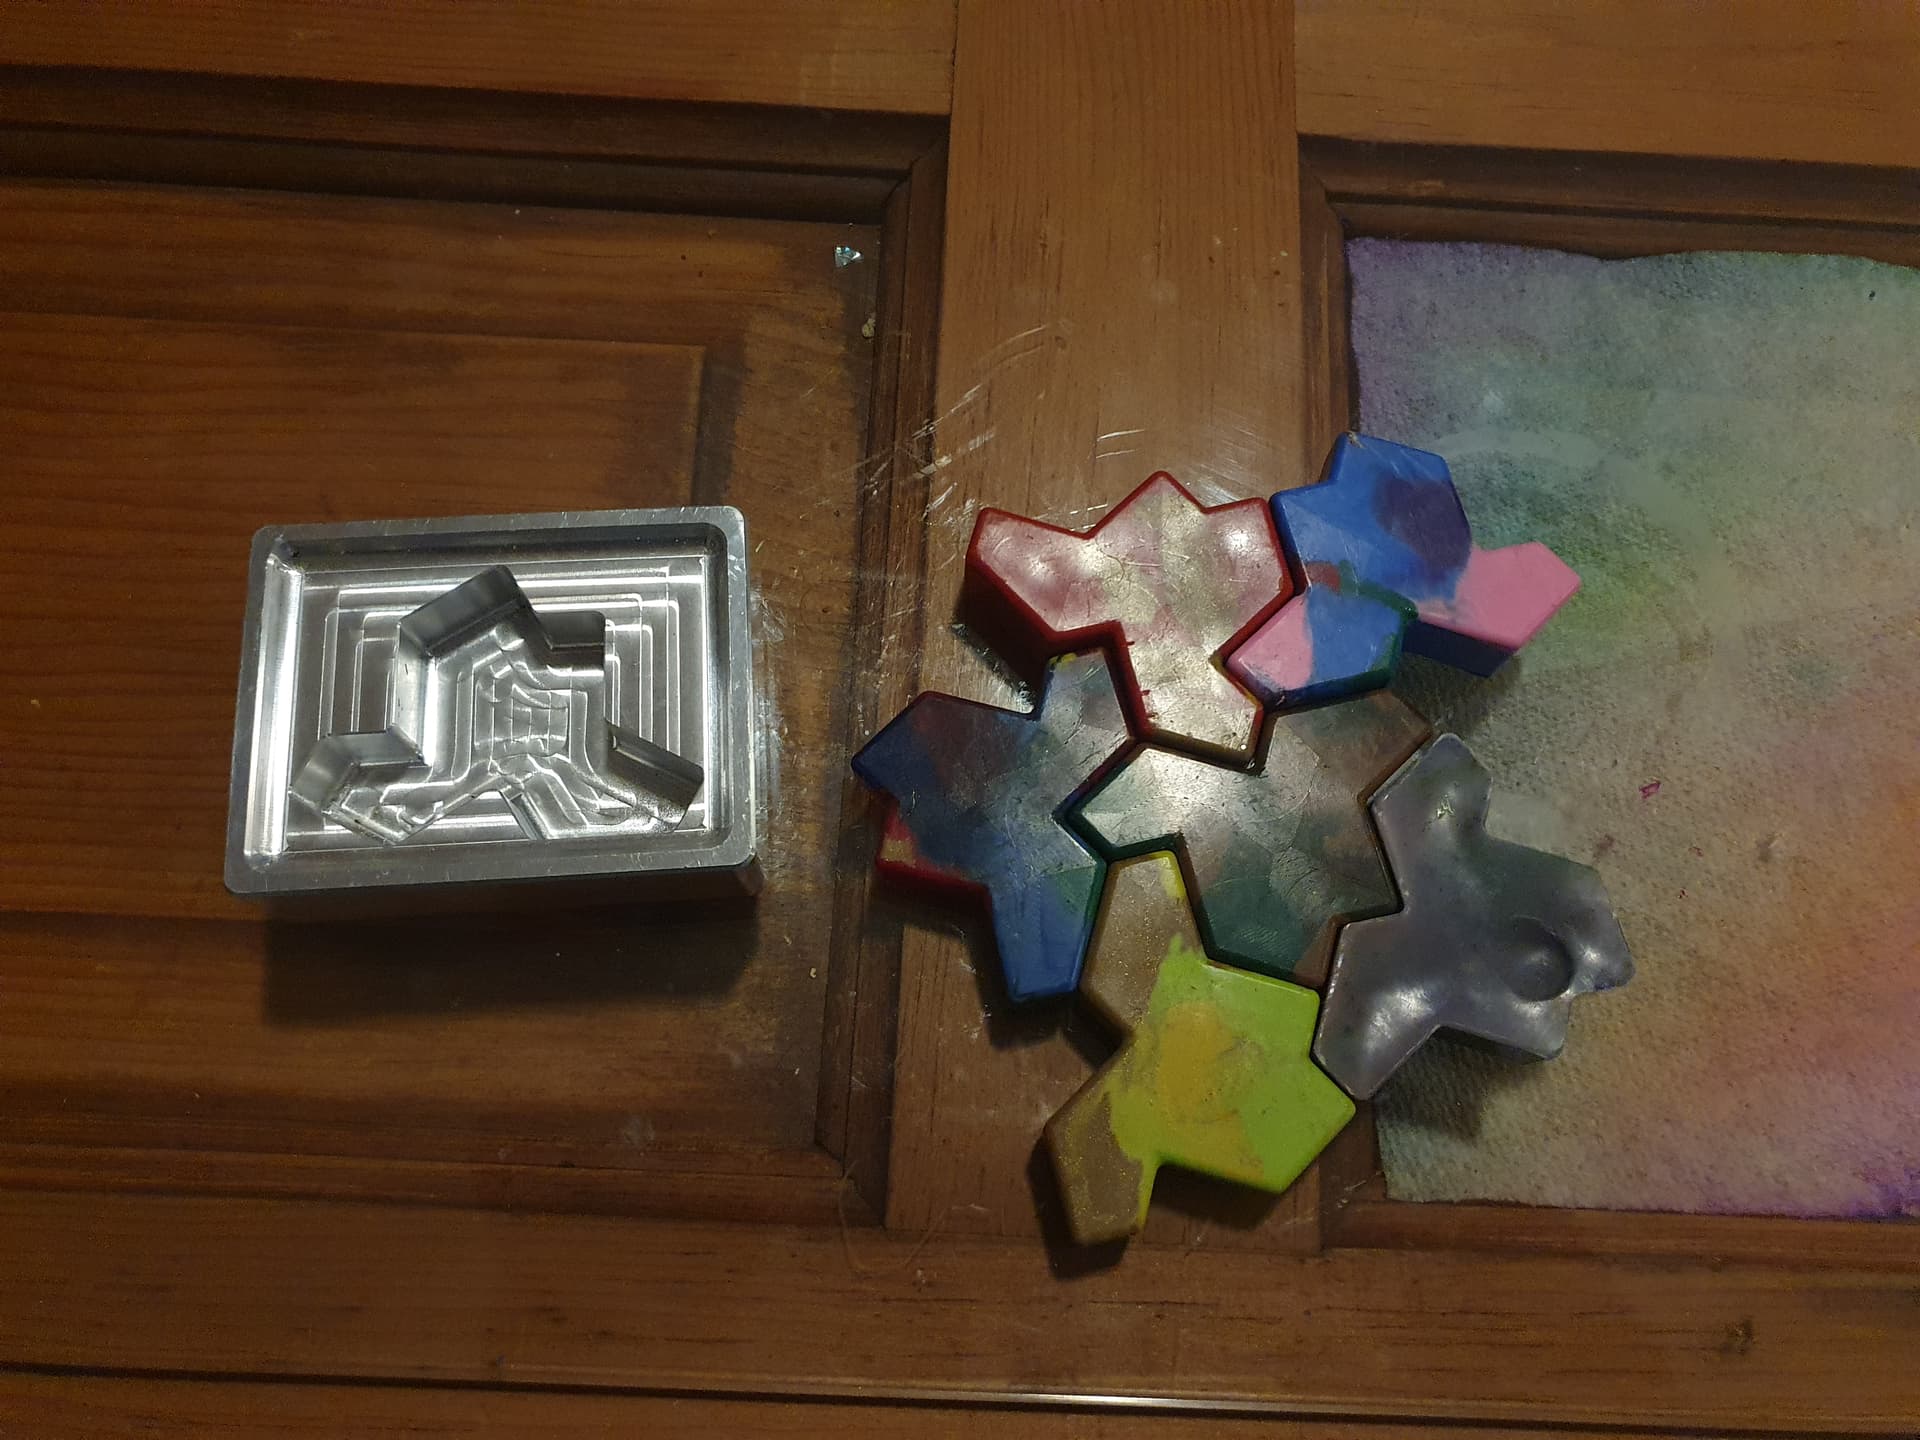
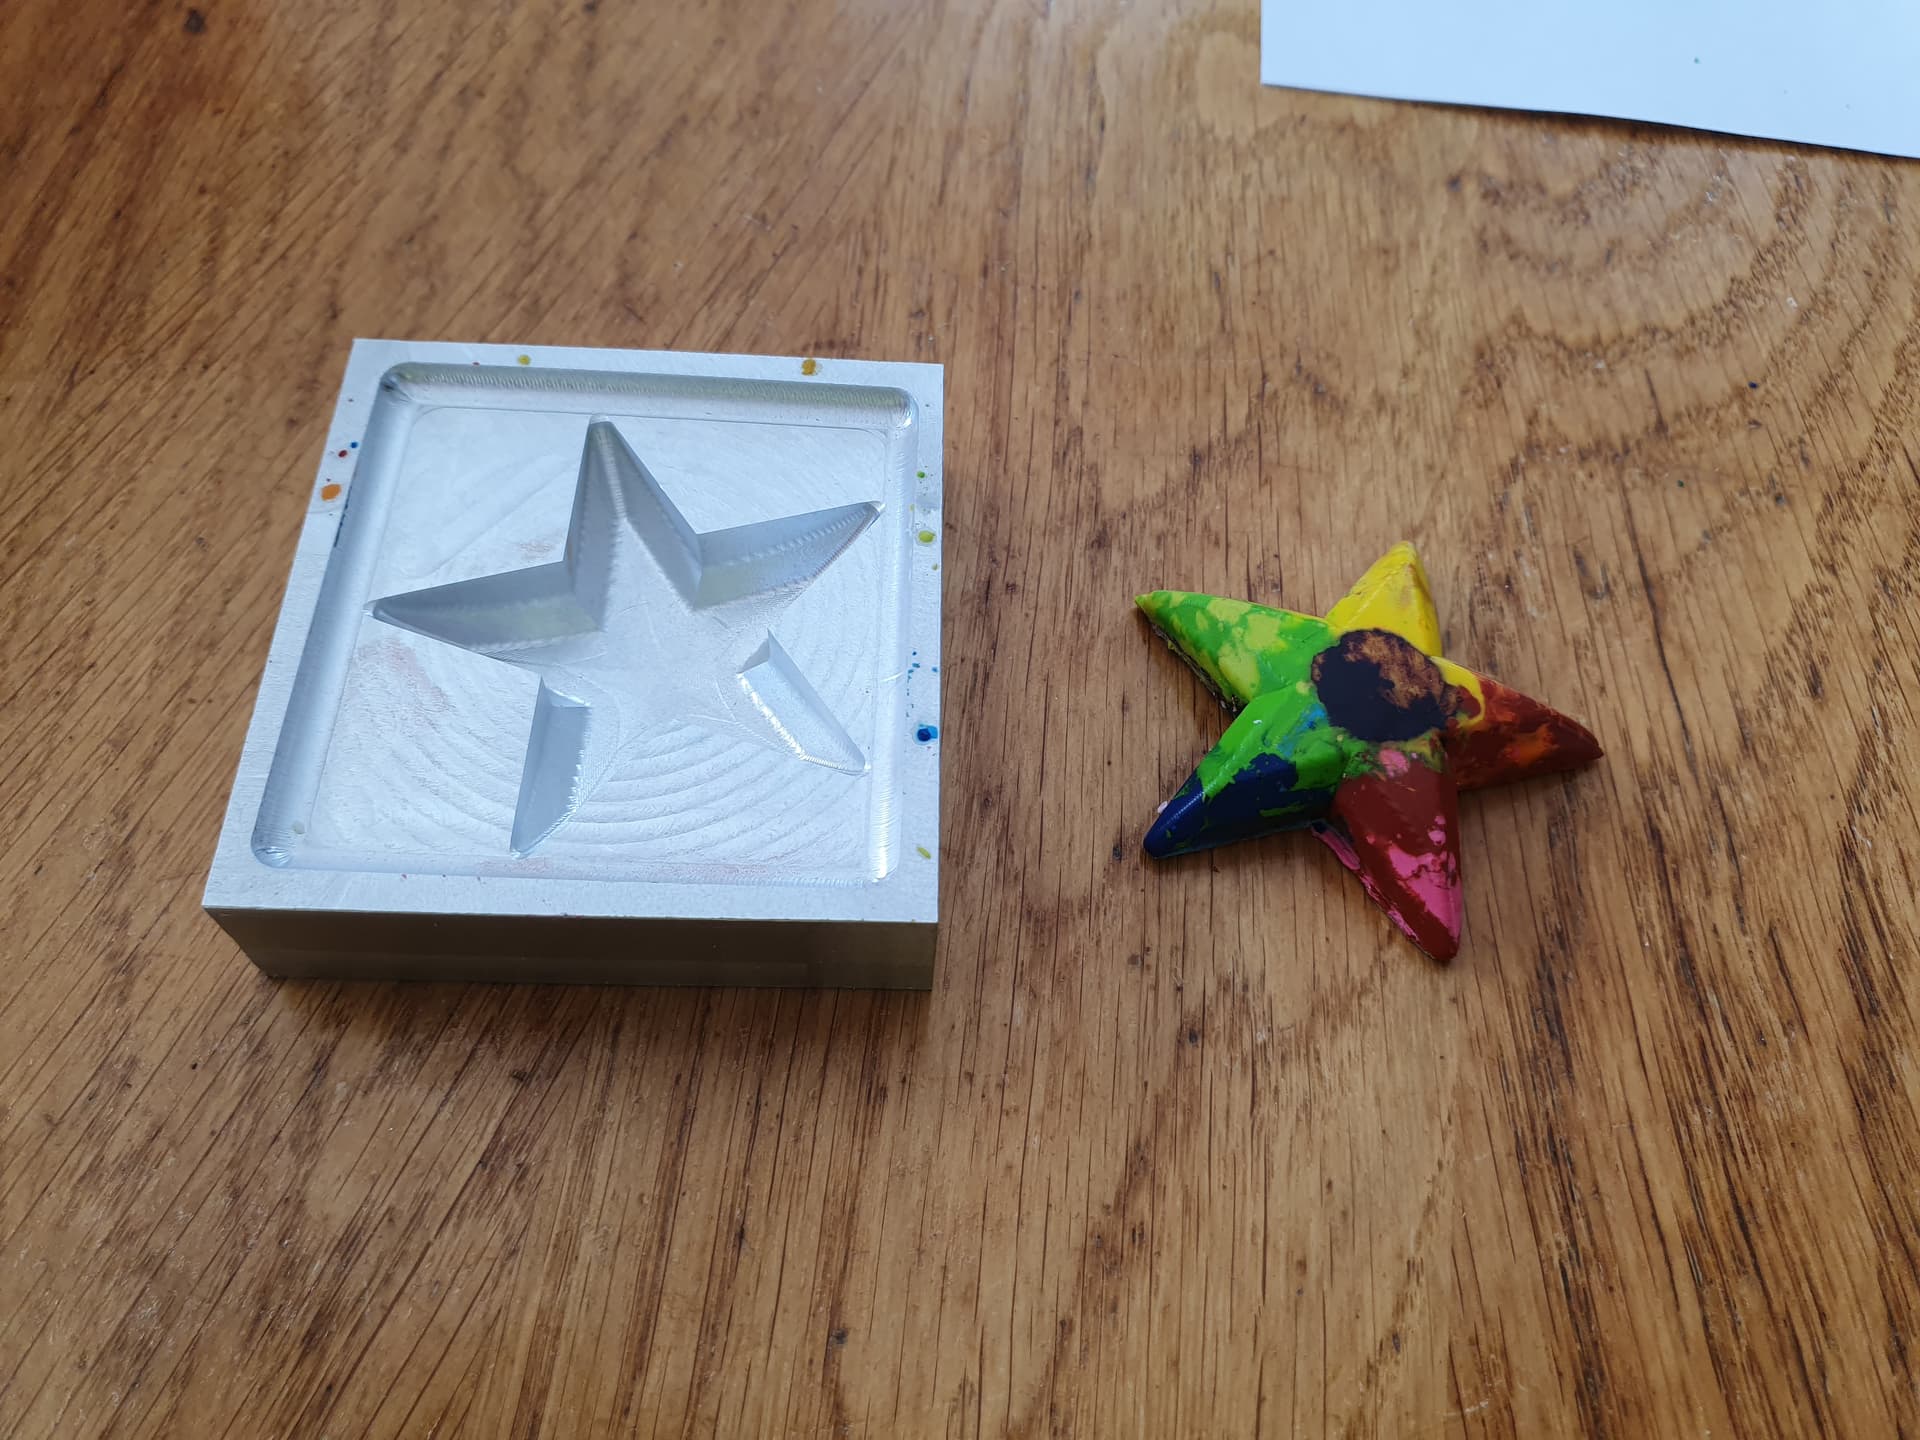
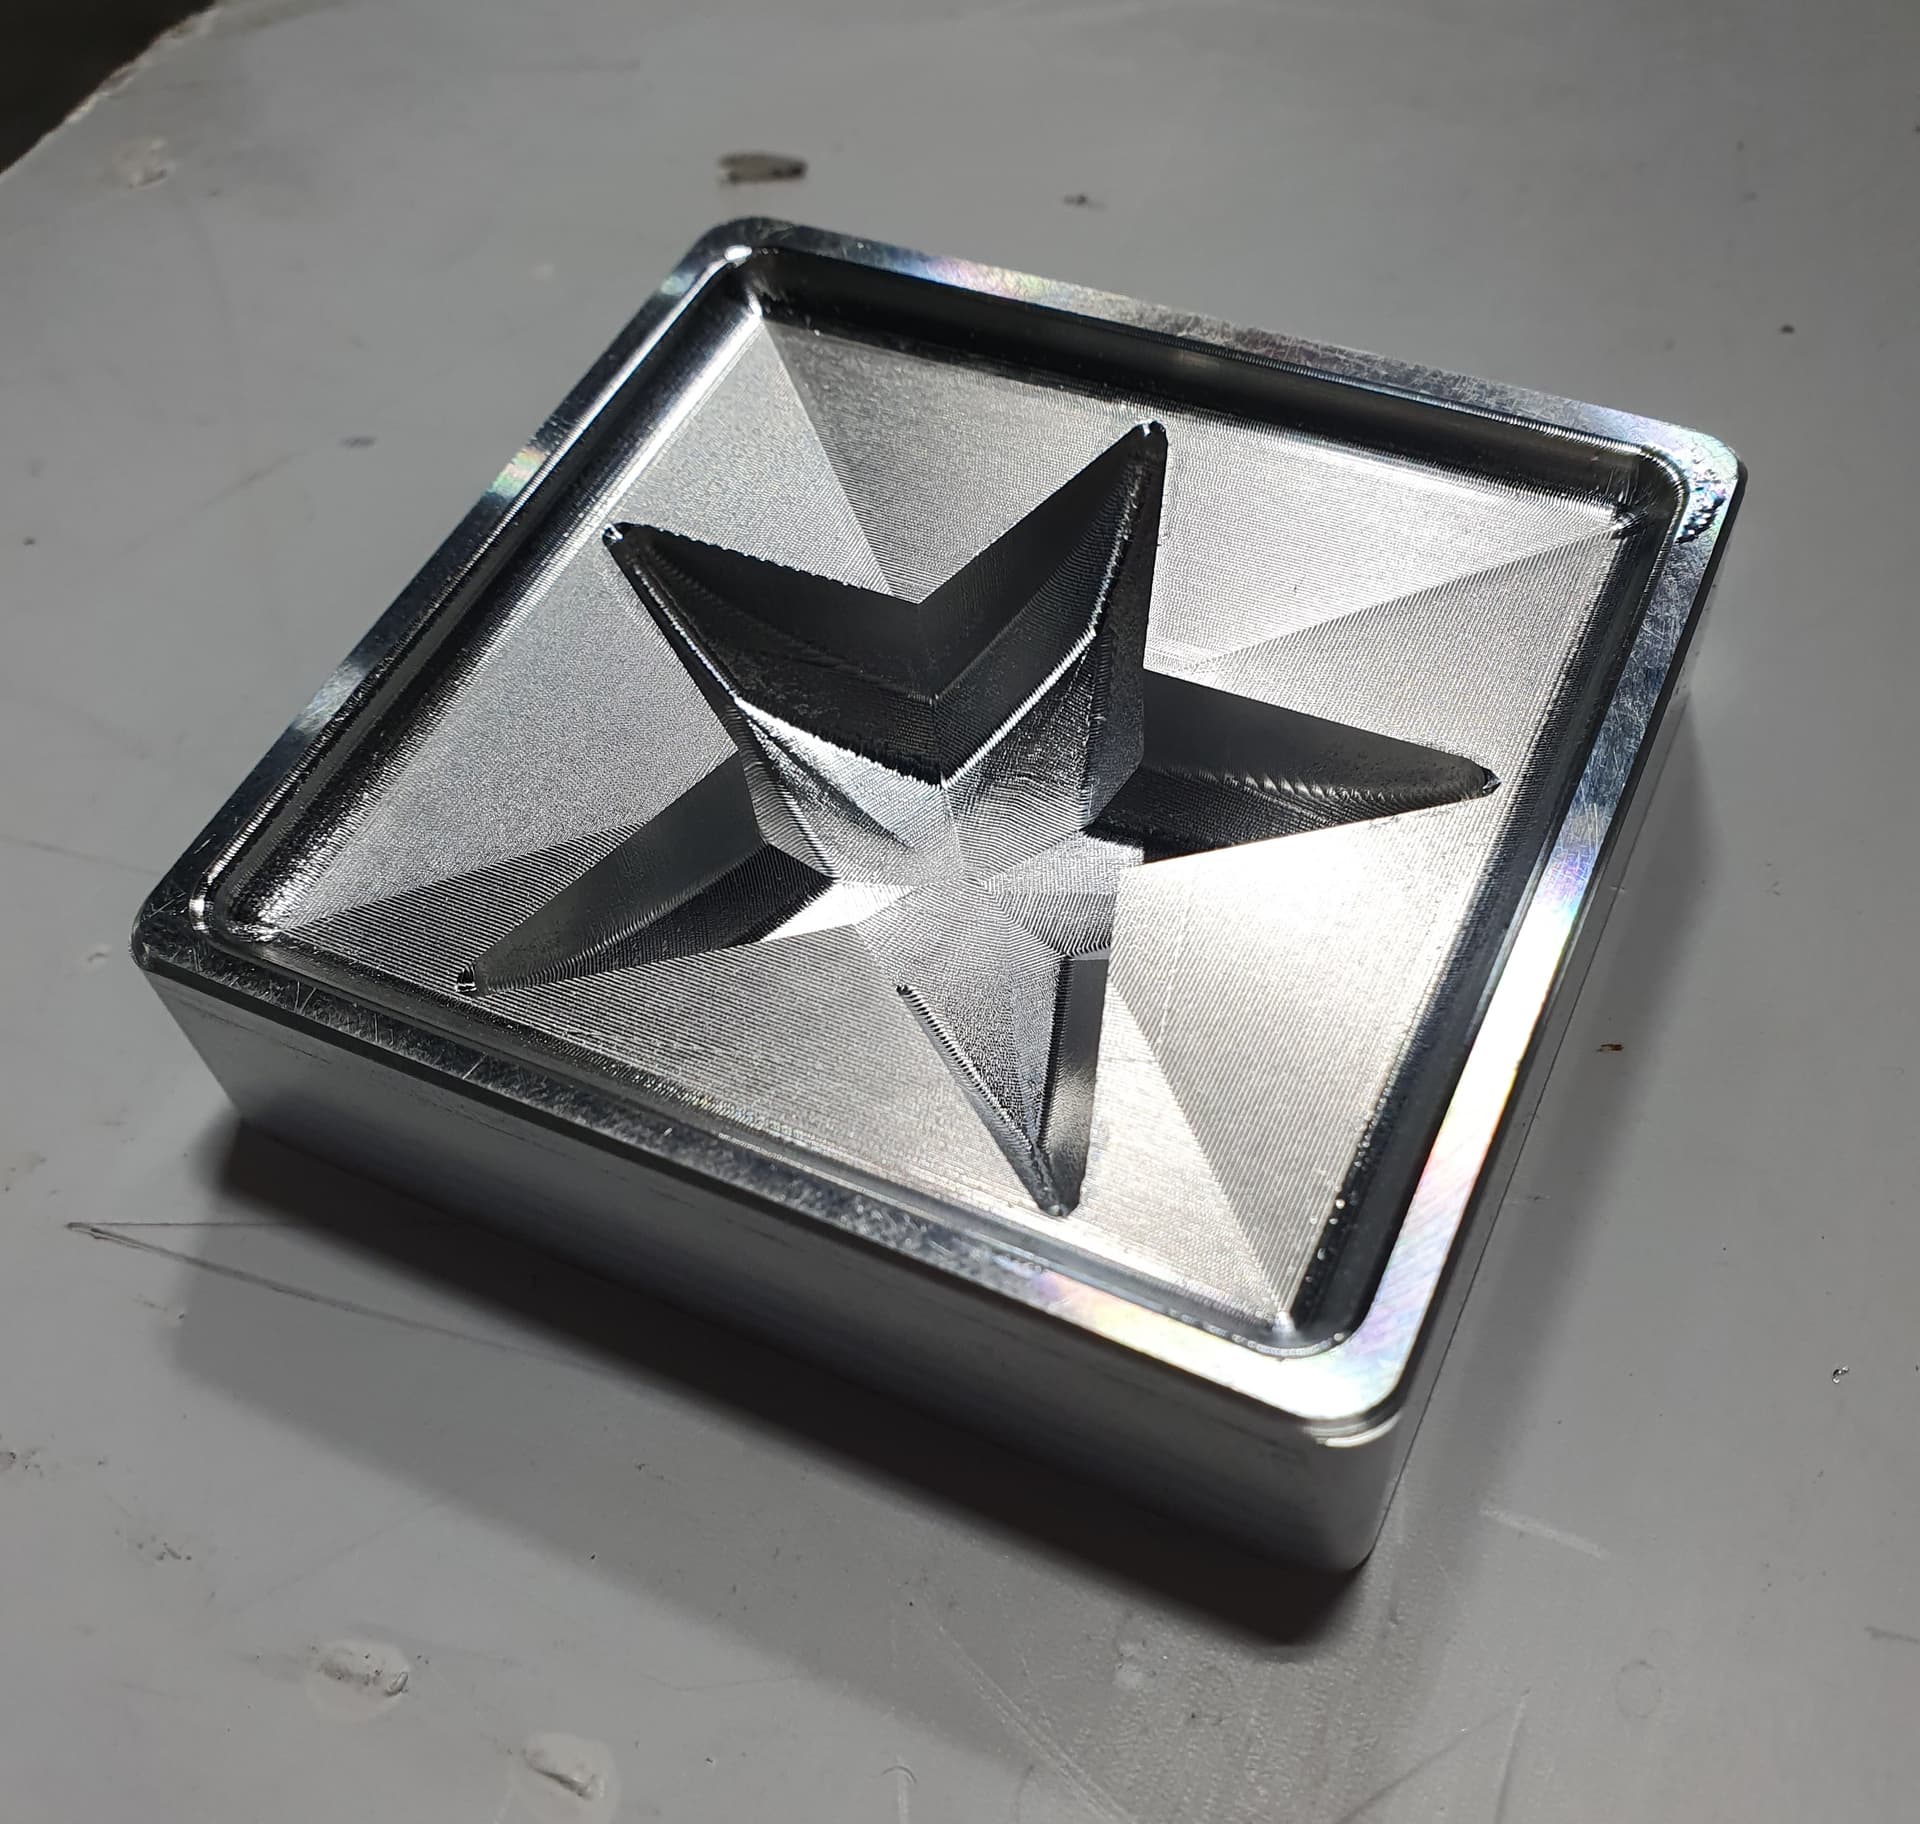
My kid and I got carried away with this project and I ended up making a mold for stars and the newly discovered aperiodic shape. Here are files and such for those, if you are feeling frisky.
Update:
I uploaded an updated f3d file that has some updates I have made to the tool path.
Since I am only making crayon molds the step over is set to 0.01".
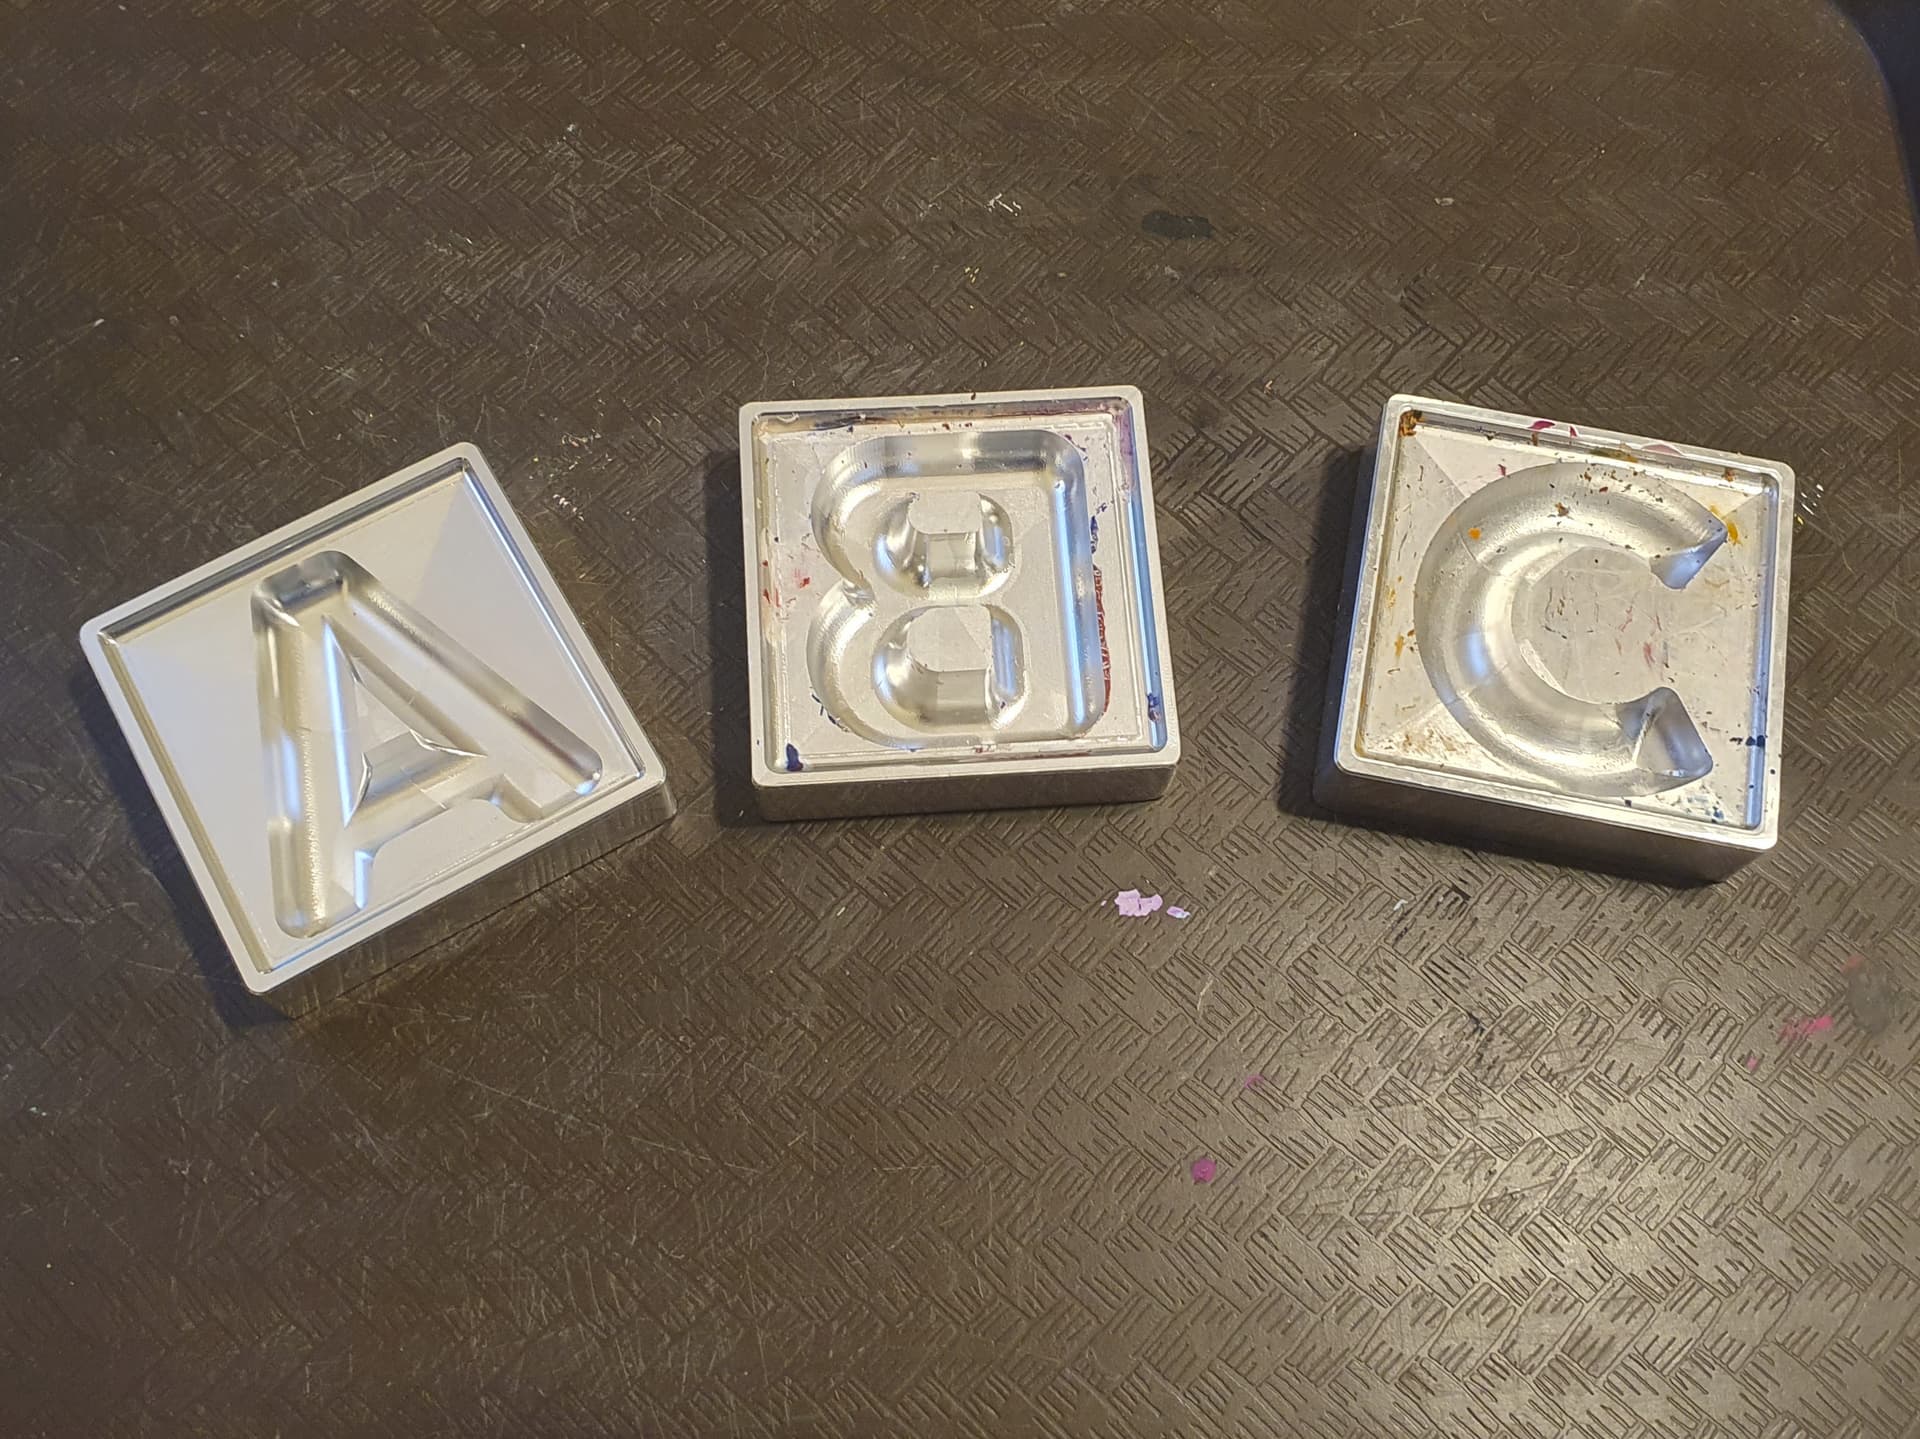
For anyone following along at home, we have scaled up our operation to include letters. So far we have A, B, and C complete and will finish the alphabet as time permits.
I made A and C so far. I had to redo all the tools to metric though. Also fusion does not like going from a inch to metric program. All kinds of fusion360 errors about “Tolerance <0 even though it was set for .1mm.
Stupid fusion.
I’m not good at sarcasm and jokes in written form so I might be messing up a perfectly good joke…
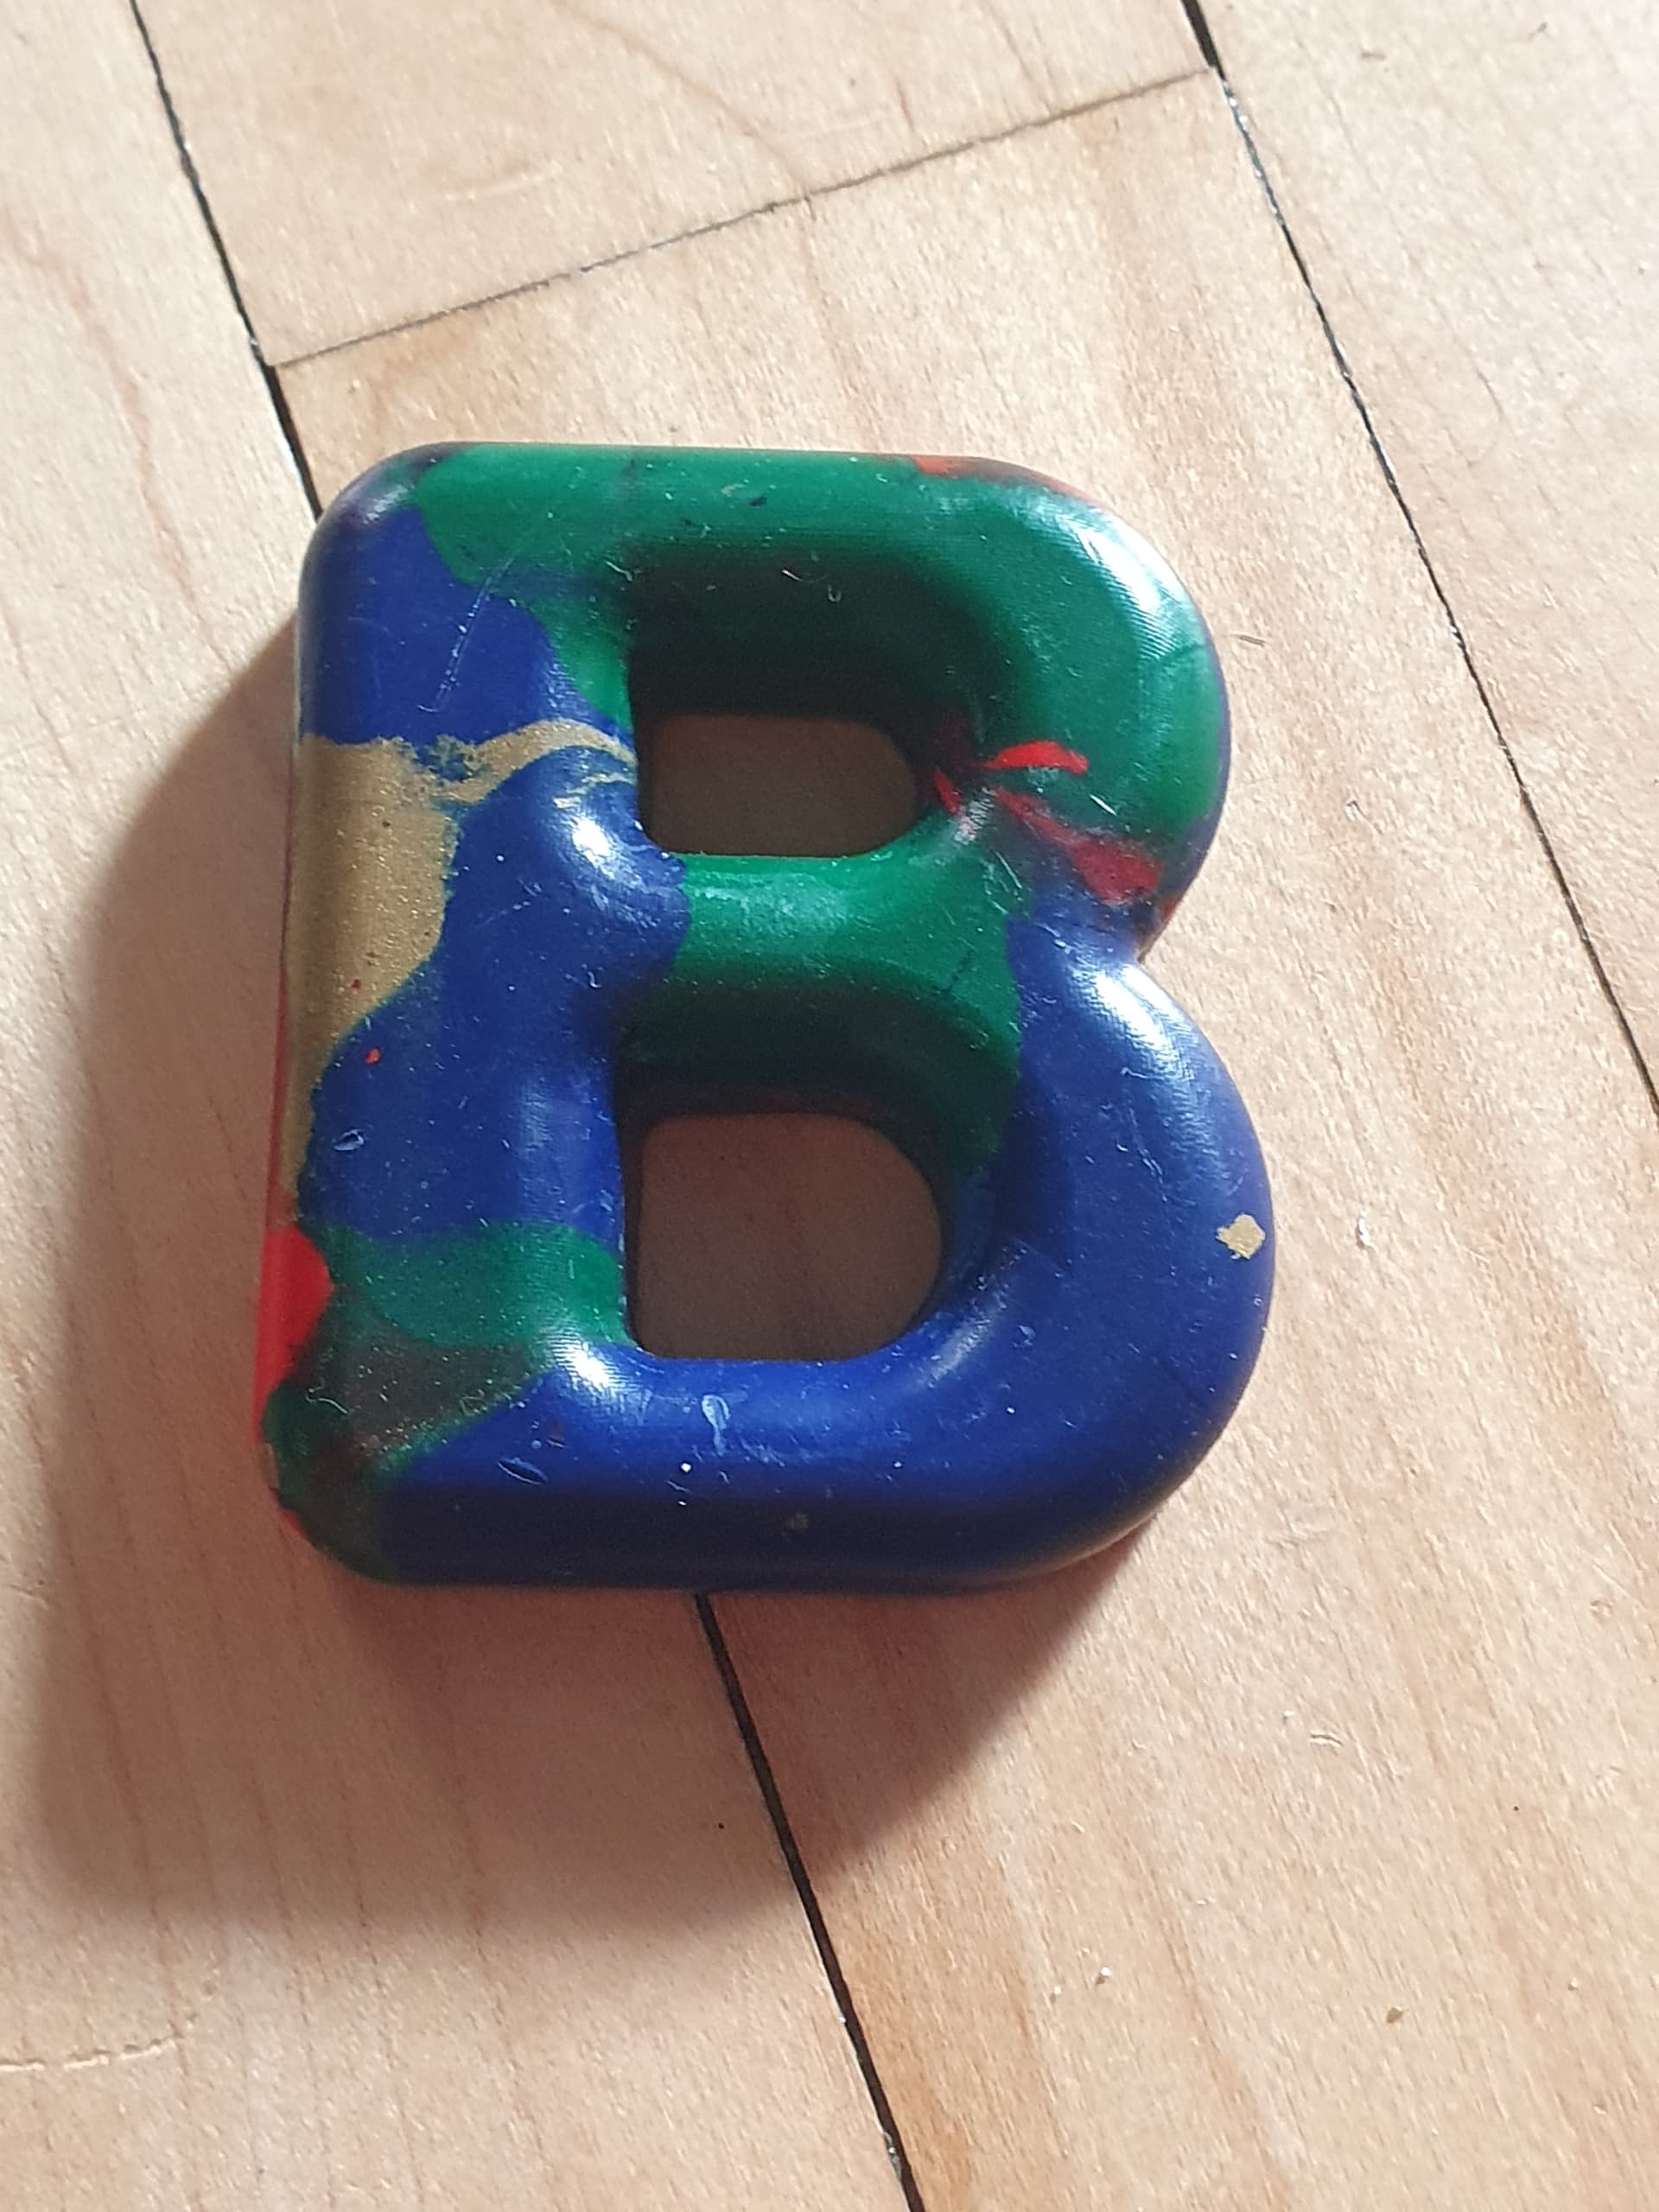
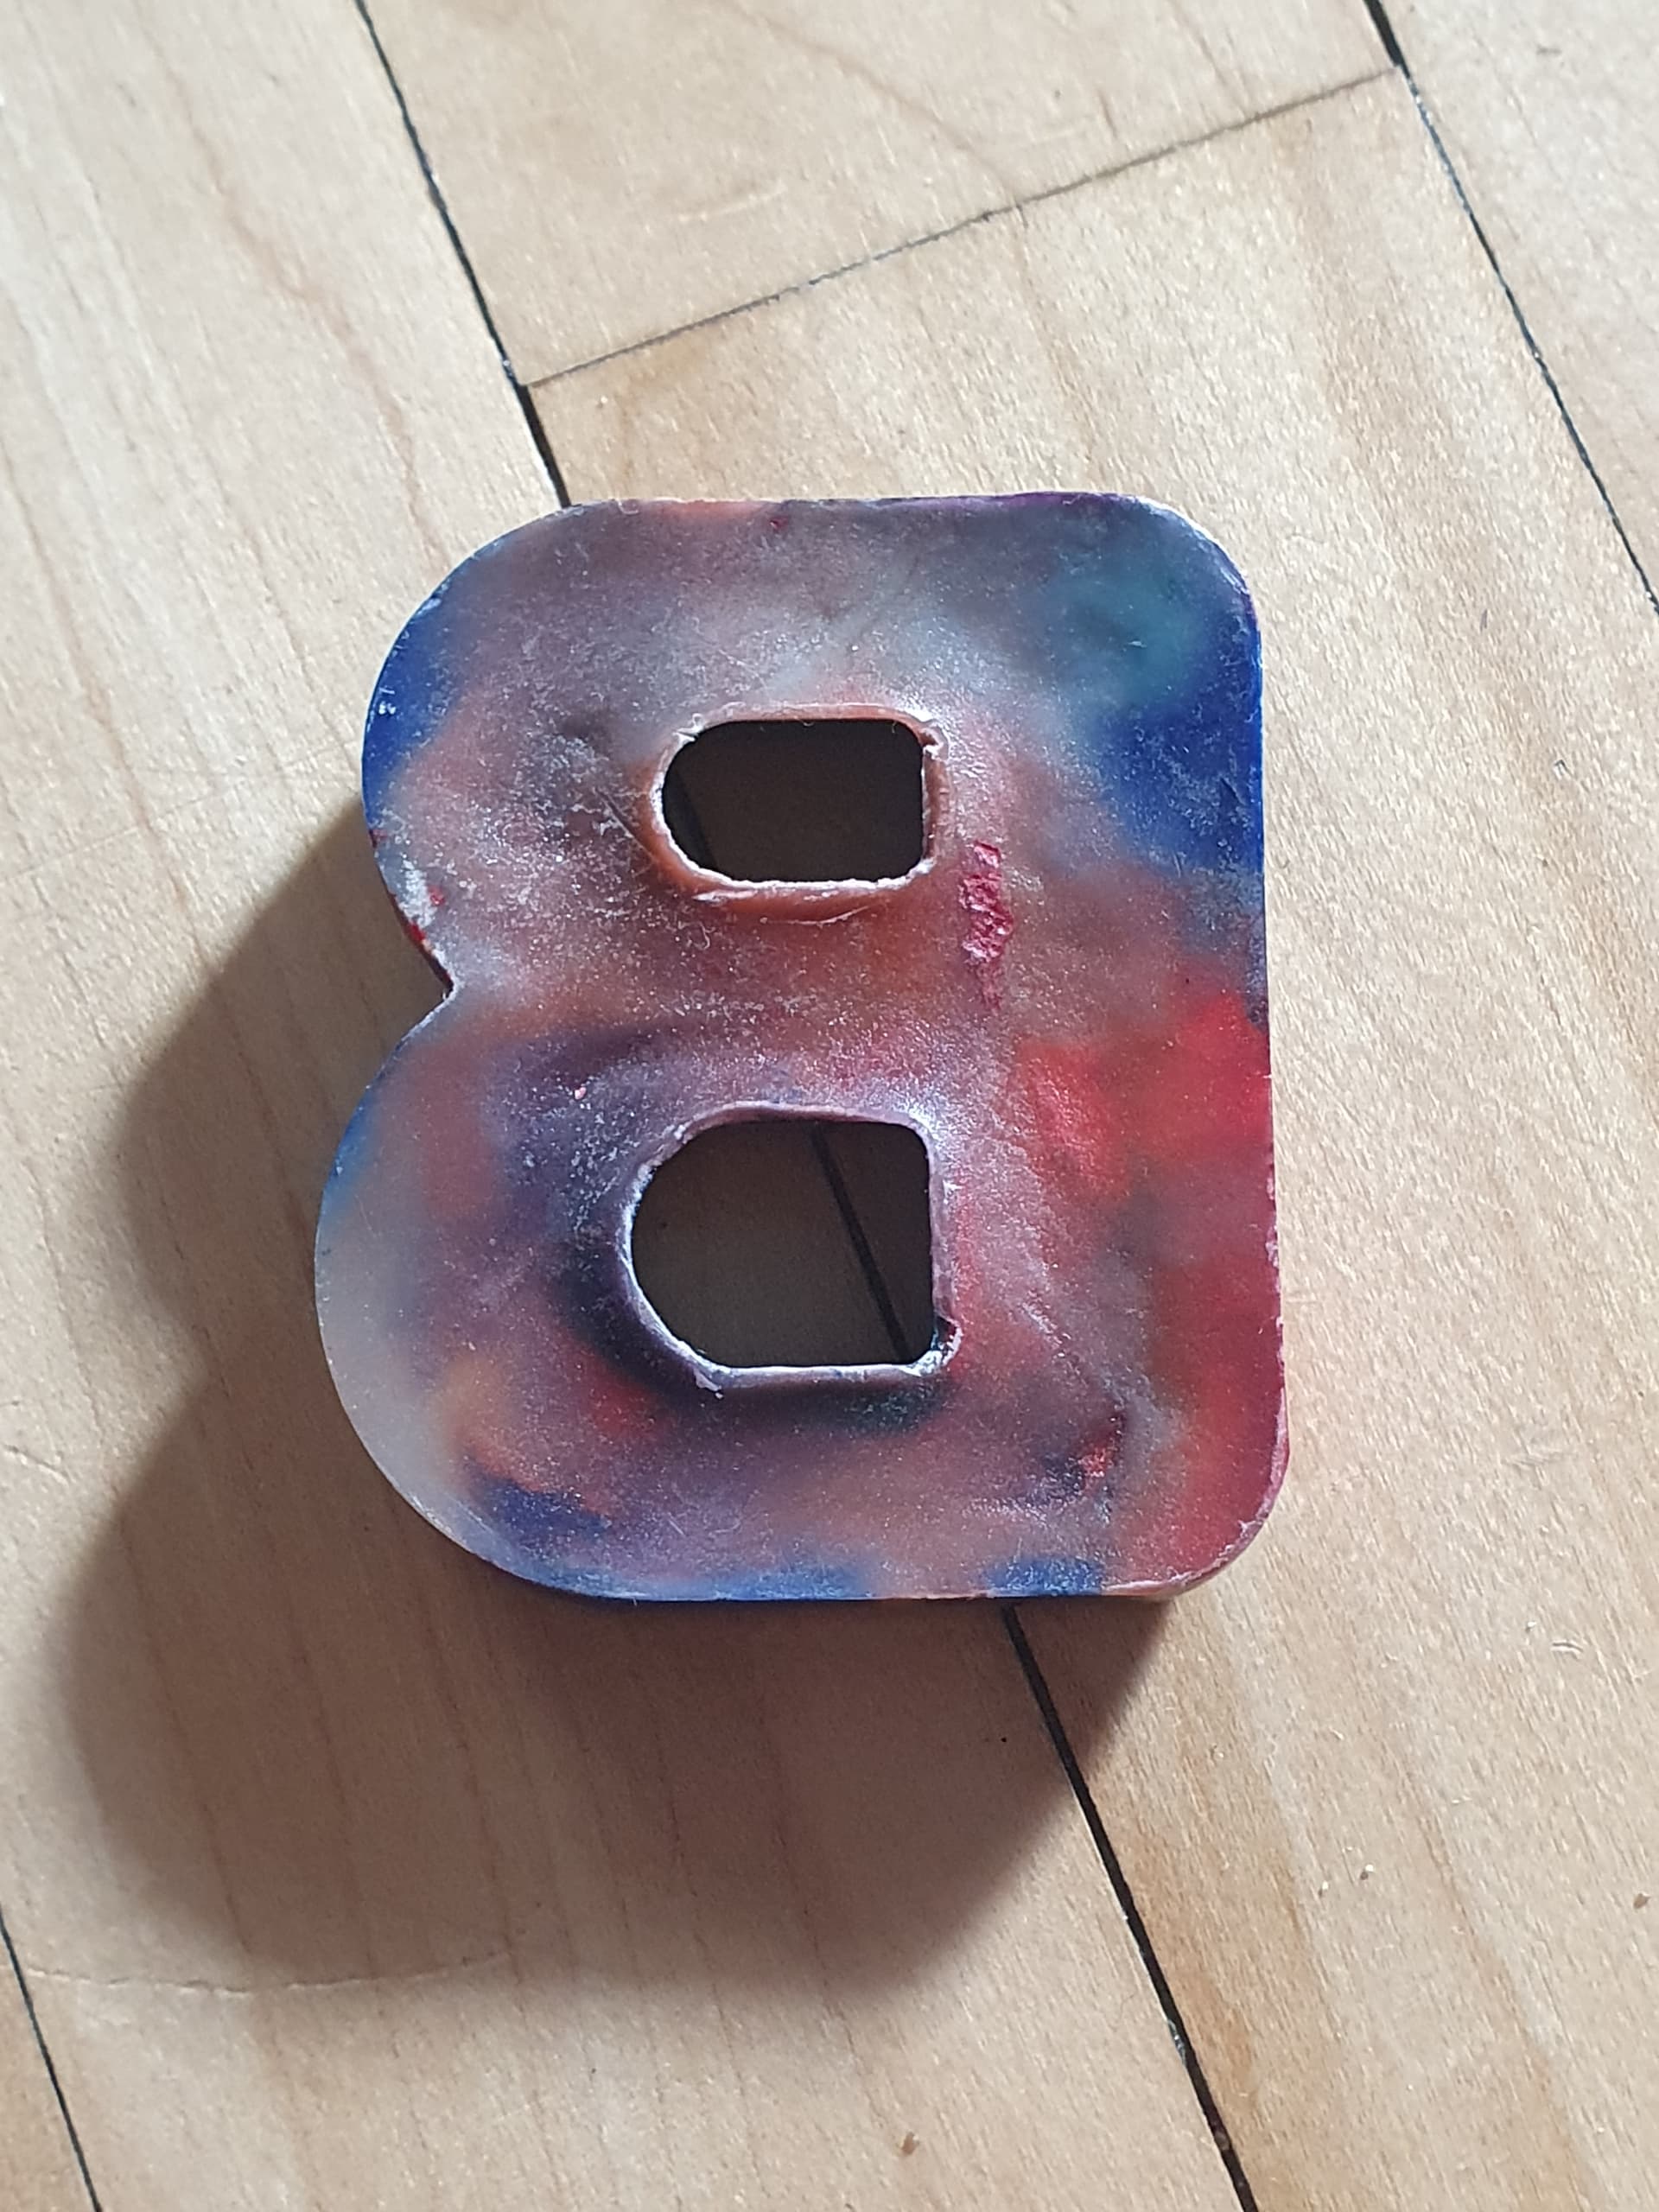
The B is backwards so that it inverts the molded crayon such that it is the right way when removed.
Well you got me going back to the picture and realizing my joke wasn’t so great after all. I thought it was just a silly arrangment issue and the B block needed to be rotated 180°. Looking back at your picture I realize the bottom loop is larger than the top (which makes sense of course) so your mirror image explanation is much more valid than my, turn the thing around jab. My dad jokes typically land about half the time. That one clearly fell in the other half
Haha. That makes this whole back and forth even funnier!
Since we already ran this joke into the ground, here are some pictures to show what I’m talking about.