Just finished up a custom stand build for my, new to me, 440. Got it used locally for a great price with the enclosure, a bunch of tool holders and a bunch of other accessories. Looking at the 8L and the 770 I really liked those stand designs so I decided to make something similar for mine. The stand it came with is the Tormach stand. I wanted something a little more robust that had better chip management. I don’t have a ton of space in my shop so I wanted something that added some extra storage space and managed the coolant and chips a little better. I have no experience with CNC machining and wanted to get into it. I have worked in the industrial machine world for the last 20years so macines are not new to me. Just how to operate a CNC mill.
I know that this is a starter machine and if I stick with it and like it, which I am sure I will, I can upgrade down the road to something bigger with more features. I can sell this one all decked out to a newbie and they will have a nice machine to start with. The guy I bought it from upgraded to a Hass mini mill for what he did. The 440 was missing steps on the Y axis. The gib was worn out and just needed to be shimmed. Becuase of that I was able to get everything at a really good price. The way covers were are torn to shreds so that was the motivation to also design some telescoping way covers for this thing as well.
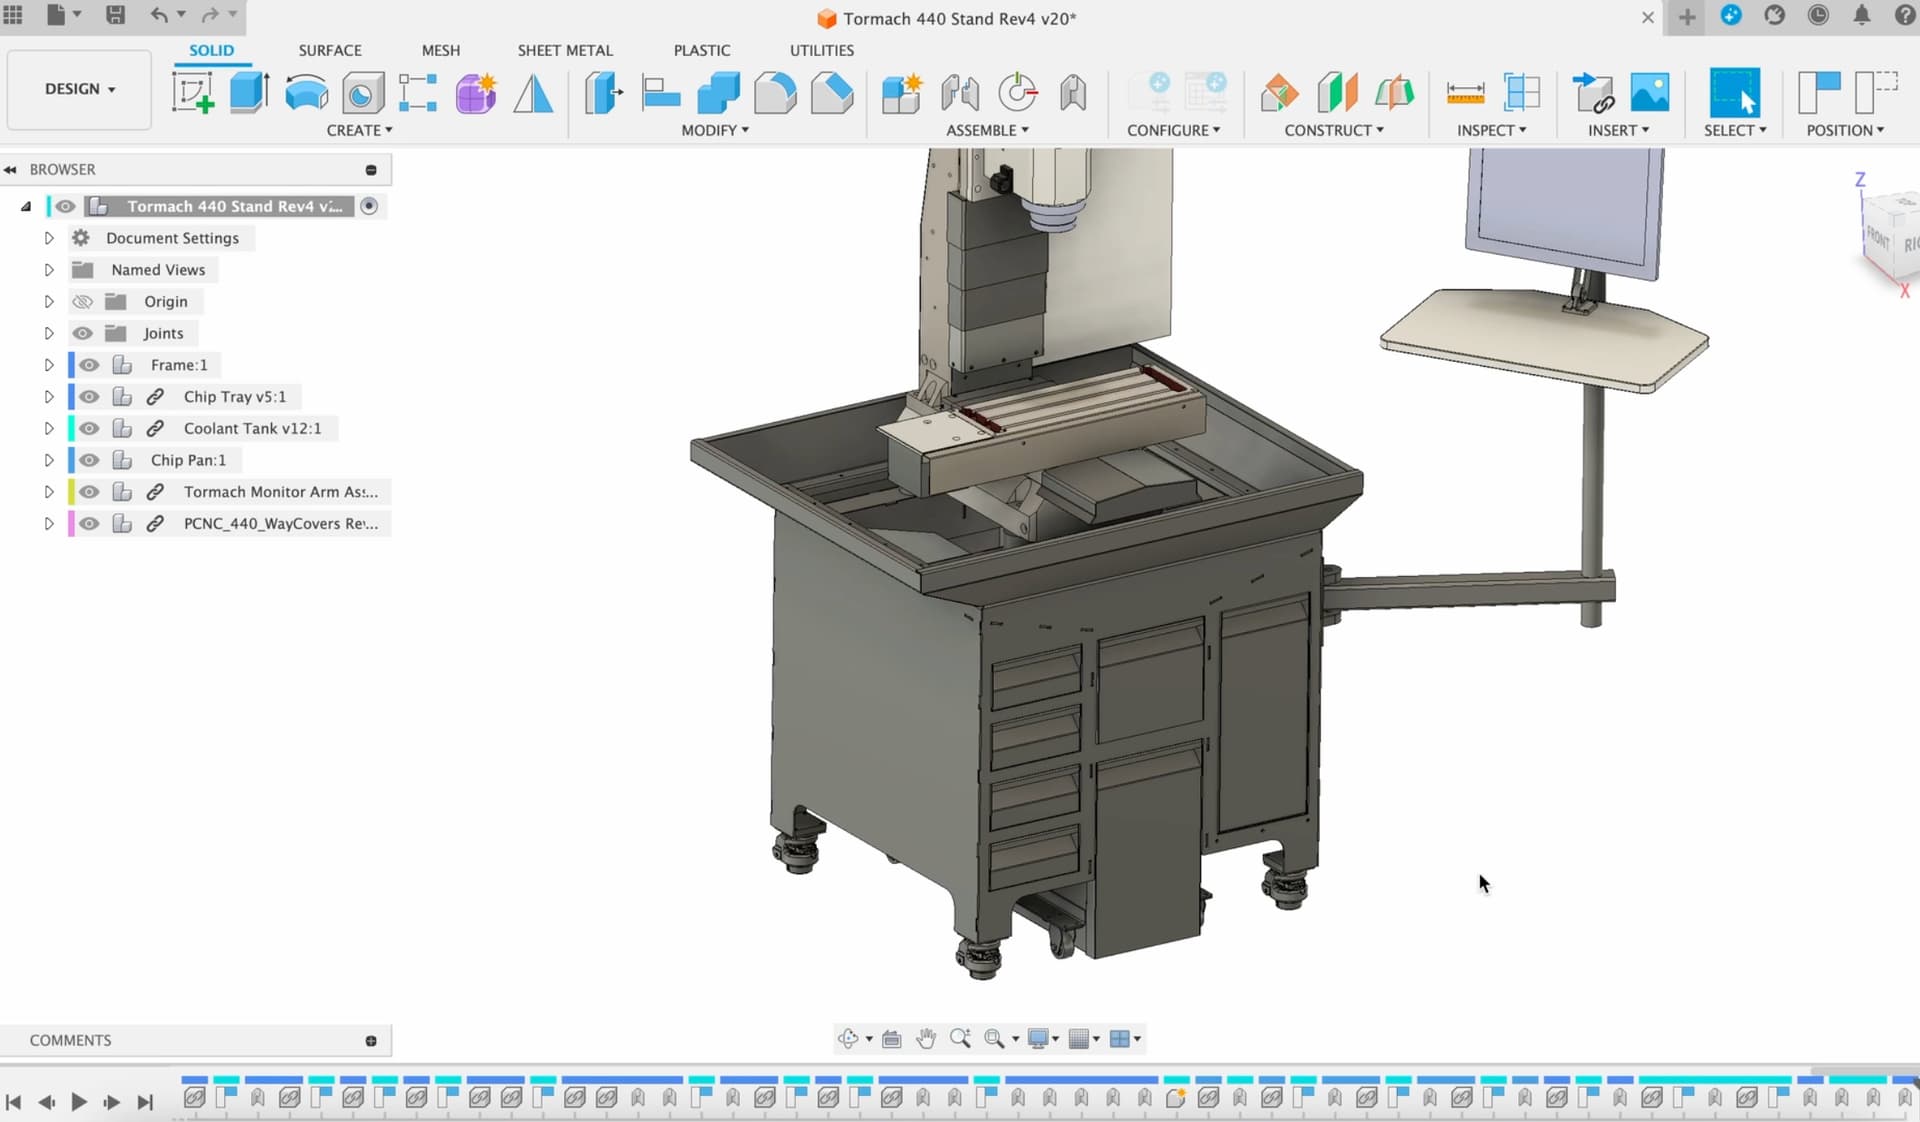
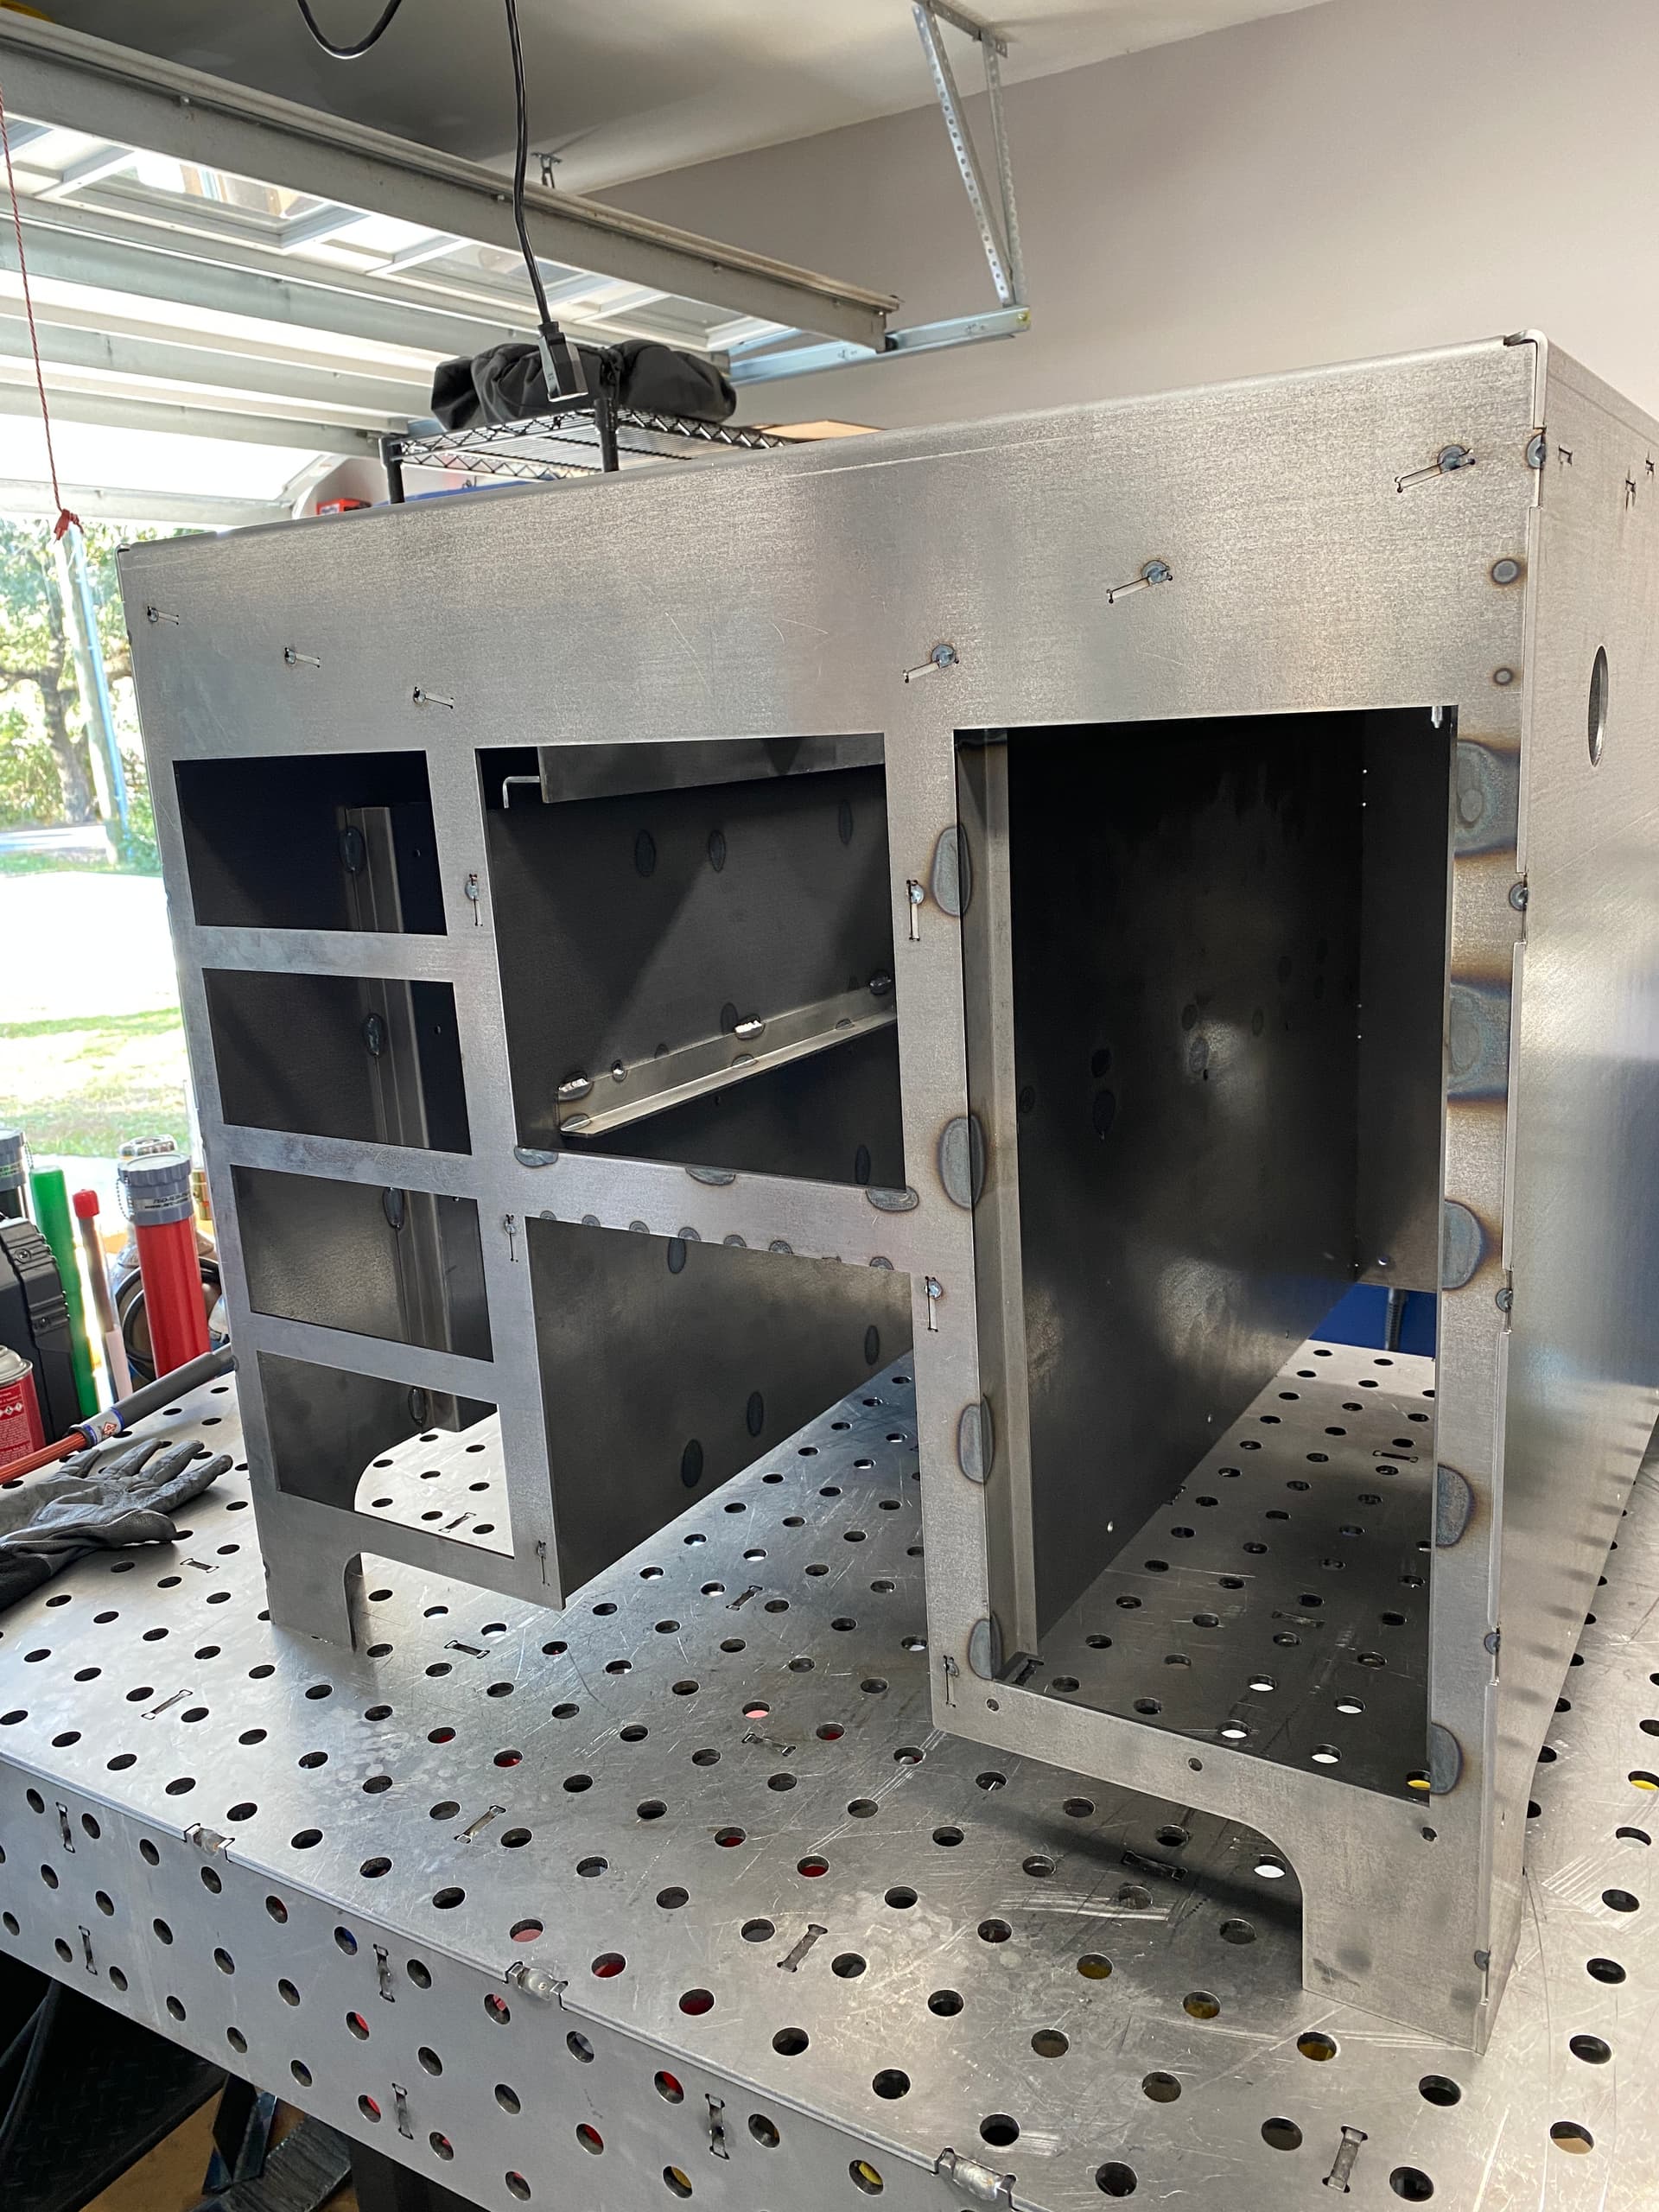
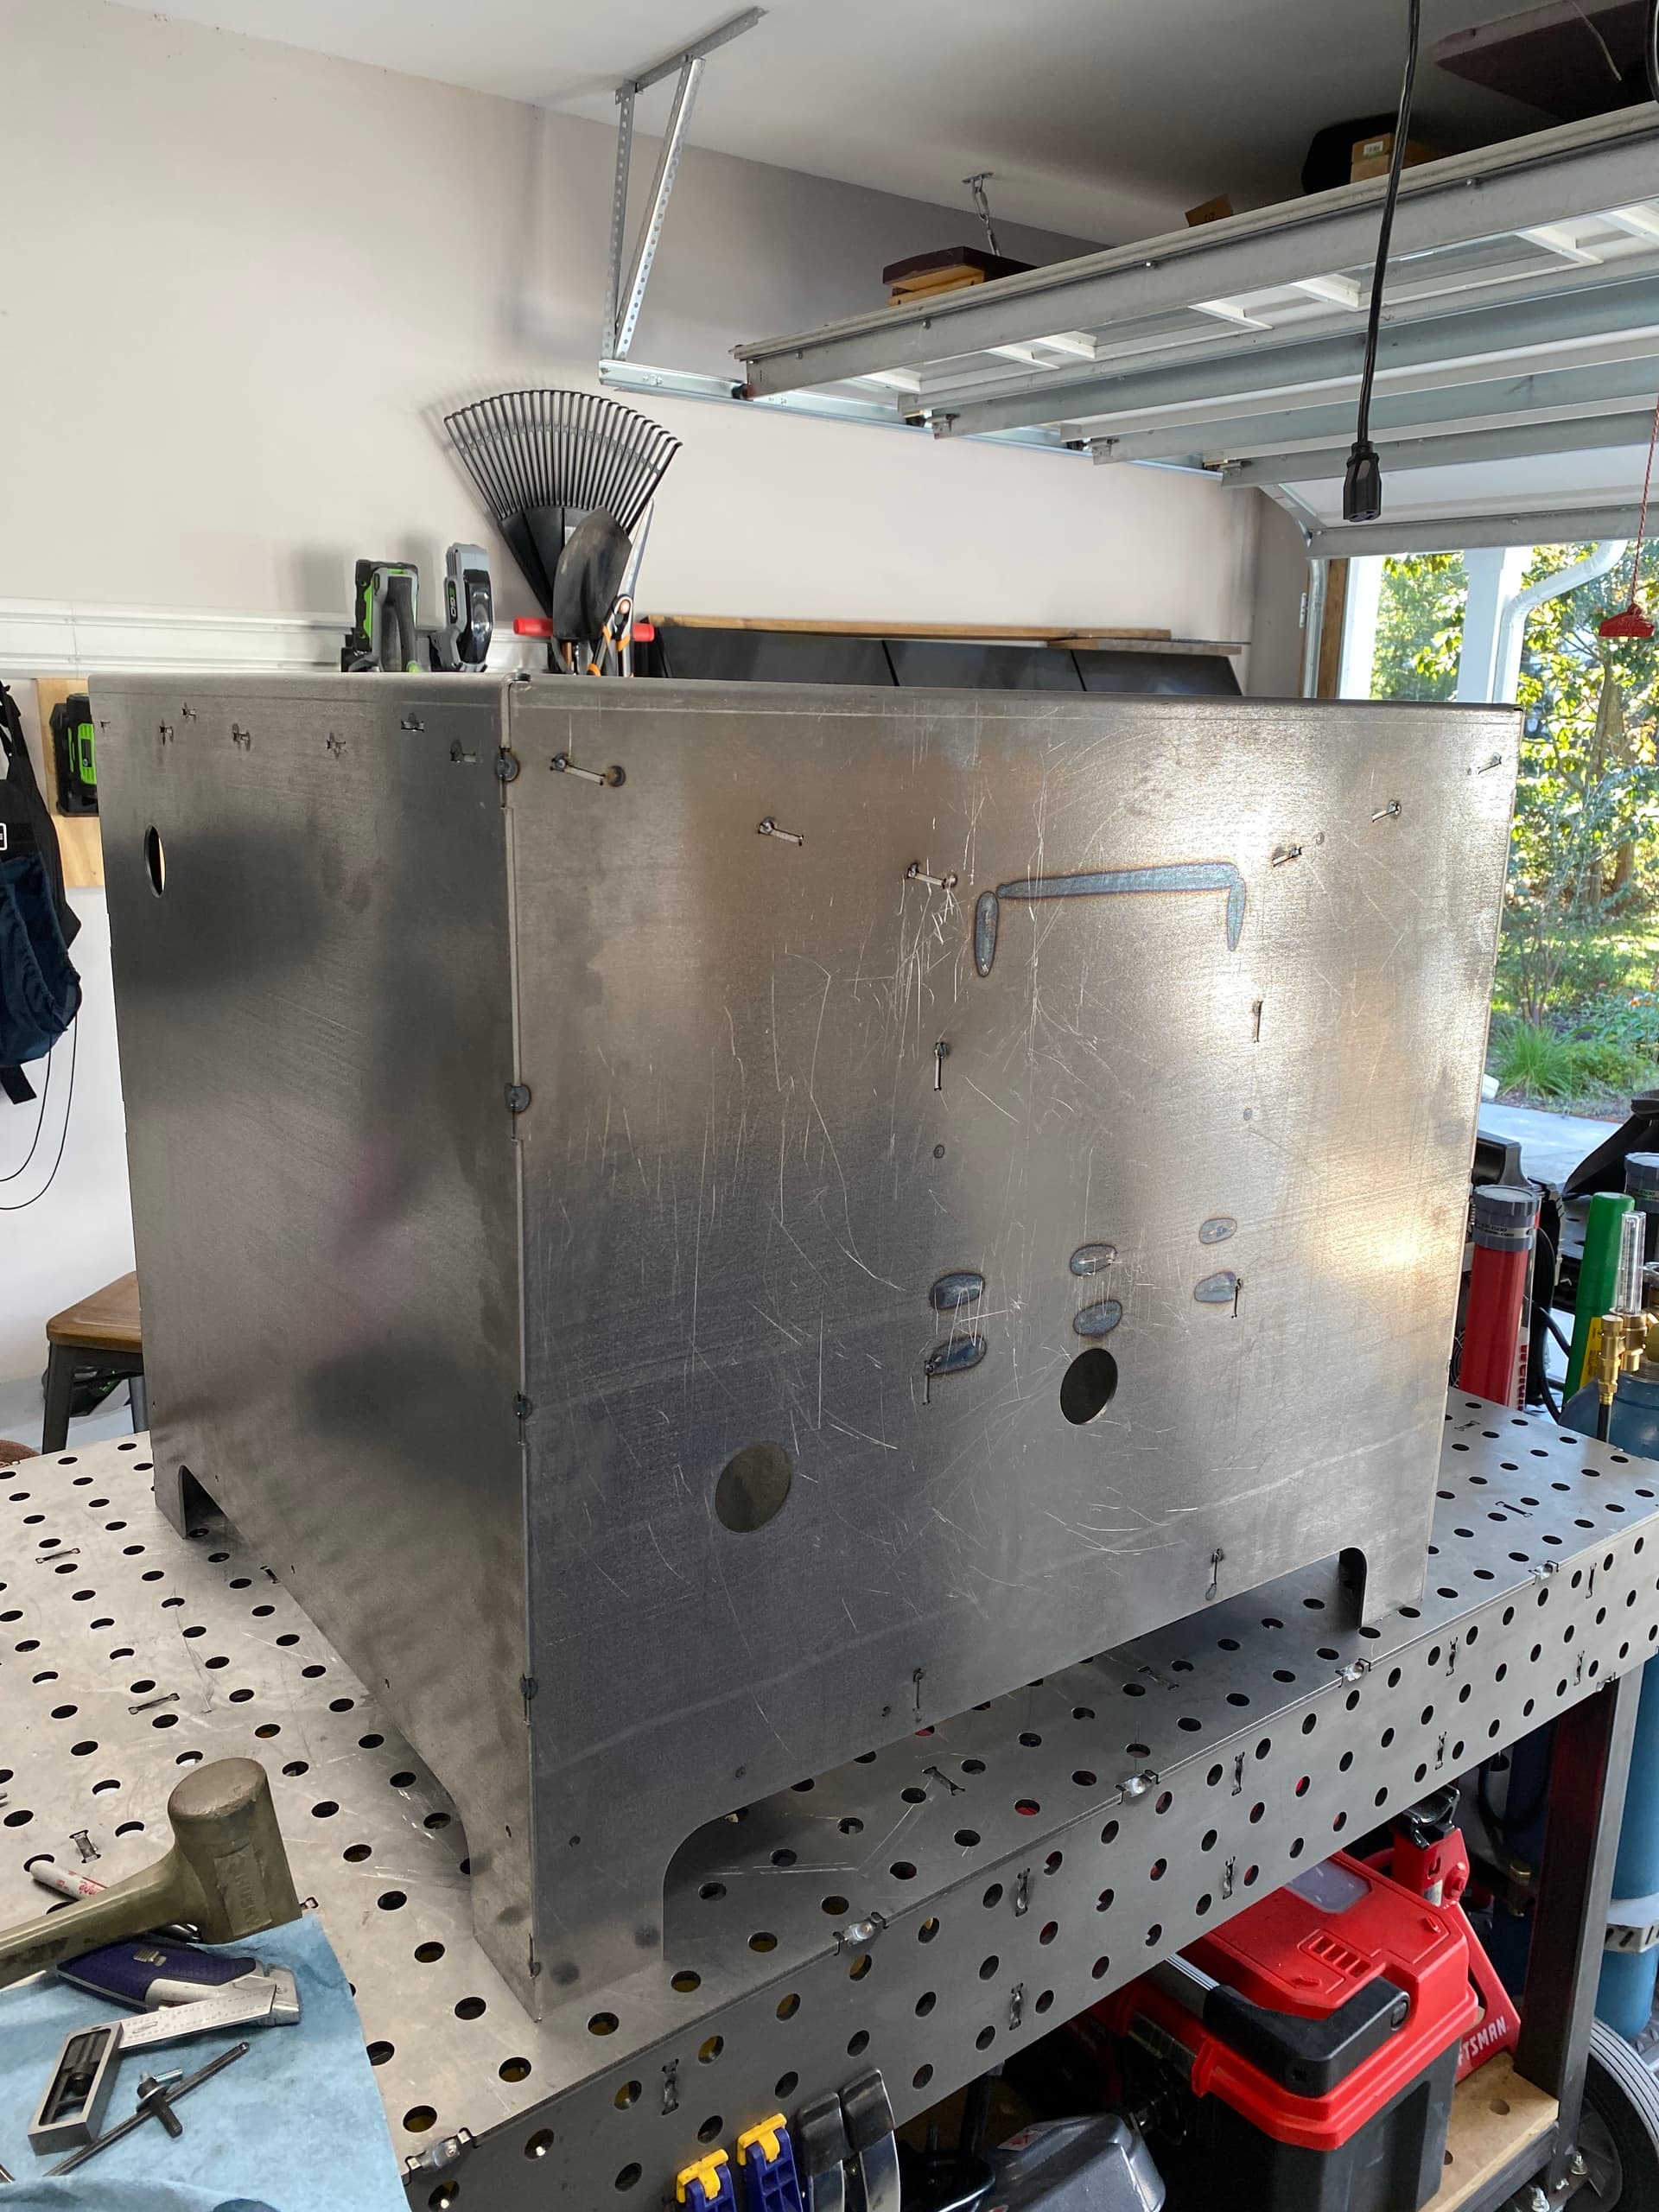
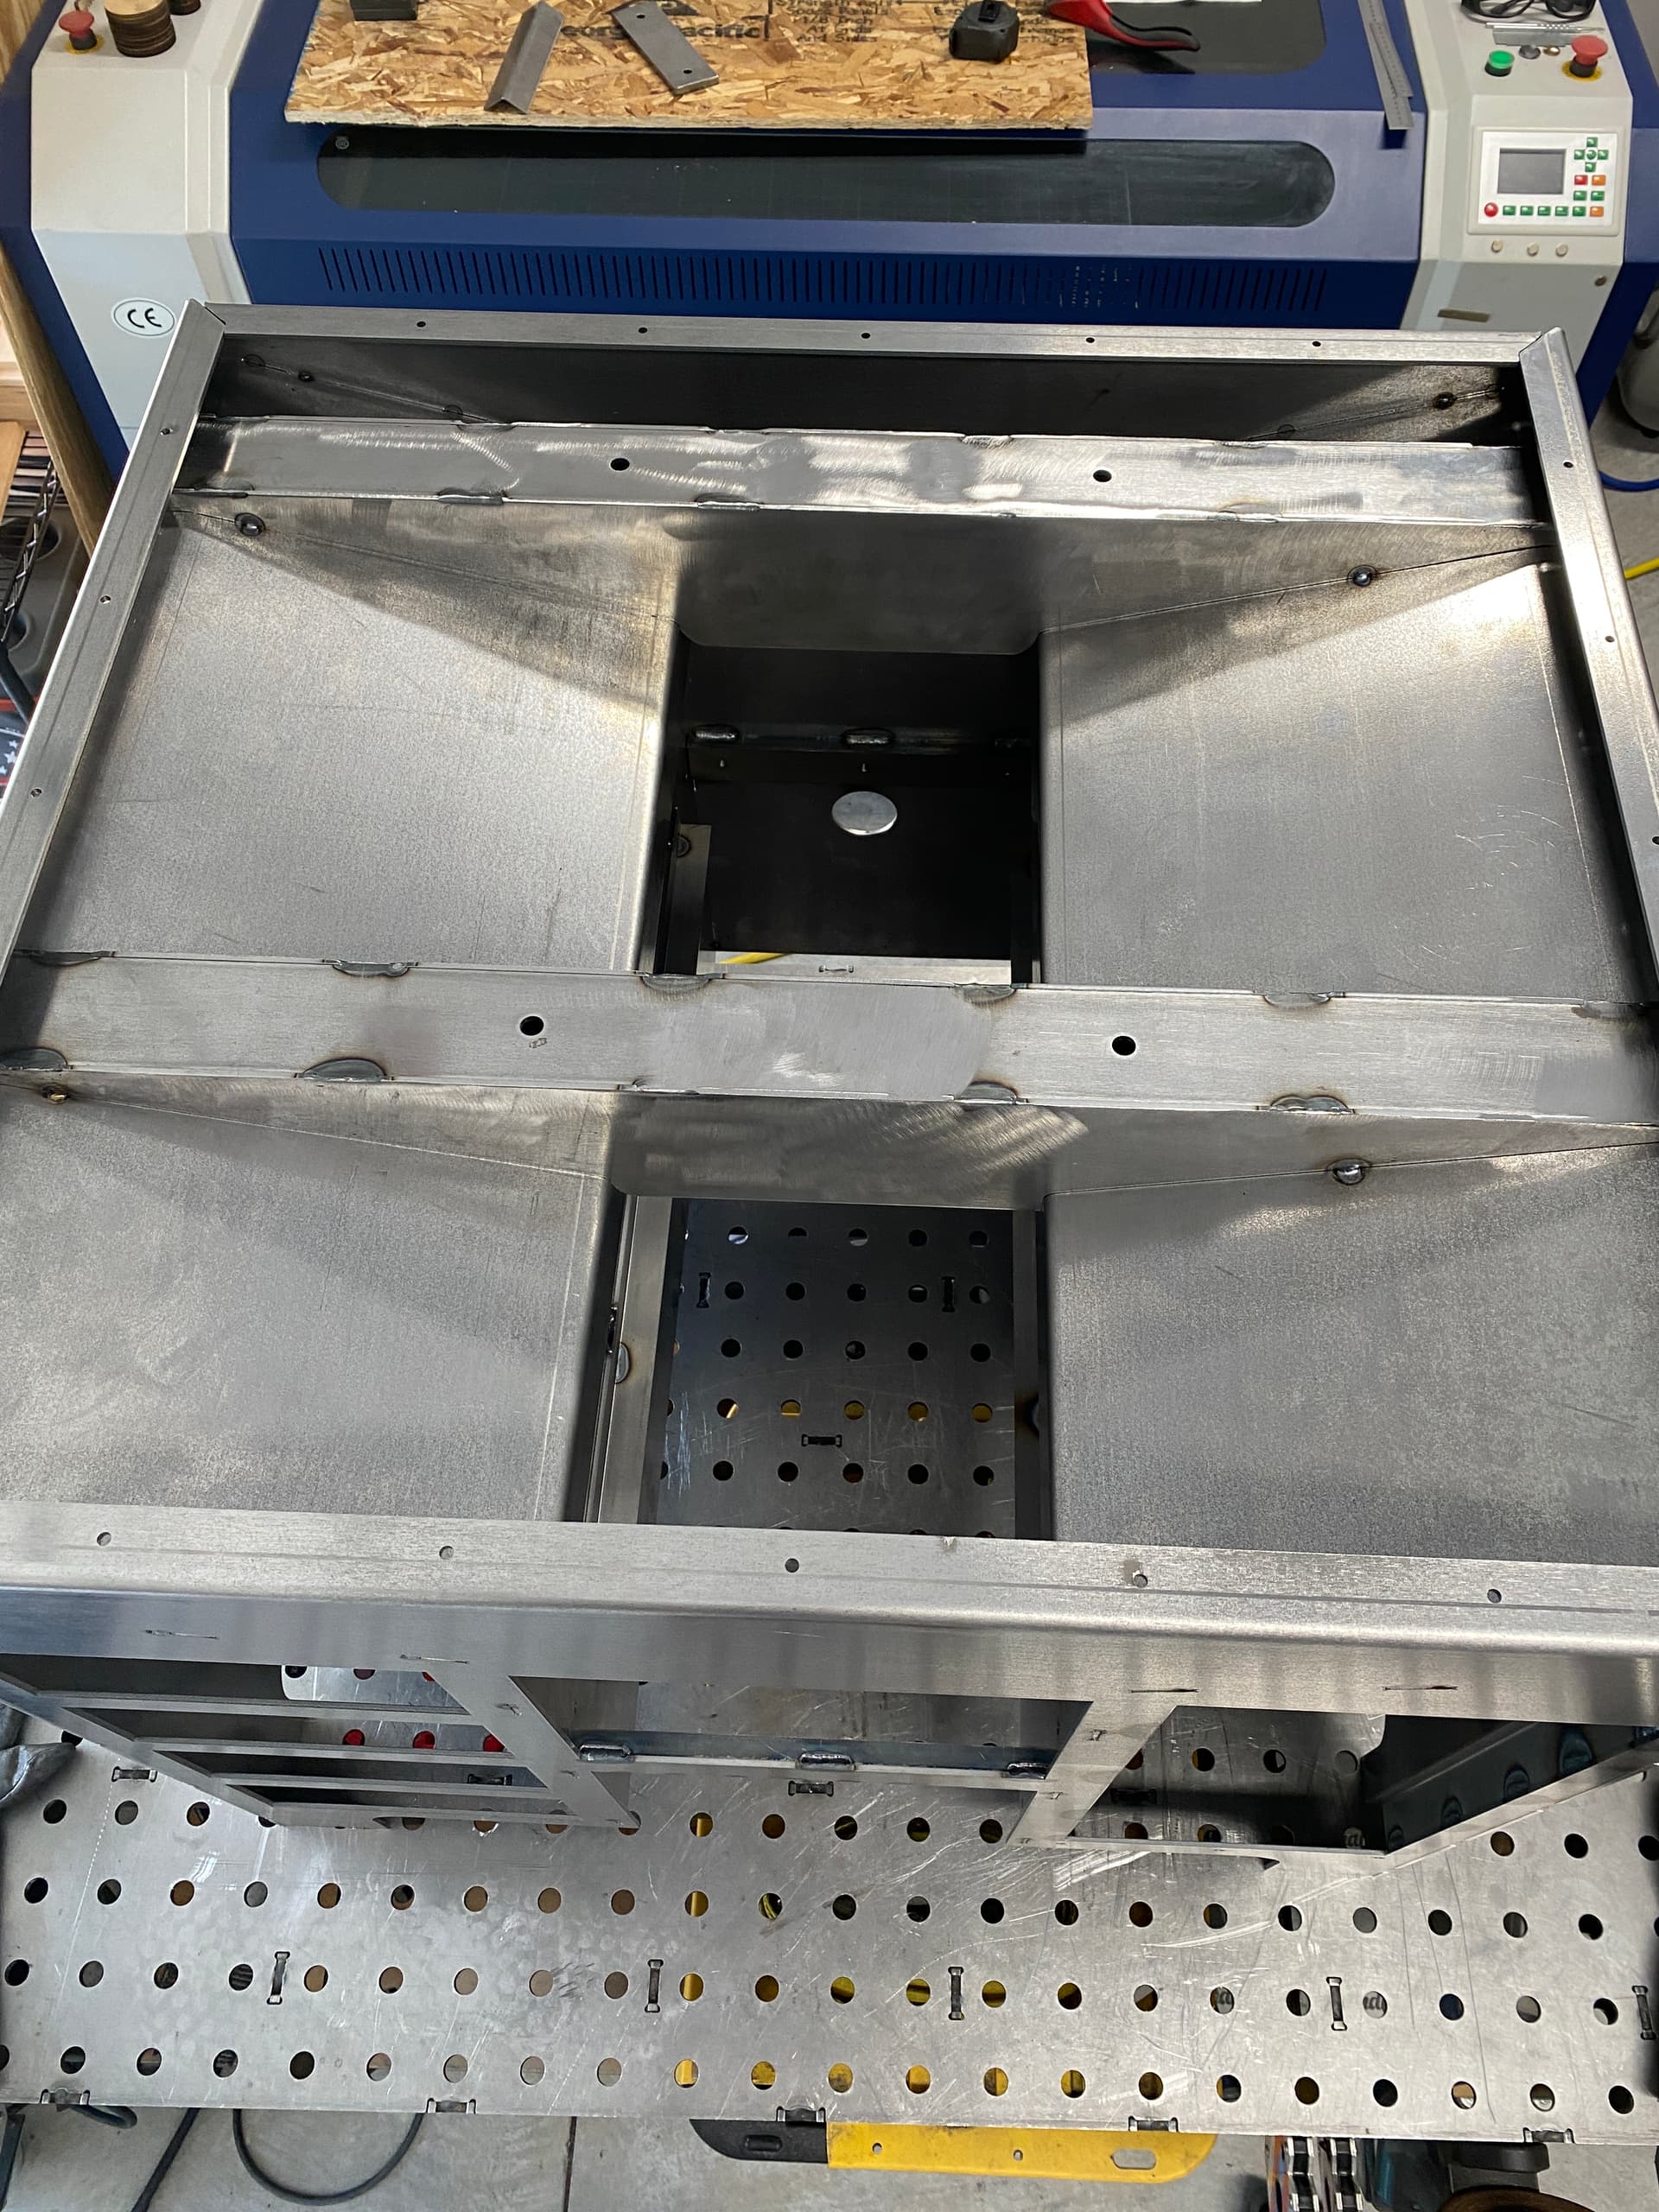
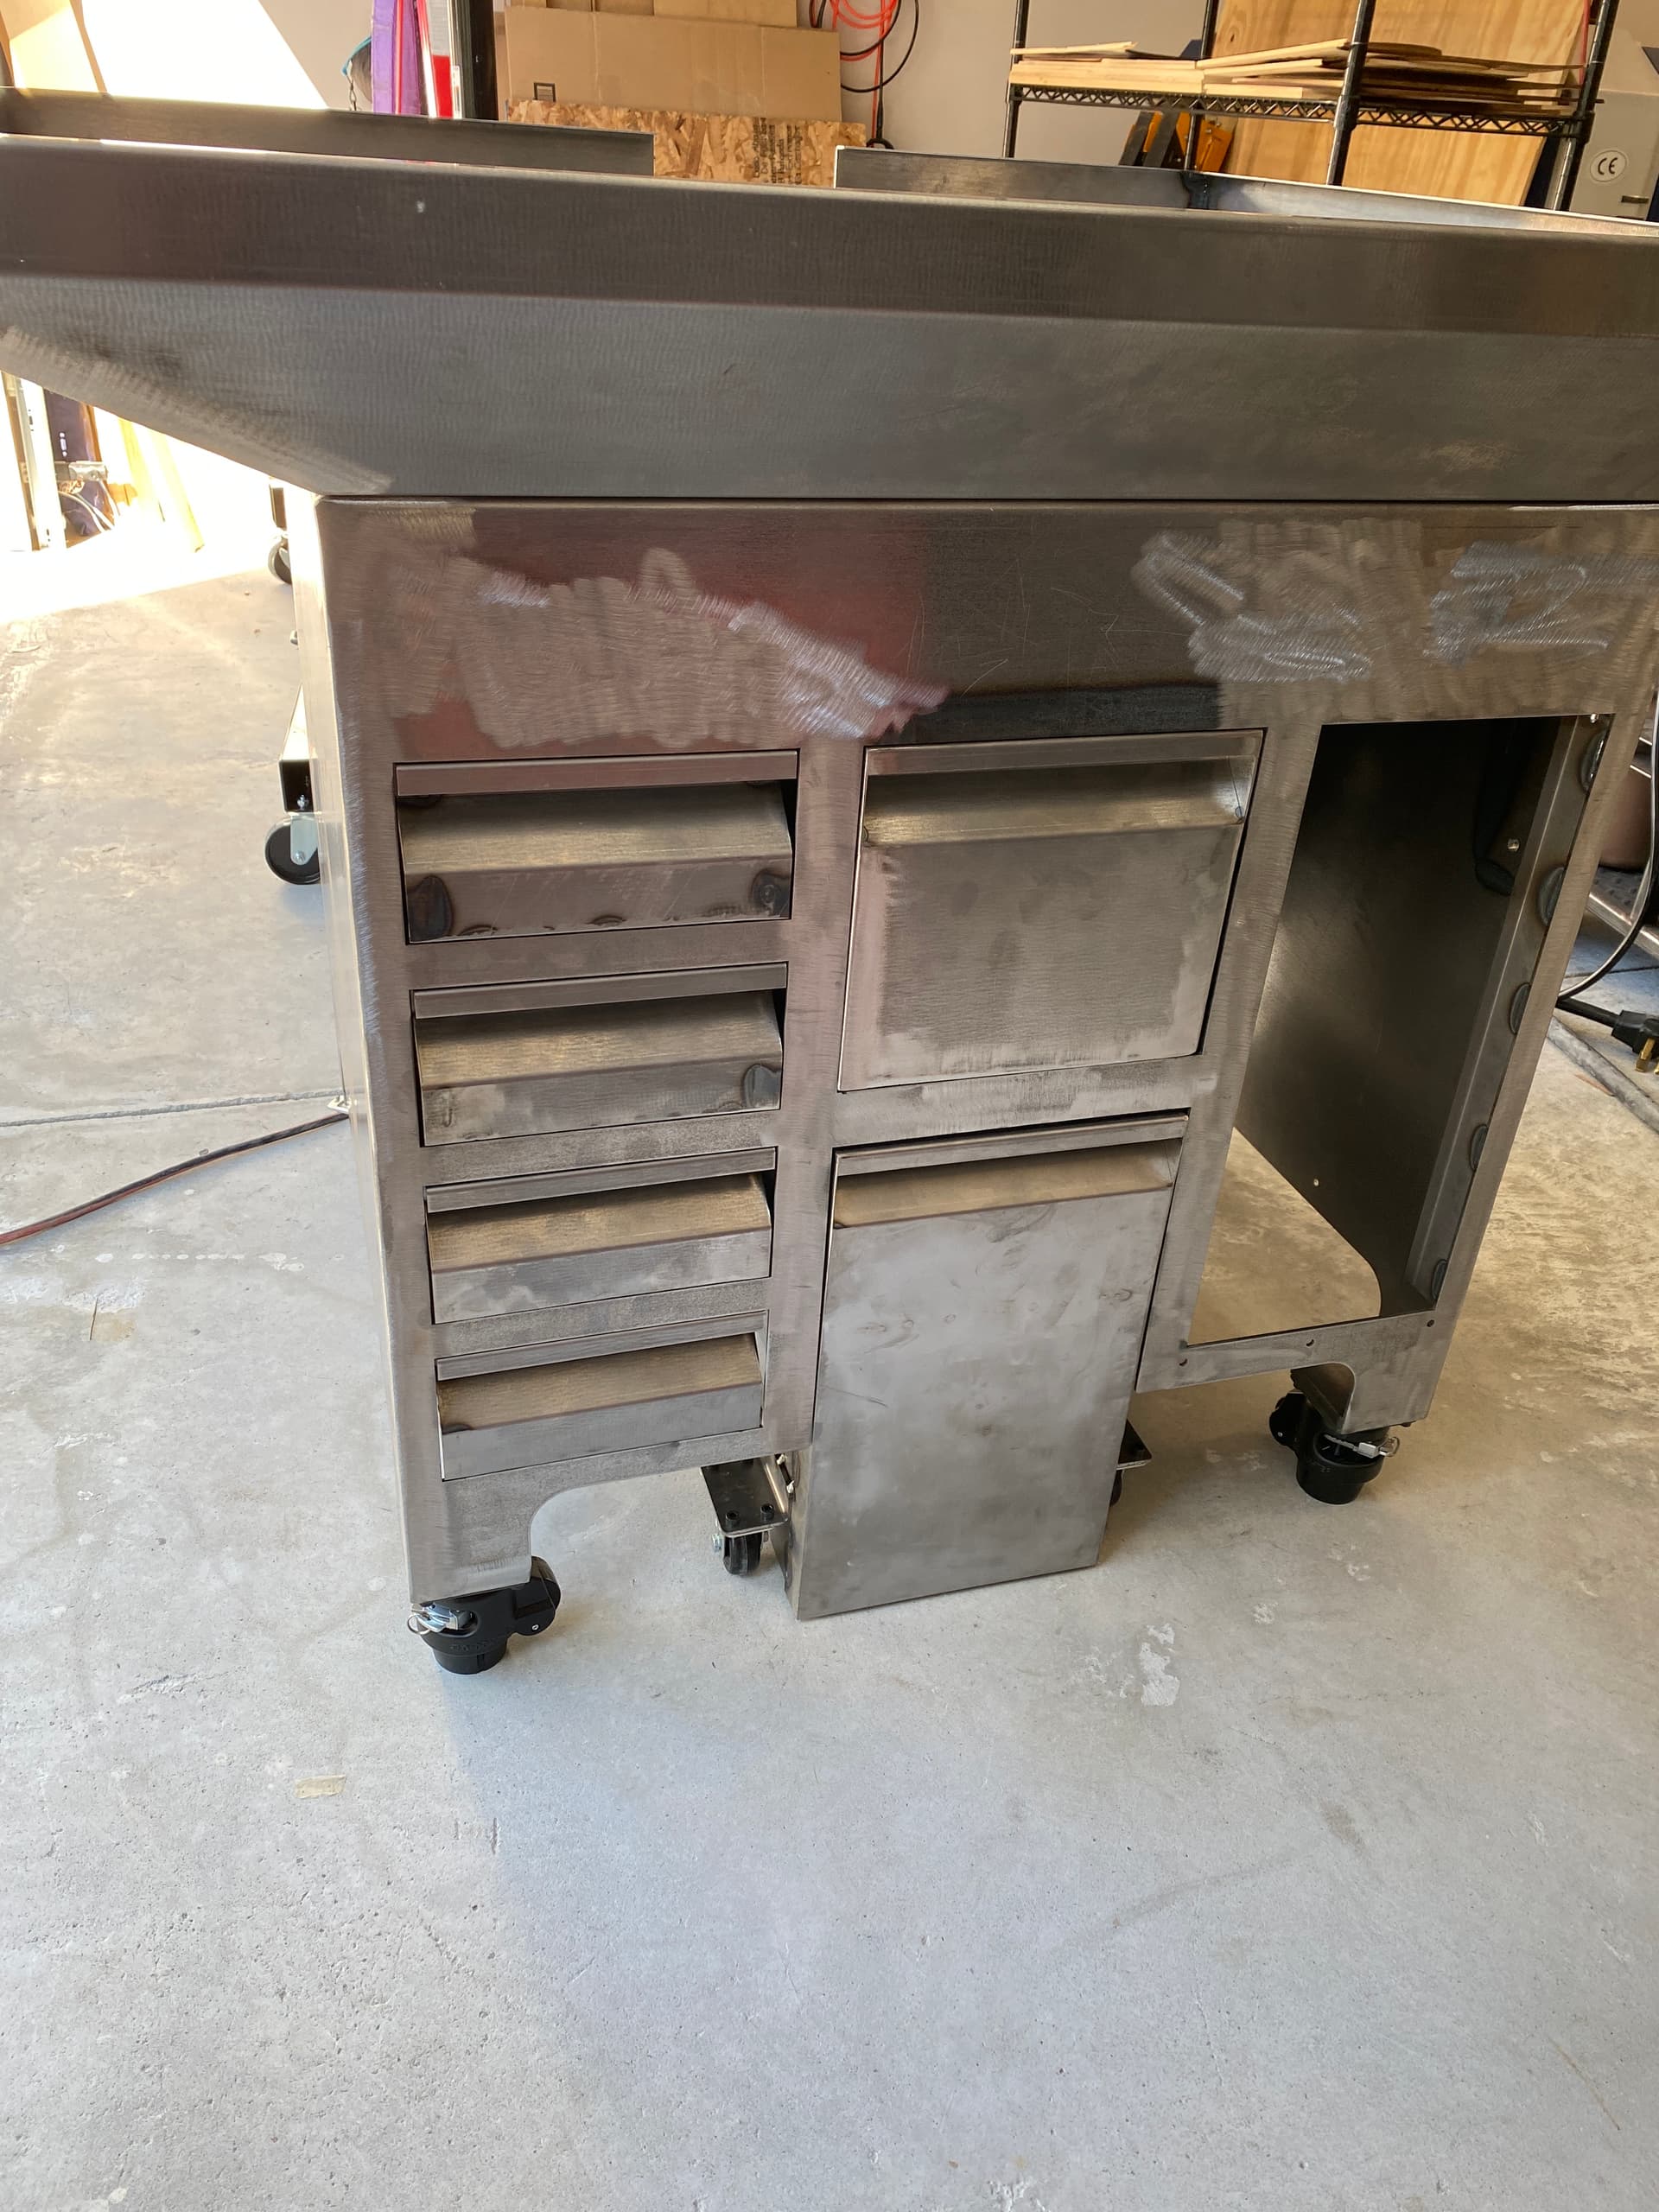
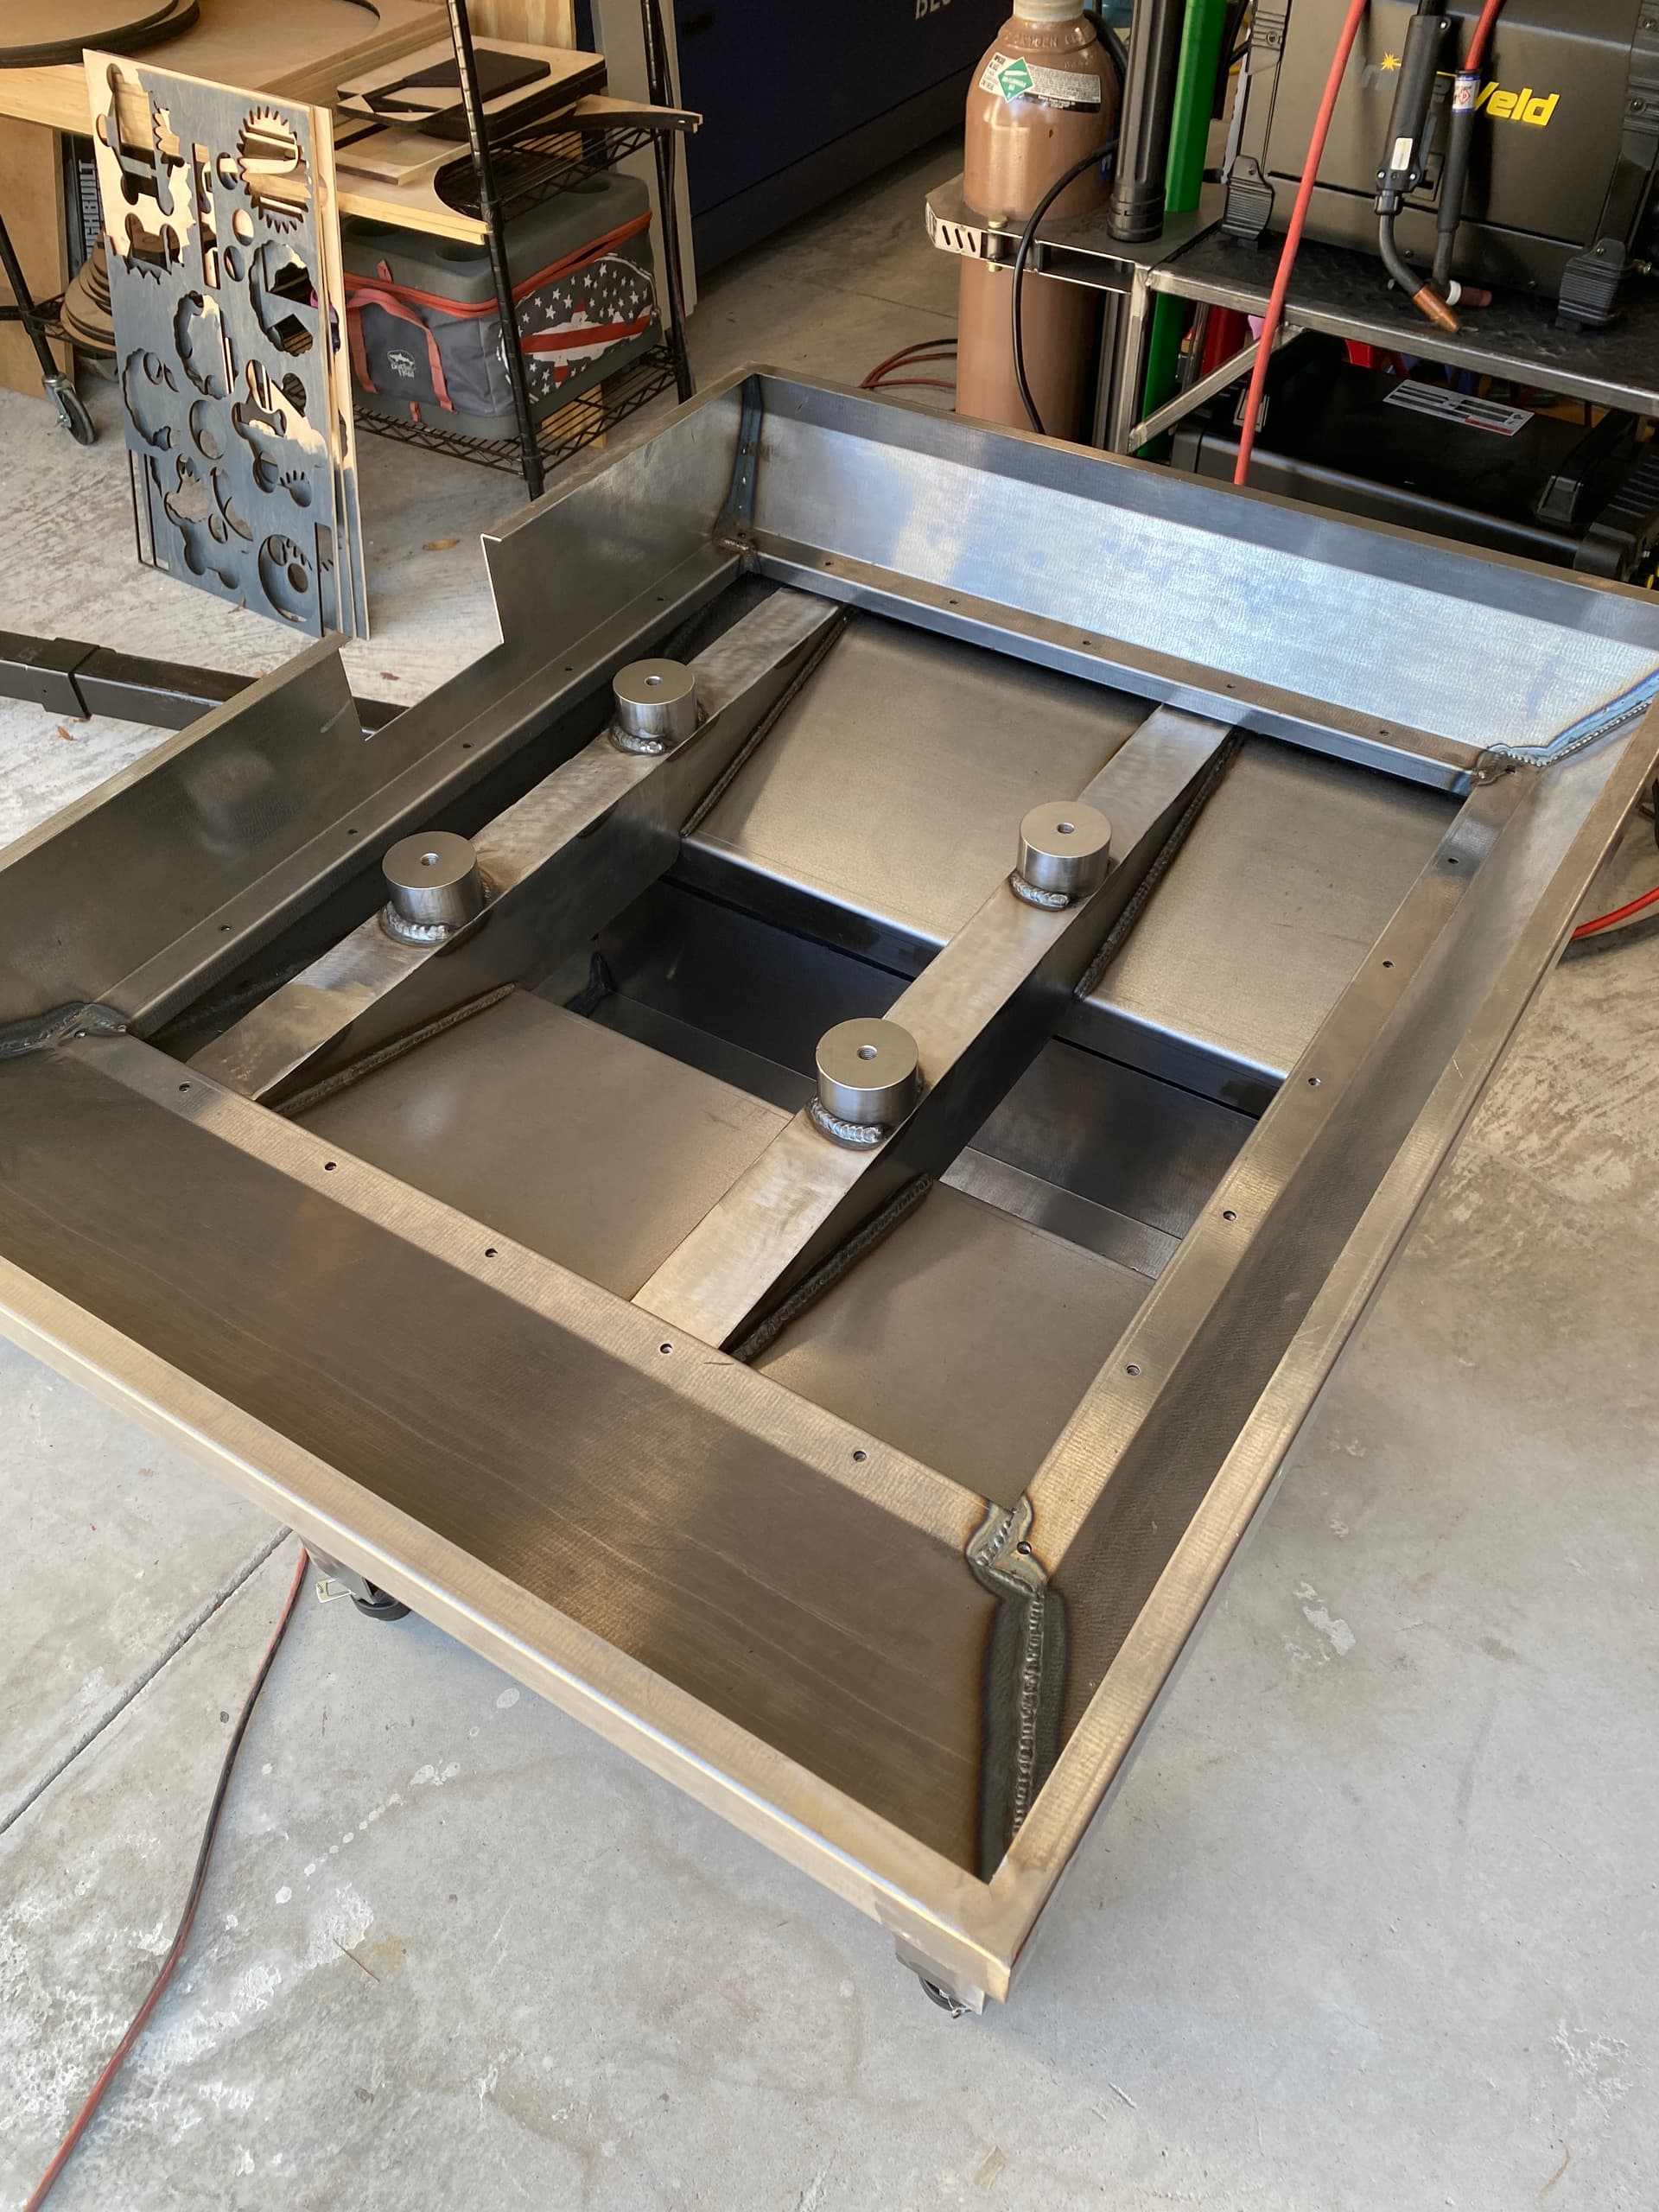
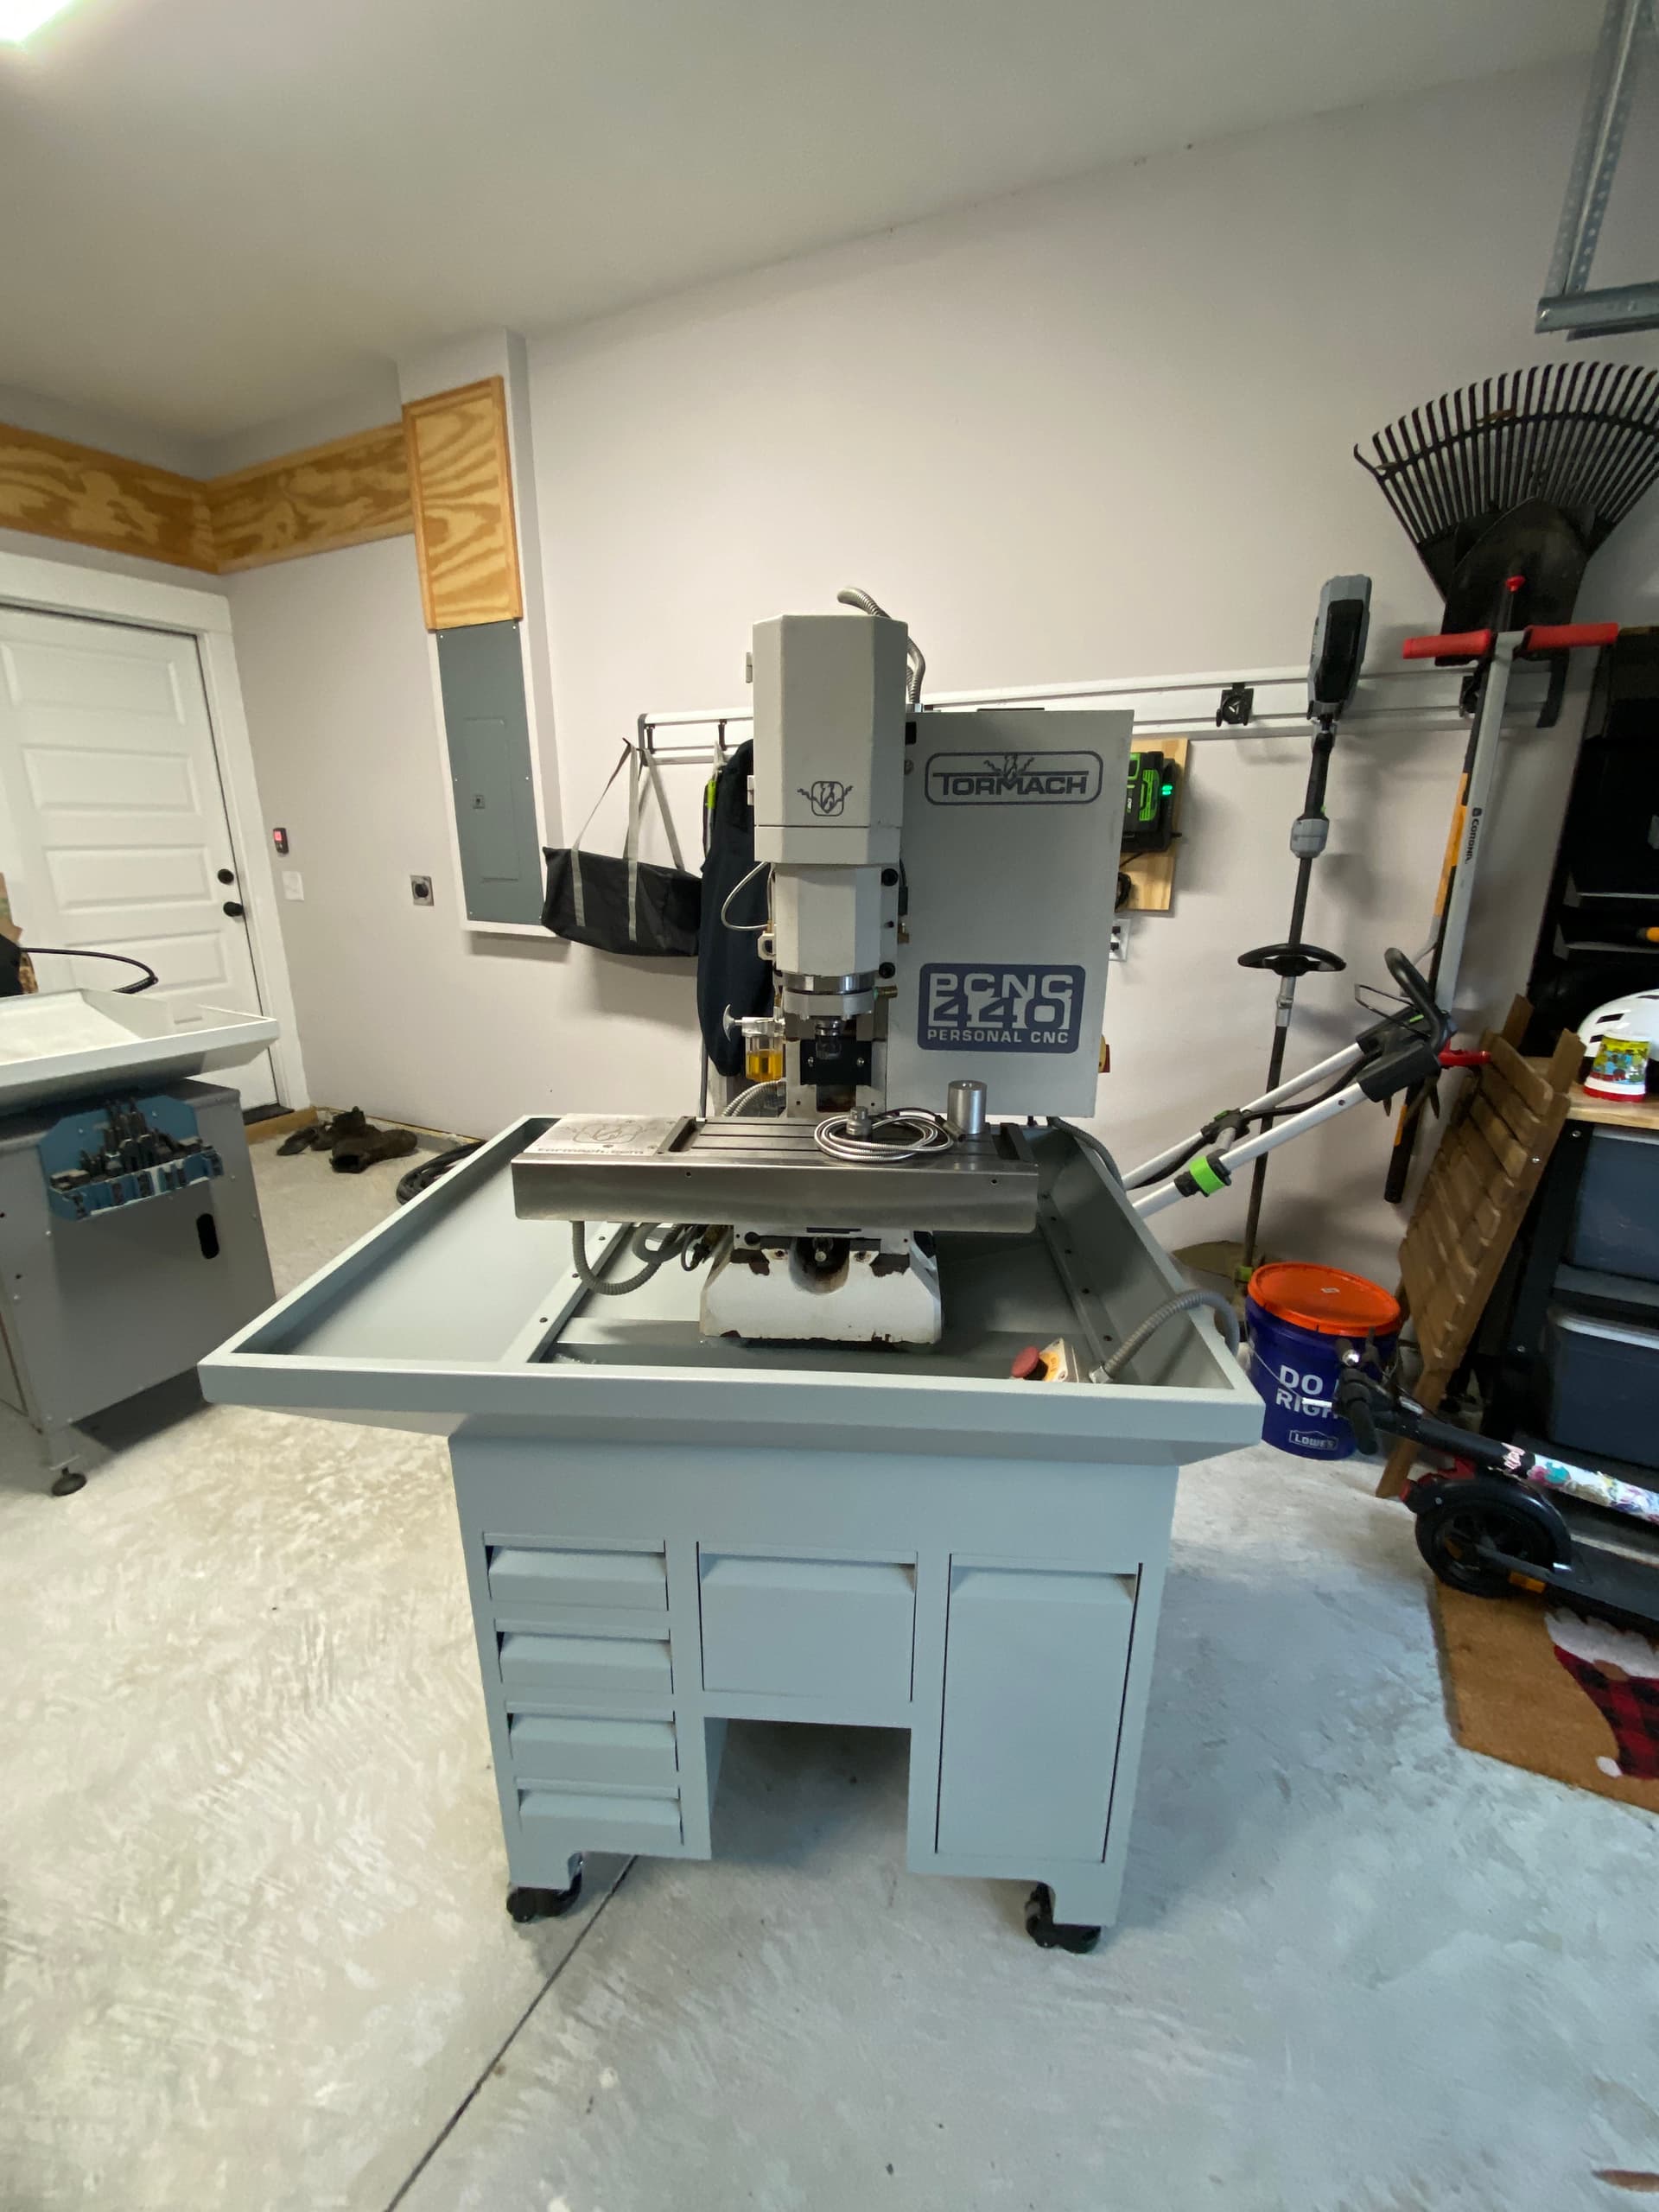
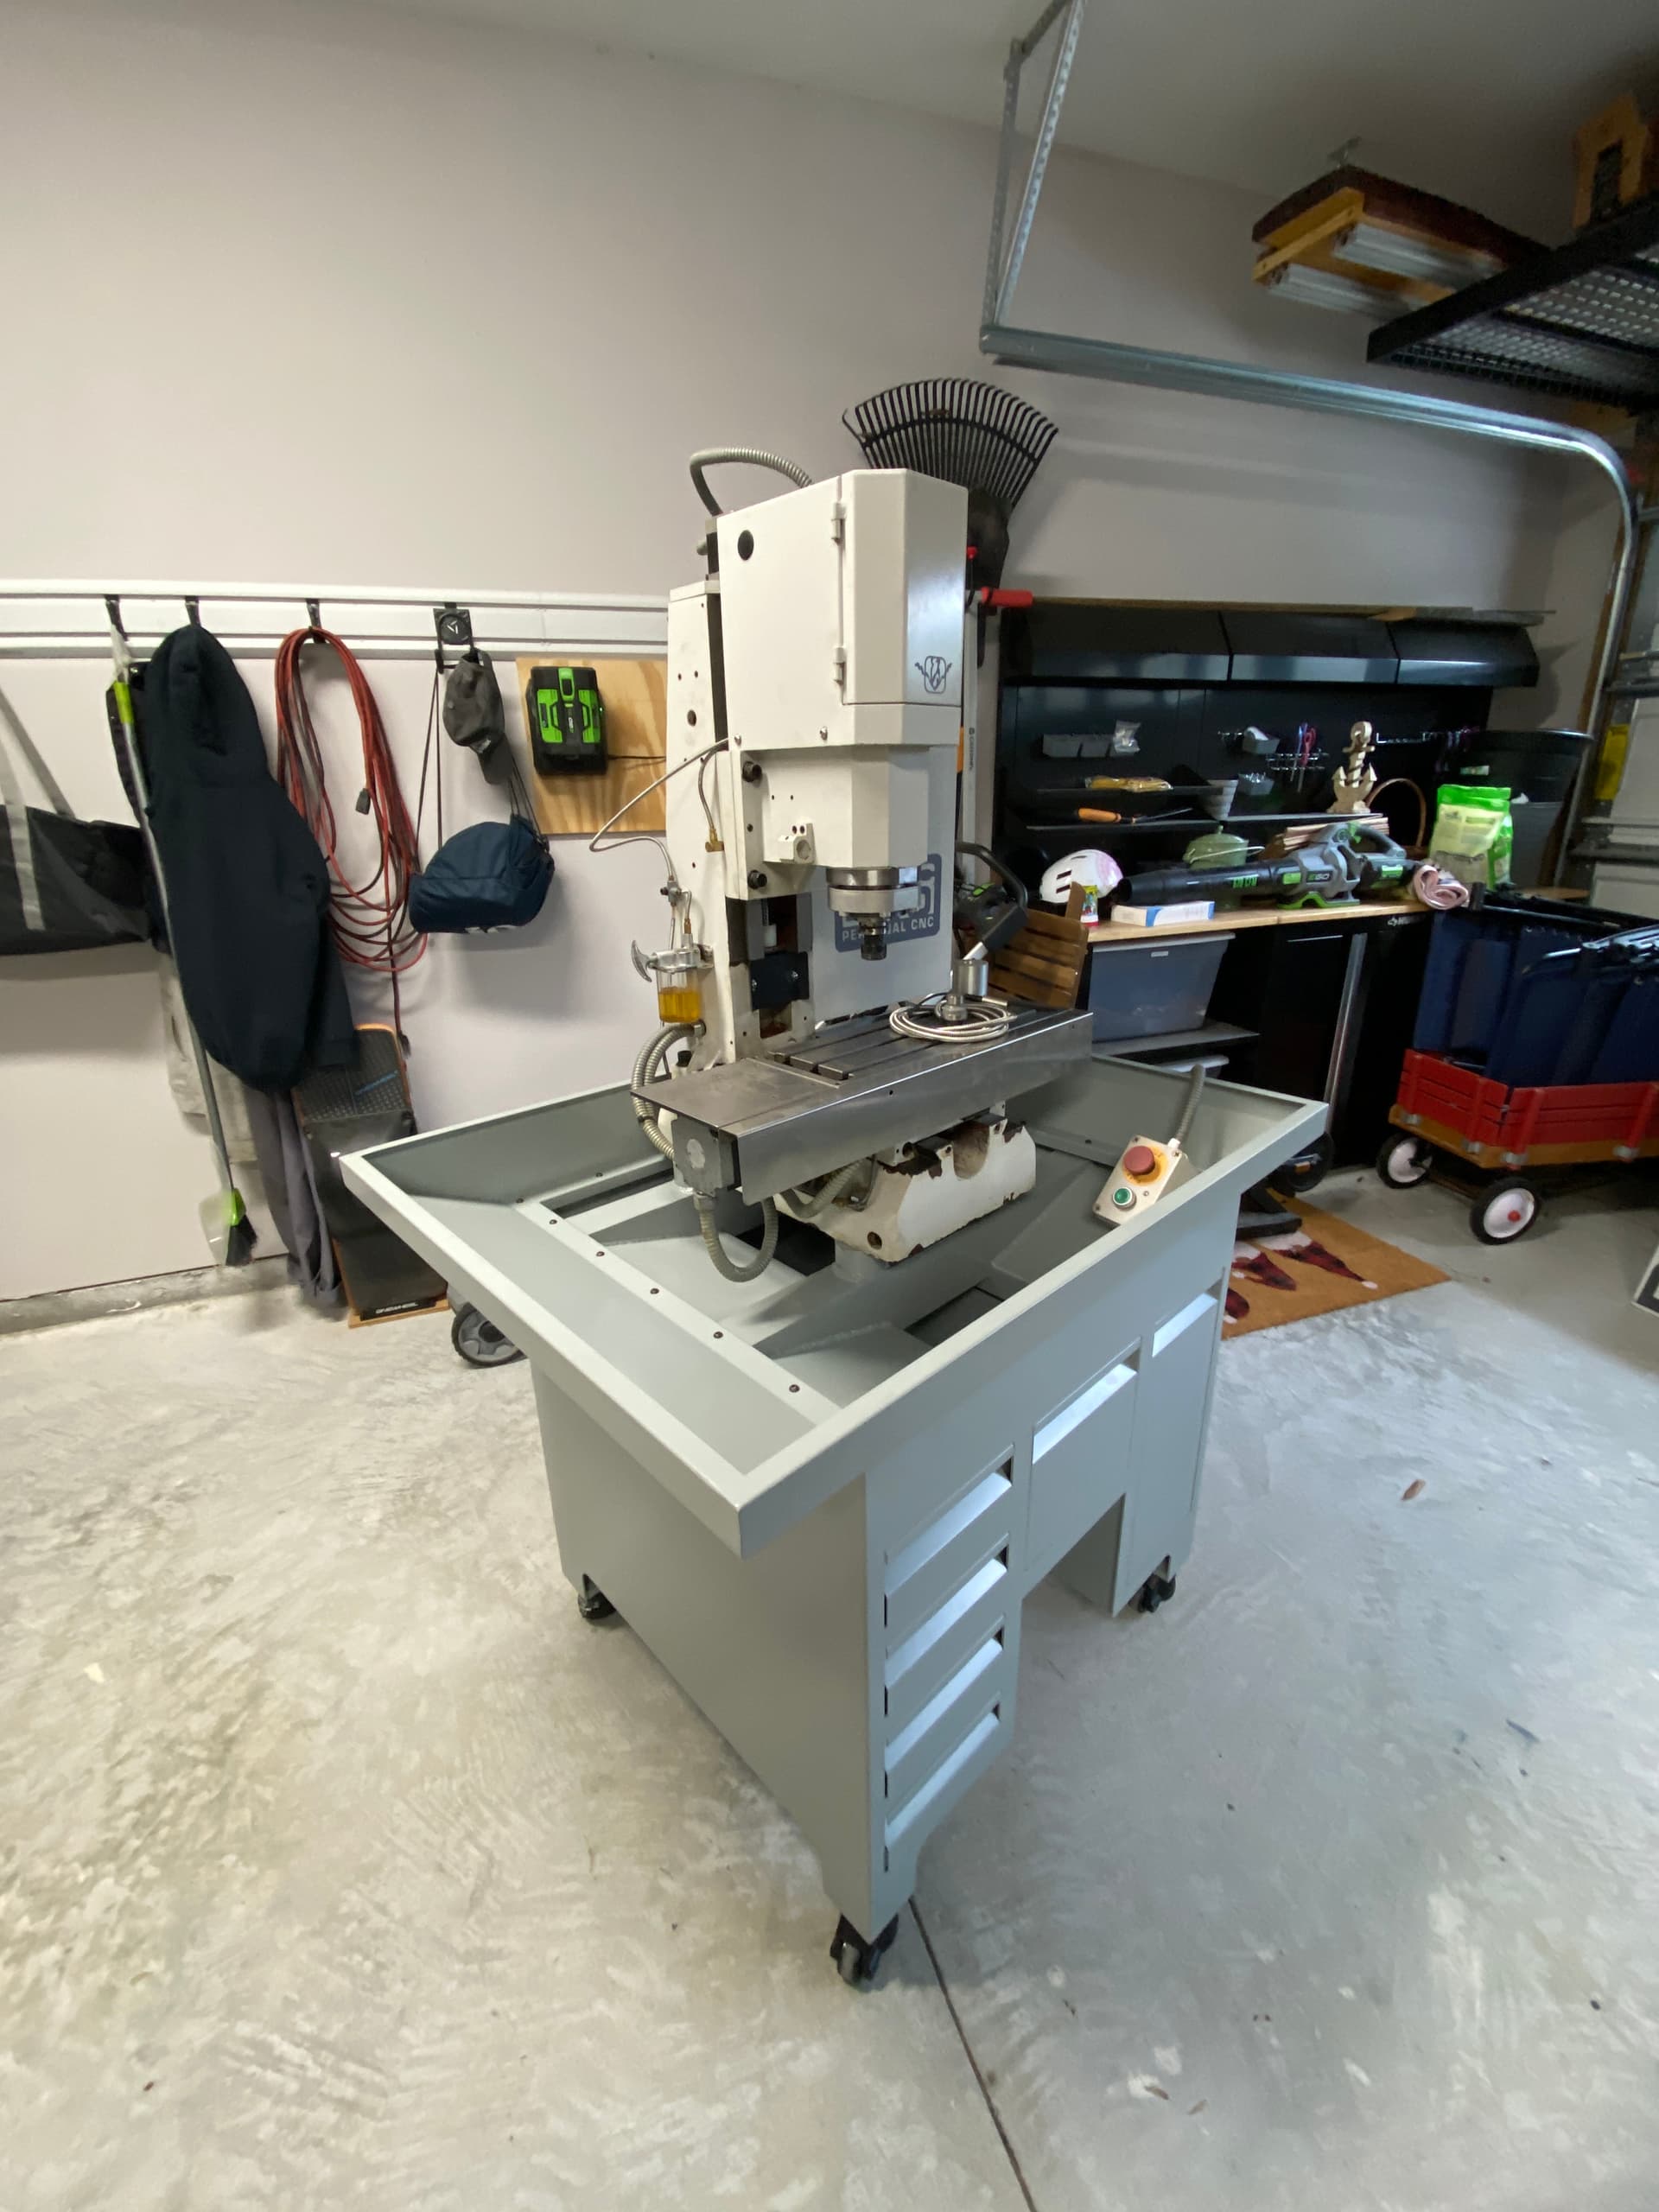
Here are some pics from the design to the finished product. There are some sliding doors designed and some telescoping way covers to add to this before I start using it. Everything was designed in Fusion360. Had the sheetmetal cut from OshCut mostly and a few pieces from SendCut Send. All 10ga and 16ga. I am not a welder or fabricator but wanted to get into it and this looked like a great first project. The stand is powder coated so it hopefully stays looking nice longer.
There is a build series if you are interested for ideas or suggestions. Still need to mount the enclosure, add the sliding doors, add a LED light inside and finally add the power draw bar and then I can get to cutting some parts. If you made it this far thank you for reading my little story about this build.
Wowza! What a beaut! Solid work on that one. I’m curious to hear an update on how the coolant tank and chip collection work out one you have it running parts.
Thanks for sharing.
I will report back once I get it all running. Need to also add in a check valve on the coolant and a filter. Someone on the YouTube video suggested this. There will be videos of it running when I finally get there. Lets just hope it doesn’t leak all over the place. I spent allot of time in the deisgn stage trying to avoid this. Hopefully it all works as designed.
I don’t know what your making with the mill but it can’t be better than this. I like the front drawers on yours a lot better than the side door on my factory stand.
Thank you! The see are leveling casters as well. I can crank them down and the base is solid. If it does shake too much I will replace them. This stand weighs about 300lbs. Allot more mass than the stock stand.
You have done a really nice job with the design and fab on this project. As a machine tool engineer, I have just one word of caution - I have no doubt that your stand is “strong” enough from a static standpoint, meaning it won’t bend much or break. Similar to what Bruce said, you might see an issue with “dynamic stiffness”. In this situation, the whole stand on the casters, or the mill on those cross bars, (or, or,) will vibrate excessively at certain “natural frequencies.” Everything has these frequencies, no matter what they weigh, nor how you design - all you can do is try to keep them out of the frequency range your machine produces.
There is nothing wrong with your stand - it’s very nice, as are many other custom stands. Just be aware - if you have vibration/surface finish issues, this may be the culprit. If it happens, changing tools, feeds/speeds, or number of inserts/flutes can all make a difference. For those running bigger machines this might be better or worse all depending on where the stand’s natural frequencies, machine masses, and spindle speeds all work out.
This is not anything negative about what your done - just “food for thought” for the future as you use your machine, and for others.
Thank you for the advice. I am an electrical engineer by trade in the automation world. I deal with frequencies all the time. I am sure whatever the resonant frequency of the base is, I am sure I’ll find it. When I find the mills final location I could always bolt it to the floor. That would certainly help.
I worked for a CNC grinder machine builder for a few years. In their frame they would fill the tube steel with epoxy then inside that would be another piece of tube steel with epoxy as well. It helped with exactly what you are referring to. They had a small demo showing what would happen when you would hit a piece of tube steel untreated and one treated. I’ll never forget that lesson.
I didn’t build the frame with tube steel. But, the frame that the mill attaches too is hollow. If it became a problem, I could fill that area with epoxy or something to help deaden the frequencies. That would be my only option with this design.
The mass of this stand will certainly be better than the Tormach stand. There isn’t much to that one.
Pretty good. Thank you for asking. Had a few coolant leaks I needed to sort out. Overall really happy with the design. I have a chip tray screen design with stainless mesh I am going to add soon. Going to add some splash guards to the top of the enclosure on the side doors as well. Some chips and coolant spray out through that opening. I would like that to stay contained. I should have welded the coolant drip pan in place instead of bolting it. Leaked more than I liked.
Chip removal is pretty easy. Added a wash down hose to clean the chips up. Overall I am happy with it. If I built it again I would change a few things but nothing to major.
Went through the Titan beginner series and made some mistakes and learned allot of what this machine can do. Overall a fun project. Now it’s a nice little machine for my shop. I love the sliding doors over the original. Worth the cost to modify it. Now I just need an 8L so I can turn some parts as well.
That is great to hear that you are pleased with this project. You answered a question that I want sure how to ask which was if the result was worth the effort. I’m glad to hear you are learning some things and getting some parts made on your machine.