The z axis is not repeating on my 1100mx. I noticed this when doing several tool touch off in a row. Thinking it was the tool set I manually touched on a 123 block. Every time I zero an indicator go up 6 inches and back down the spindle drops .005. If I did this 3 times in a row it would drop .015. Has anyone ever experienced this or knows what the issue is? Any help would be appreciated.
1 Like
A loose Z coupling can do this. I put a paint mark across them to see if they shift.
1 Like
i did check and and tighten the coupling up as much as possible. I will try marking it to see if it slips but I’ll be surprised if it does. It would be nice if the coupling had key ways to prevent that from happening.
1 Like
Is it off by the same amount if you half the jog speed? Mark the top and bottom of the coupler as either side can slip. Also make sure your motor mount bolts are tight.
1 Like
Speed of the jog doesn’t seem to change the amount of Z being off but distance of travel in Z does. It does seem to point to the coupling. I will get a paint marker and check the coupling this afternoon. Sad new I broke the Allen ball end of in the coupling bolt yesterday when try to tighten it. If it is the coupling what would be the best way to fix it since I tighten it as much as possible? Buy a new coupling, add set screws or pin the coupling and shaft together?
Or if it is the coupling could it be a lubricant issue? Open to all thoughts and will check the coupling with a paint marker this afternoon.
1 Like
Also check your way lube on the Z axis,
Many 1100’s run nearly dry without modification
3 Likes
Thank for the response but How is it modified?
2 Likes
I would order another one. Also, don’t tighten it until it breaks.
If you swap it out with one of the other axes you could probably use 2 good axes to make one. There’s nothing fancy about it. Basically just need to bore a hole, drill and tap 4 holes and cut a slit in it. I think they are aluminum? Someone correct me if I’m wrong.
Also if your ordering one I would call right now because holidays.
1 Like
here is the original thread about the issue
myself and many others have done this
it’s a known issue
Ed
1 Like
Thank for all of the help and advice. You all make the value of owning a tormach worth more.
I talk to support and they ask me to do a lost of motion test to determine what the problem maybe. Yesterday I did paint mark the coupling to the ball screw and it stayed in line. Im going to follow tormach directions and see if the problem can be identified. If not I will then check the coupling to the motor.
I will keep all post of my findings and what the fix is.
Thanks again
1 Like
Tormach said it may be the servo. I ordered a new servo wow it costed more than I thought it would have. Order it Thursday morning and payed extra for next day delivery. Monday at 4pm I received the servo. Im having trouble removing the Z brake from the old servo so that I can install the new one. Removed all four bolts and backed the coupling bolt off as much as possible. The brake seems to be stuck to the servo.
The 1100mx doesn’t have a Z axis brake.
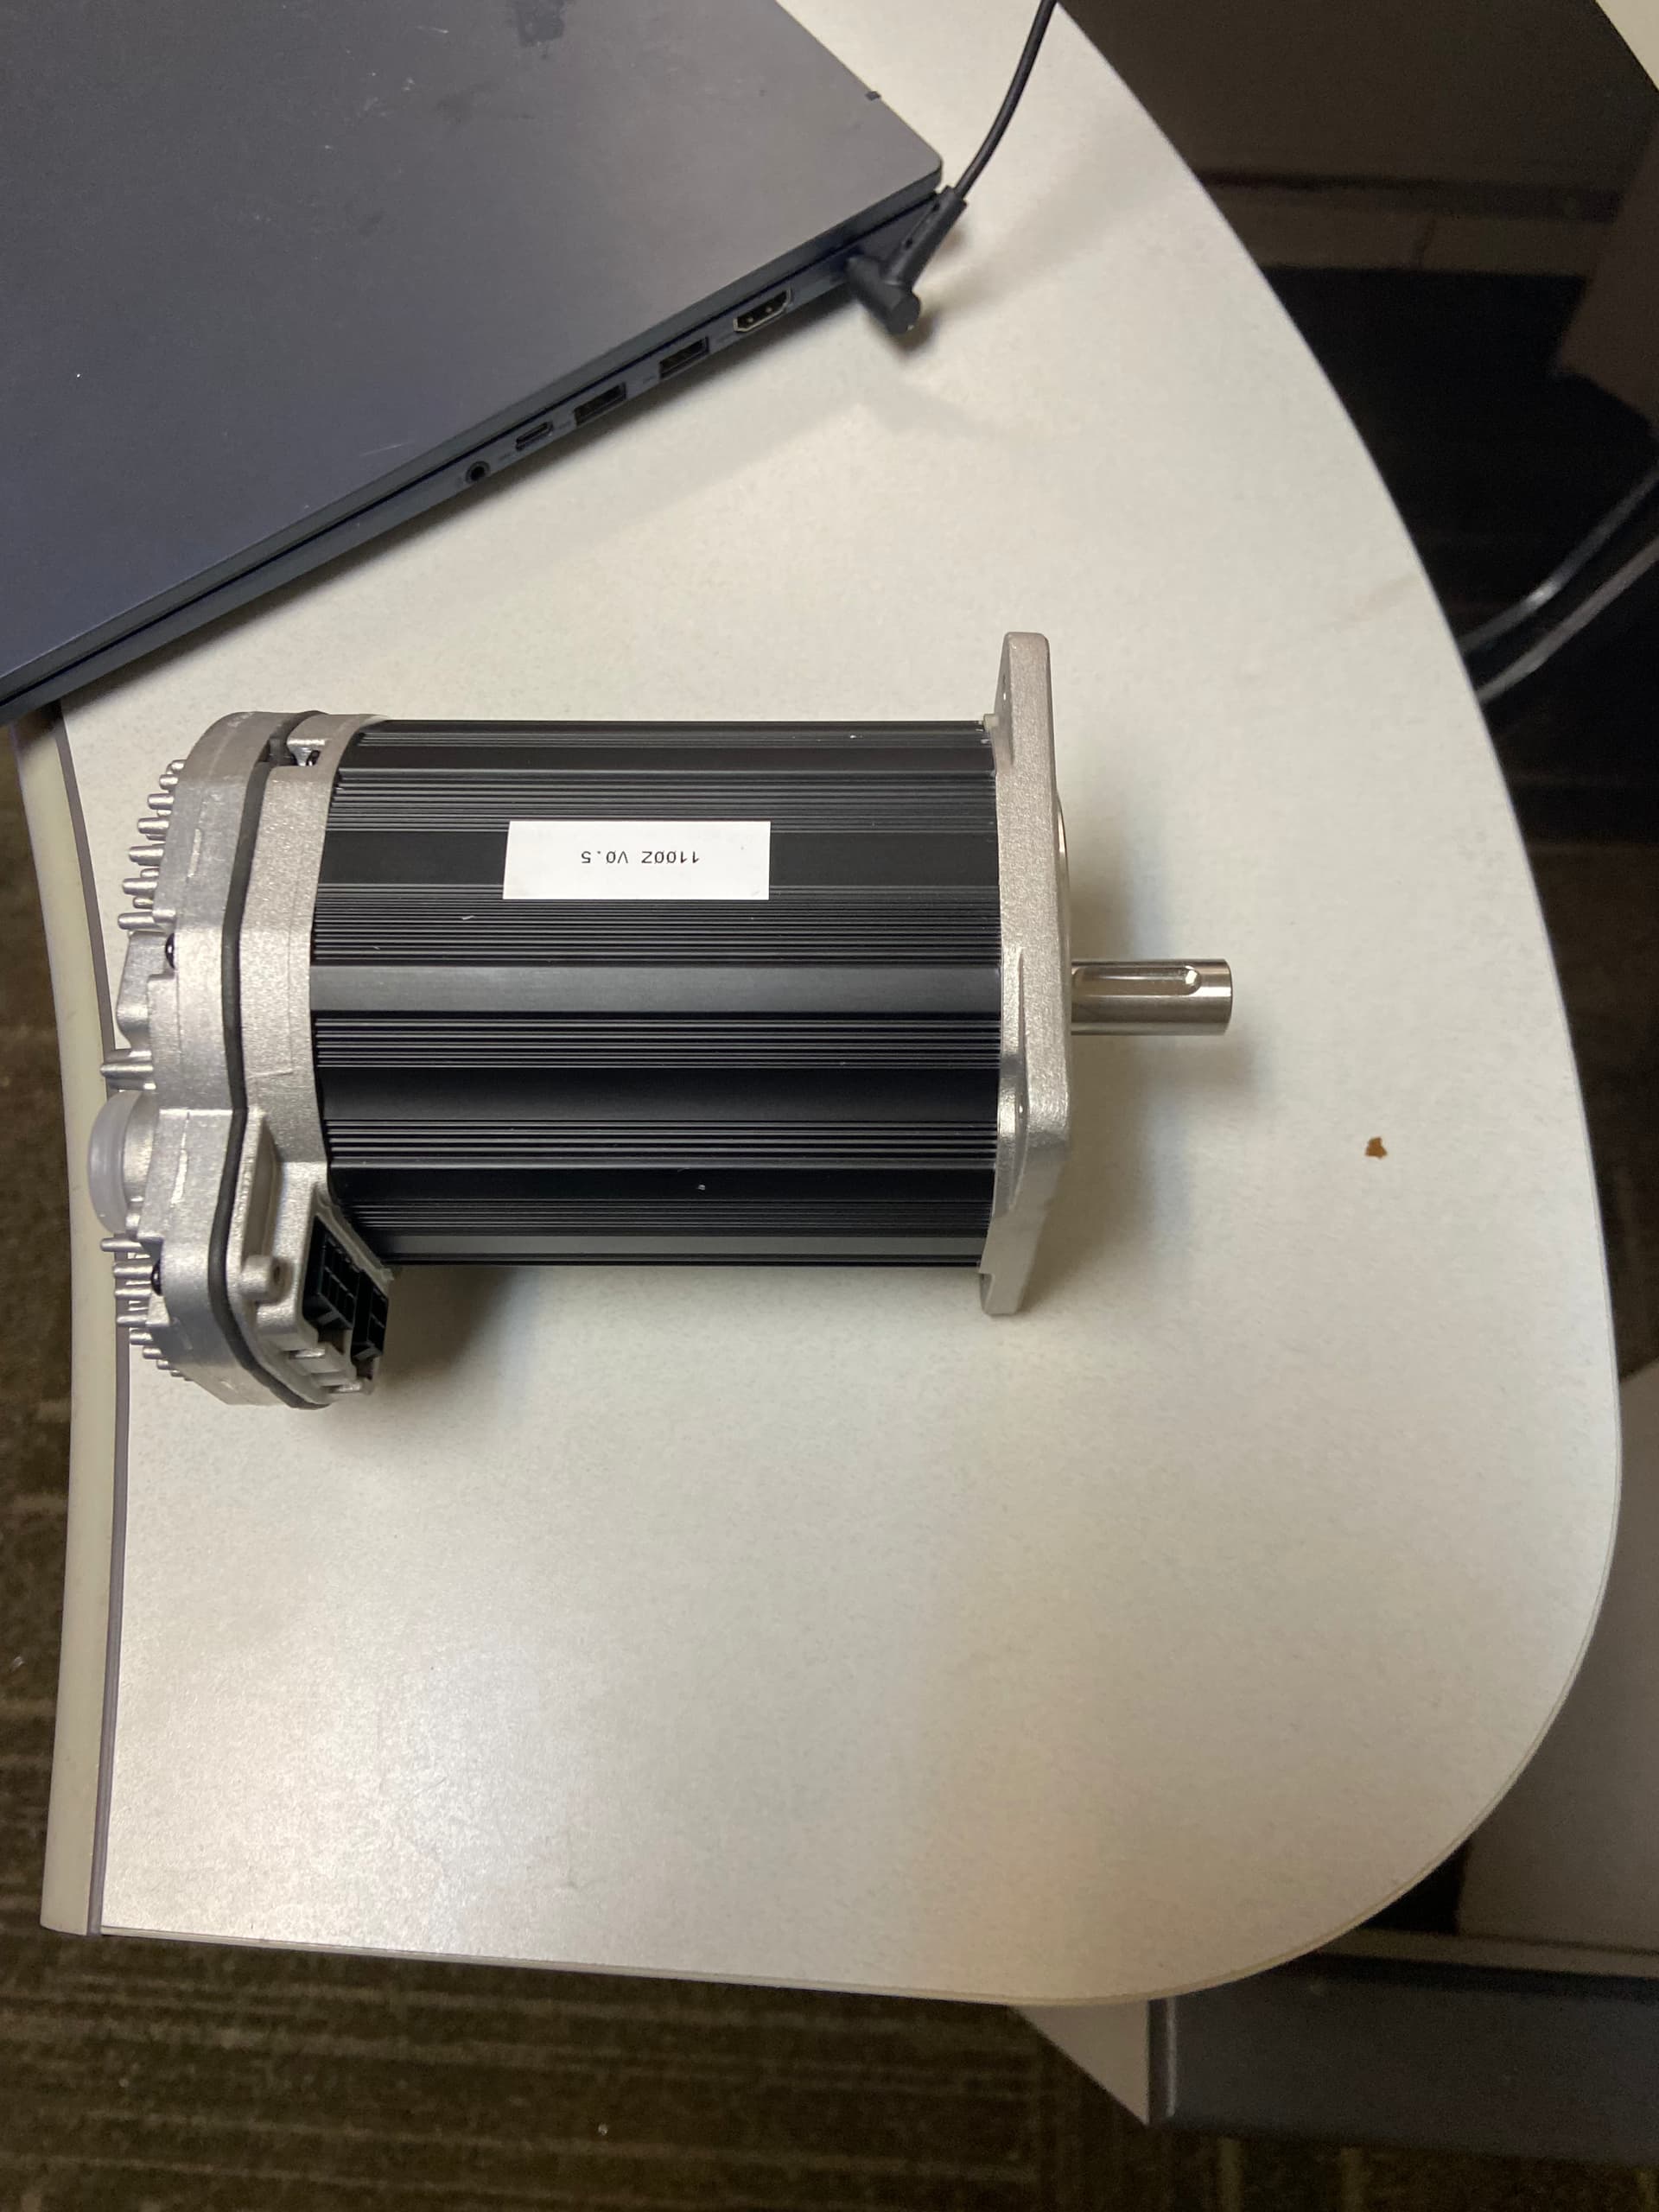
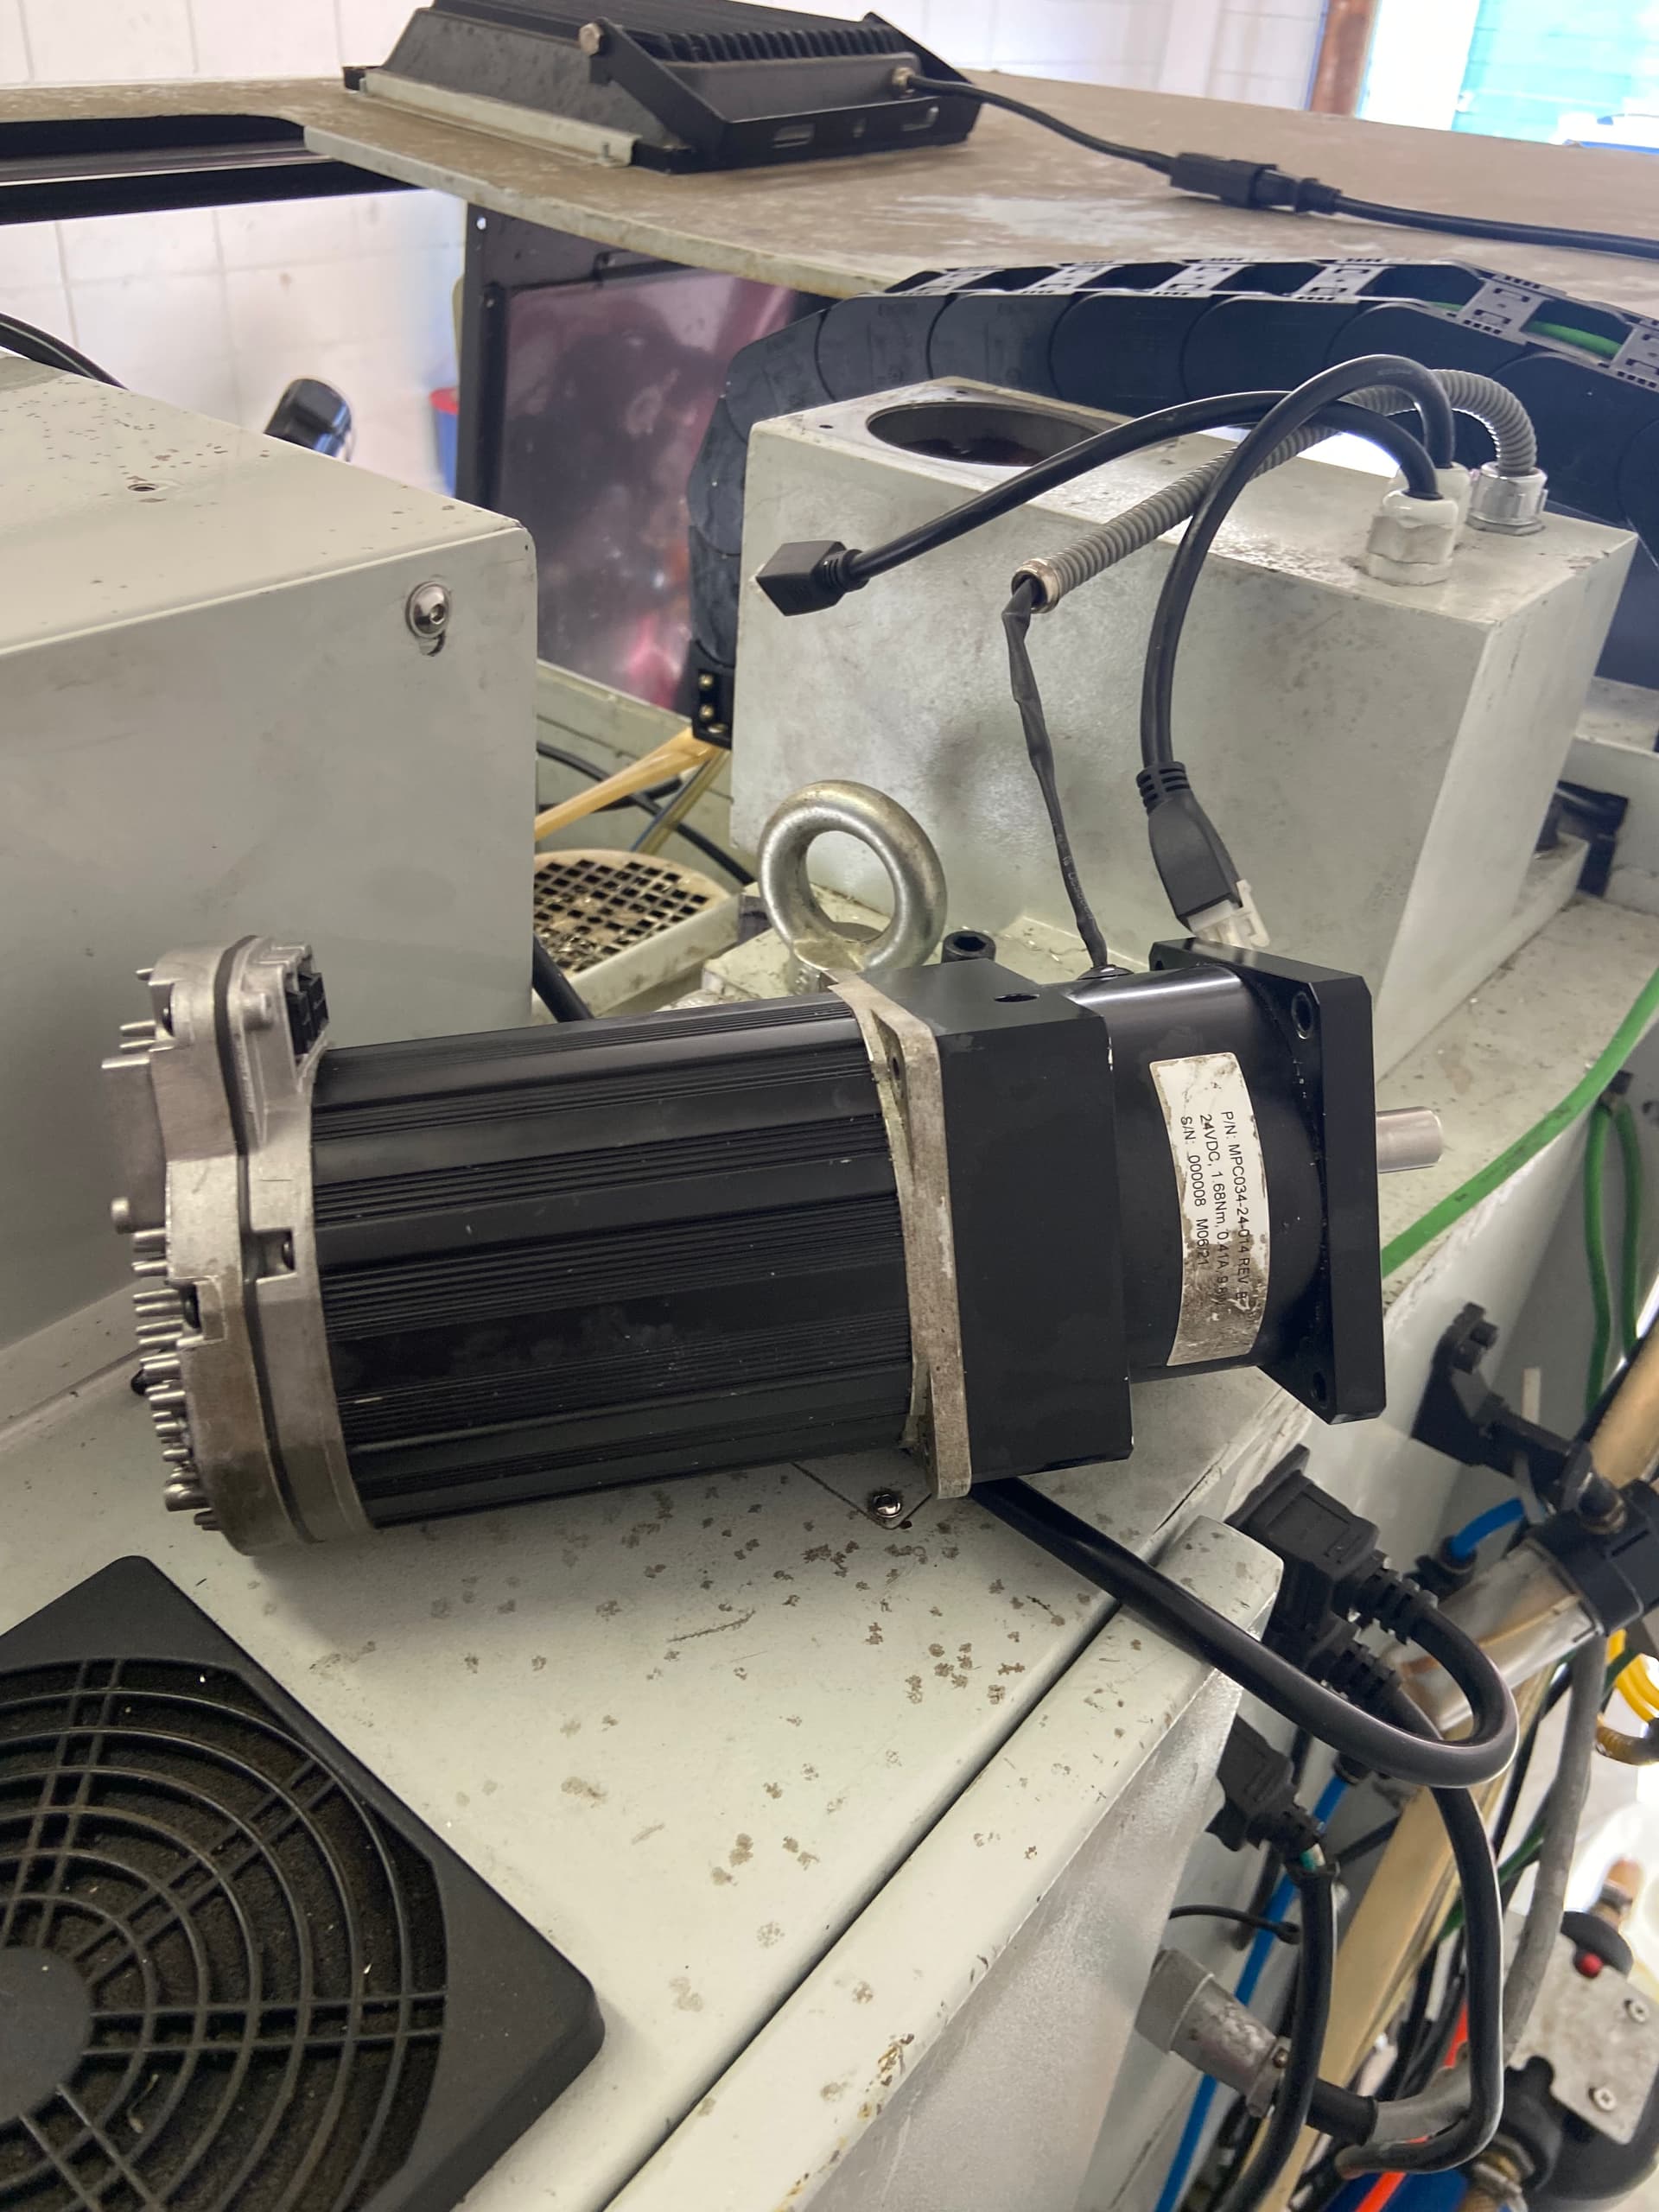
The first pic is just the servo and the second is the servo with the brake attached. Come to find out my issue was the coupling that connects the servo shaft to the brake shaft. There is a small accesses hole on the brake to tighten or loosen the coupling
What I found on mine (and this may be more rare since it was a COVID-era 2020 build) was that the factory had applied Bondo on the motor mounting bolt faces. The filler was spread along the flange where the motor bolts on, and it was textured to look like part of the casting — so it appeared intentional.
The problem is that over time, once everything is tightened down, the Bondo compresses and gives way. The bolts start to loosen, movement develops, and that flex ended up damaging the ACB on all axes in my case.
I removed all the Bondo from the mounting flanges with a chisel and cleaned the surfaces completely and repainted with matching epoxy paint. A quick way to tell if you have this issue is if your washers look recessed or slightly sunken — that’s usually the filler compressing underneath.
My recommendations:
-
Remove any Bondo from the mounting faces and clean them fully.
-
Replace the ACBs as preventative maintenance — they’ve likely been stressed from the flex.
-
Replace the mounting bolts.
-
Use a small amount of blue Loctite on reassembly.
Once the filler is removed and everything is tightened properly, it stays tight — nothing left to compress or “squish out” over time — and accuracy returns.
For comparison, I also have a 2018 build that did not have this issue. That one was manufactured correctly from the factory.